Yes, in most cases you can install a wireless smart doorbell yourself in New Zealand — and it's one of the more satisfying home upgrades you can tackle on a weekend. The key is choosing the right type of doorbell for your situation, because NZ electrical law draws a clear line between what homeowners can do themselves and what must be done by a licensed electrician.
Understanding the Types of Smart Doorbells
Before you buy, it's worth knowing the three main types available in NZ:
| Type | Power Source | DIY-Friendly? |
|---|---|---|
| Battery-powered wireless | Rechargeable battery | Yes — fully DIY |
| Low-voltage wired (uses existing doorbell wiring, typically 8–24V AC) | Existing transformer | Usually yes, with care |
| Mains-powered (240V) | Direct 240V wiring | No — restricted work |
The vast majority of popular smart doorbells (such as Ring, Google Nest Hello, and Eufy models sold in NZ) are designed to run on either batteries or existing low-voltage doorbell wiring — not directly off 240V mains. This makes them accessible for confident DIYers.
What Is Restricted Electrical Work in NZ?
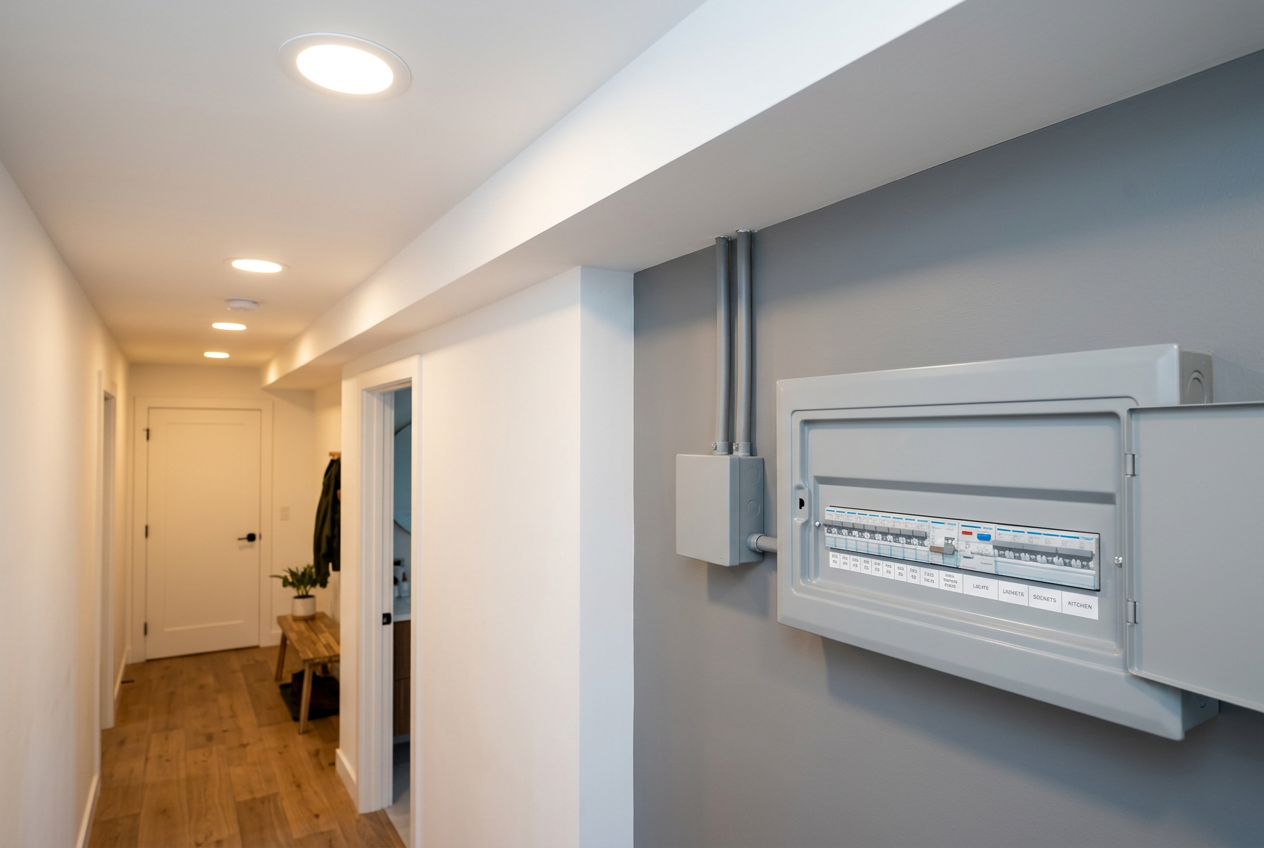
Under the Electricity Act 1992 and associated regulations, any work on fixed 240V mains wiring is restricted electrical work and must be carried out by a registered electrician. This includes connecting a doorbell directly to your home's mains supply or modifying your switchboard.
The Electrical Workers Registration Board (EWRB) oversees licensing in NZ. Doing restricted electrical work yourself — or having an unlicensed person do it — is illegal and can void your home insurance. Always check with a licensed electrician if you're unsure.
What a Homeowner Can Legally Do
You are generally permitted to:
- Install a battery-powered wireless doorbell entirely yourself — no wiring involved at all.
- Replace an existing doorbell button or chime connected to a low-voltage transformer (typically the bell wire circuit, not mains voltage).
- Mount the doorbell unit to your wall or door frame.
- Connect the doorbell to your home Wi-Fi network and configure the app.
If your home already has a traditional wired doorbell, the wiring between the button, chime, and transformer is low-voltage and generally safe to work with. However, the transformer itself is connected to 240V mains — do not touch or replace the transformer yourself. If the transformer needs replacing or you have no existing doorbell wiring, call a licensed electrician.
Step-by-Step: Installing a Battery-Powered Wireless Smart Doorbell
This is the simplest and most common DIY scenario.
What you'll need
- Your smart doorbell kit (includes doorbell unit, mounting bracket, screws, and often a drill template)
- A drill and appropriate drill bits (masonry bit if drilling into brick or concrete)
- A screwdriver
- Wall plugs/anchors if fixing into masonry
- A spirit level
- Your smartphone for app setup
Steps
- Choose your location — Position the doorbell at around 1.2–1.5 m height, angled to capture faces clearly. Most units have a recommended field of view in their instructions.
- Charge the battery — Before mounting, fully charge the doorbell battery via USB as directed by the manufacturer.
- Mark and drill — Use the supplied template to mark screw holes. Drill carefully, especially into weatherboards or brick. Use appropriate wall plugs for masonry.
- Mount the bracket — Secure the mounting bracket firmly to the wall.
- Attach the doorbell unit — Clip or screw the doorbell onto the bracket per the manufacturer's instructions.
- Set up the app — Download the manufacturer's app, create an account, and follow the in-app pairing instructions to connect to your Wi-Fi.
- Test it — Press the button, check the live view, and adjust motion sensitivity settings as needed.
Safety note: If drilling into an exterior wall, be aware of what's behind it — pipes and cables can run through wall cavities. If in doubt, use a cable/pipe detector (available from Bunnings or Mitre 10) before drilling.
Installing Over Existing Low-Voltage Doorbell Wiring
If you're replacing an old wired doorbell button with a smart doorbell that uses the existing low-voltage wiring:
- Turn off the power at the chime/transformer — Some people simply unplug the transformer from the wall socket (if it's plug-in type) or switch off the relevant circuit at the switchboard.
- Remove the old doorbell button — Unscrew it from the wall and note how the two bell wires are connected.
- Connect the new smart doorbell — Most smart doorbells have two terminals; connect one wire to each (polarity usually doesn't matter for AC bell circuits, but check your manual).
- Mount and restore power — Secure the new unit, restore power, and complete app setup.
If your transformer is too old or underpowered for the new doorbell (many smart doorbells need at least 16V AC), a licensed electrician will need to replace it.
NZ Climate Considerations
NZ weather — particularly in coastal or high-rainfall regions — means your doorbell will be exposed to moisture and UV. Check the IP (Ingress Protection) rating of your chosen unit; look for at least IP44 for sheltered locations and IP65 or higher for exposed spots. James Hardie and similar cladding systems can make drilling trickier, so take care not to crack fibre cement sheets.
When to Call a Professional
Call a licensed electrician if:
- You need new 240V mains wiring run to power a doorbell or transformer.
- Your existing transformer needs replacing (it connects to mains wiring).
- You're not confident identifying whether wiring is low-voltage or mains voltage.
- Any wiring looks damaged, corroded, or non-standard.
You can find qualified, vetted local electricians on tradedirectory.co.nz. For general guidance on electrical safety and licensing, visit WorkSafe NZ.

 Site Safe
 Licensed Electrical Inspector







