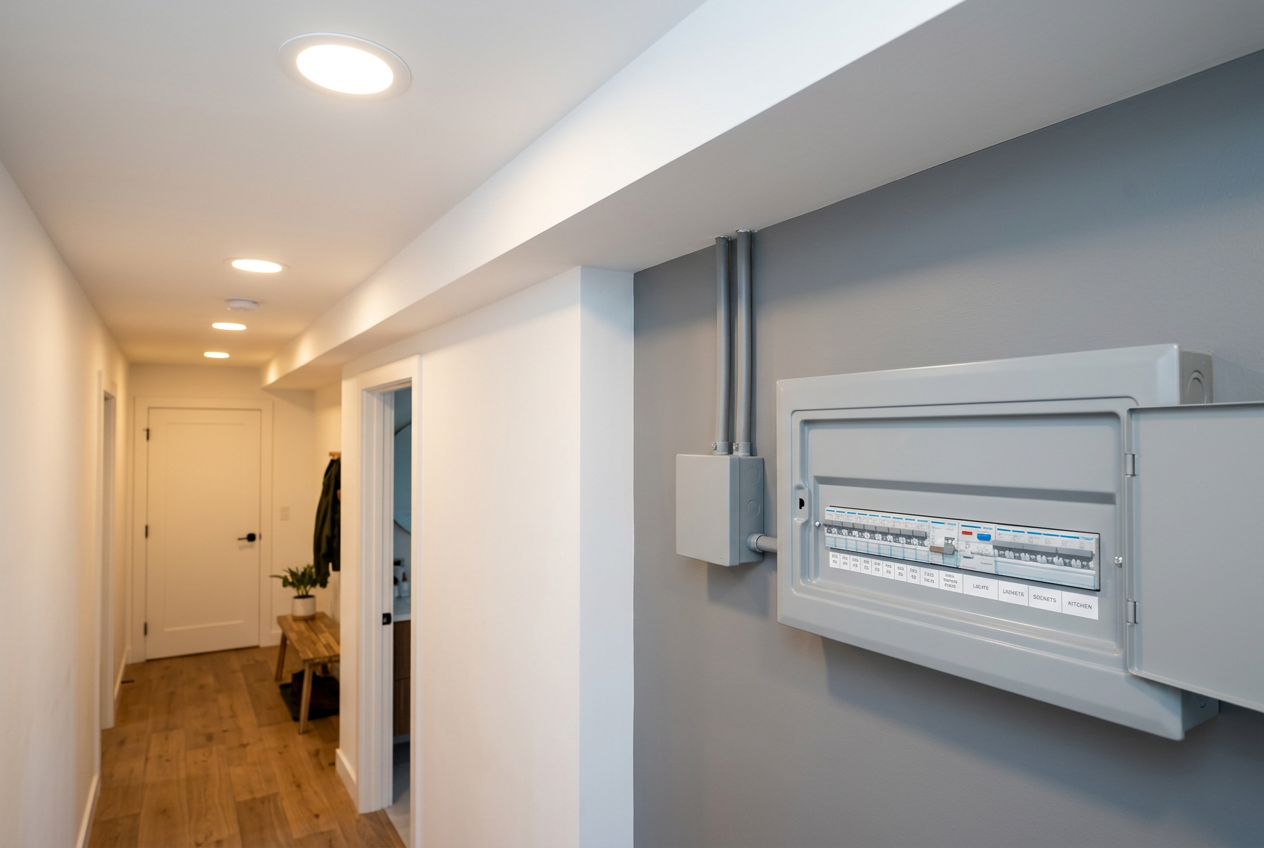
Installing a 12-volt caravan hookup in your garage is a popular project for NZ campervan and caravan owners — and parts of it are absolutely DIY-friendly. However, because the setup typically connects to your home's 230V mains supply (to run a battery charger or converter), some of the work is legally restricted and must be carried out by a licensed electrician. Understanding where that line sits will save you time, money, and potential legal headaches.
What Does a 12-Volt Caravan Hookup Actually Involve?
A typical garage caravan hookup has two distinct parts:
- The 230V mains side — a new circuit or outlet from your switchboard to the garage, which powers a battery charger, converter, or 240V caravan inlet socket.
- The 12V DC side — wiring from a battery, charger, or DC power supply to a 12V outlet (such as an Anderson plug or cigarette-style socket) that connects directly to your caravan's 12V system.
The 12V DC wiring itself (once it originates from a battery or the output terminals of a converter) is generally low-voltage work that a competent homeowner can tackle. The 230V mains wiring is a different story entirely.
What Work Is Legally Restricted in New Zealand?
Under the Electricity Act 1992 and associated regulations, any work on your home's fixed 230V wiring — including installing a new circuit from the switchboard, adding a new outlet, or connecting a charger to the mains — is restricted electrical work. This must be performed by a registered electrician and certified by an Electrical Inspector or the electrician themselves (if they hold the appropriate licence).
Doing this work yourself is illegal, can void your home insurance, and creates a genuine fire and electrocution risk. Always check the Electrical Workers Registration Board (EWRB) to verify that any electrician you hire is currently registered.
What Can a Homeowner Do Themselves?
Once a licensed electrician has installed and certified the 230V supply point (e.g., a weatherproof outlet or dedicated circuit in your garage), you can generally handle the low-voltage 12V DC side yourself, including:
- Connecting an Anderson plug or 12V socket to the output terminals of a standalone battery charger or DC converter.
- Running 12V DC cabling from a leisure battery to a 12V outlet.
- Installing a battery isolator switch on the 12V side.
- Mounting and connecting a standalone solar charge controller and battery (entirely off-grid, not connected to mains).
Always use appropriately rated cable for the current you're carrying — undersized 12V wiring is a common cause of overheating. As a rough guide, cable sizing depends on the current, run length, and installation method — check the manufacturer's specifications for your charger or converter, and consult a qualified auto-electrician or electrician if unsure.
Do You Need a Building Consent?
For most garage electrical additions, a building consent is not required — adding a circuit or outlet typically falls under Schedule 1 exemptions of the Building Act 2004. However, if you're making structural changes to the garage (e.g., cutting through a wall for cable entry), always confirm with your local council first. The MBIE Building Performance website has useful guidance on what work requires consent.
Choosing the Right Equipment
For the 12V side of your setup, quality components matter:
- Anderson SB50 plugs are the most common standard for caravan/campervan 12V connections in NZ — widely available at Bunnings and Mitre 10.
- Choose a multi-stage smart charger (AGM/lithium compatible if needed) from a reputable brand to protect your battery.
- Use marine or automotive-grade tinned cable for 12V runs — it handles vibration and moisture better than standard house wire.
- Fit an inline fuse or circuit breaker as close to the battery positive terminal as possible. This is a critical safety step.
| Component | DIY or Restricted? | Notes |
|---|---|---|
| 230V circuit from switchboard | Restricted — licensed electrician | Must be certified |
| 230V outlet installation | Restricted — licensed electrician | Must be certified |
| 12V wiring from charger output | DIY-friendly | Use correct cable size and fuse |
| Anderson plug fitting | DIY-friendly | Follow manufacturer instructions |
| Battery and isolator switch | DIY-friendly | Fuse close to battery positive |
| Solar charge controller (off-grid) | DIY-friendly | No mains connection involved |
Safety Tips for the 12V Side
- Always disconnect the battery before working on 12V wiring.
- Keep battery terminals covered when not in use — a short circuit across a 12V battery can cause a fire instantly.
- Ensure your garage has adequate ventilation if charging lead-acid batteries, as they can emit hydrogen gas.
- Label all wiring clearly for future reference.
- Check WorkSafe NZ guidance if you're unsure about safe working practices around batteries and electrical systems.
When to Call a Professional
You must engage a licensed electrician for any work on your 230V mains supply — this is non-negotiable under NZ law. Beyond the legal requirement, a qualified sparky can also advise on the best circuit type for your needs (a dedicated 16A or 20A circuit is often recommended for caravan charging), ensure the installation meets the NZ Electrical Code of Practice, and issue the required Certificate of Compliance.
If you're unsure about any part of the 12V installation, or if your setup is more complex (e.g., integrating solar, lithium batteries, or a DC-DC charger), it's well worth getting professional advice. You can find qualified local electricians on tradedirectory.co.nz.

 Site Safe
 Licensed Electrical Inspector







