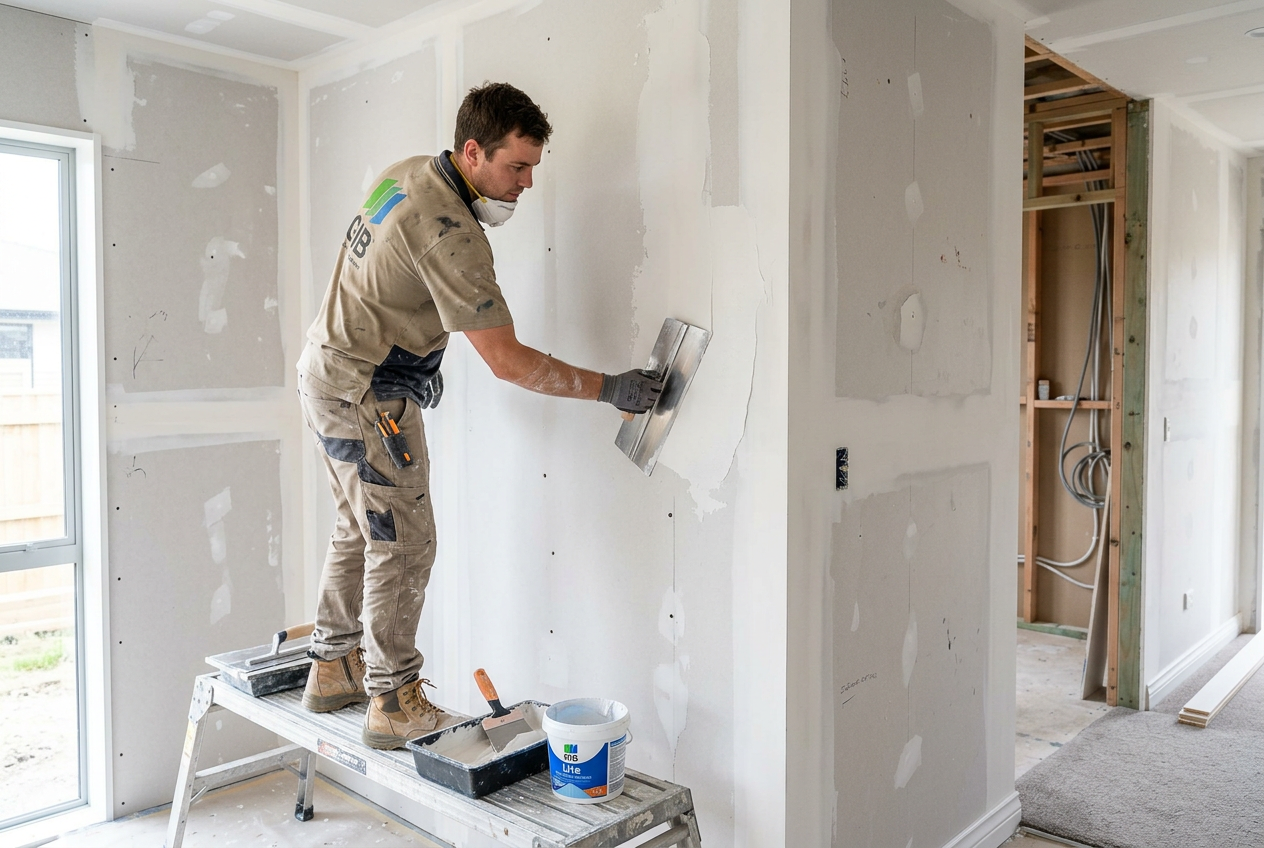
Stopping and sanding Gib plasterboard is one of those jobs that looks straightforward but quickly reveals itself as a craft. The right tools make an enormous difference between a lumpy, shadow-casting wall and a smooth, paint-ready surface. Whether you're patching a small hole or finishing a new room, here's a practical rundown of what you'll need.
Understanding the Stopping Process
Stopping (sometimes called jointing or plastering) is the process of filling and feathering the joints, screw holes, and any gaps in your plasterboard before painting. It's typically done in two to three coats, with sanding between each coat once it's fully dry. Rushing this process — or using the wrong tools — is the most common reason DIY walls look amateur under paint.
Gib recommends following their specific system guides for best results, and it's worth downloading their technical literature from the GIB website before you start.
Essential Stopping Tools
Broad Knives and Finishing Knives
A set of broad knives (also called taping knives or stopping knives) is your most important investment. You'll want at least two sizes:
- 100–150 mm knife – for applying the first coat into joints and filling screw holes
- 200–250 mm knife – for feathering out subsequent coats over a wider area
- 300 mm or wider finishing knife – optional, but great for the final skim coat on flat joints
Look for stainless steel blades with a slight flex — they're easier to clean and resist rust in NZ's often humid conditions. Good options are available at Mitre 10 and Bunnings.
Corner Tools
Internal and external corners need their own tools:
- Corner knife (inside corner tool) – lets you run both sides of an internal corner in one pass
- Corner bead and bead roller – for external corners, a metal or plastic bead is embedded in compound and pressed with a roller for a straight, hard edge
Mud Pan (Hawk or Trough)
A mud pan or plasterer's hawk holds your stopping compound while you work. A rectangular mud pan is easiest for loading broad knives cleanly. Keep a damp cloth nearby to stop compound drying on the edges.
Jointing Tape
For butt joints and any cracked or stressed areas, paper jointing tape or fibreglass mesh tape is embedded in the first coat of compound. Paper tape is generally preferred by professionals for flat joints as it's less prone to bubbling; mesh tape is handy for patches and repairs.
Stopping Compounds
NZ hardware stores stock several types of compound:
| Type | Best Use | Drying Time |
|---|---|---|
| Setting-type (powder) | First coat, fast repairs | Sets by chemical reaction — 20–90 min |
| Drying-type (premixed) | Second and finish coats | Dries by evaporation — several hours |
| Lightweight finish compound | Final skim coat | Dries slowly, sands easily |
Setting compounds are harder to sand, so many DIYers use them only for the base coat and switch to a lightweight premixed compound for finishing.
Sanding Tools
Sanding is where patience pays off. Always wait until each coat is completely dry (white all the way through, not just on the surface) before sanding.
Sanding Poles and Blocks
- Pole sander – a rectangular sanding head on an extendable pole. Essential for walls and ceilings without killing your arms. Use with 120–180 grit paper.
- Hand sanding block – for detail work around corners, edges, and screw holes. A firm foam block gives even pressure.
Sandpaper Grits
- 80–100 grit – knocking back high spots between coats
- 120–150 grit – general sanding between coats
- 180–220 grit – final finish before priming
Avoid going too coarse — you can scratch the paper face of the Gib board, which shows through paint.
Wet Sanding Sponge
A wet sanding sponge is a great low-dust option for the final coat. Dampen it and gently wipe the surface — it dissolves high spots without creating clouds of dust. It takes a bit of practice but is well worth it in living areas.
Dust Extraction
Gib dust is a fine nuisance and a health concern with prolonged exposure. WorkSafe NZ recommends controlling dust at the source. Options include:
- A vacuum-backed sander (random orbital or drywall sander with dust bag/vacuum attachment)
- Sealing off the work area with plastic sheeting
- Wearing a P2-rated dust mask at minimum
Priming Before Paint
Once sanding is complete, apply a plasterboard sealer/primer before your topcoats. This is a critical step — bare stopped surfaces are highly absorbent and will cause uneven paint sheen (called flashing) if you skip it. Resene and Dulux both offer dedicated plasterboard primers suited to NZ conditions.
When to Call a Professional
Stopping and sanding is DIY-friendly for small repairs and patches, but for new builds, large renovations, or Level 5 finish requirements (the smoothest standard, required under raking light), the skill gap is significant. A qualified plasterer will achieve results far faster and with less material waste. Wet areas (bathrooms, laundries) also require specific waterproofing systems under the NZ Building Code — check MBIE Building Performance for guidance on what's required.
If you'd rather leave it to the experts, you can find qualified local plasterers on tradedirectory.co.nz.