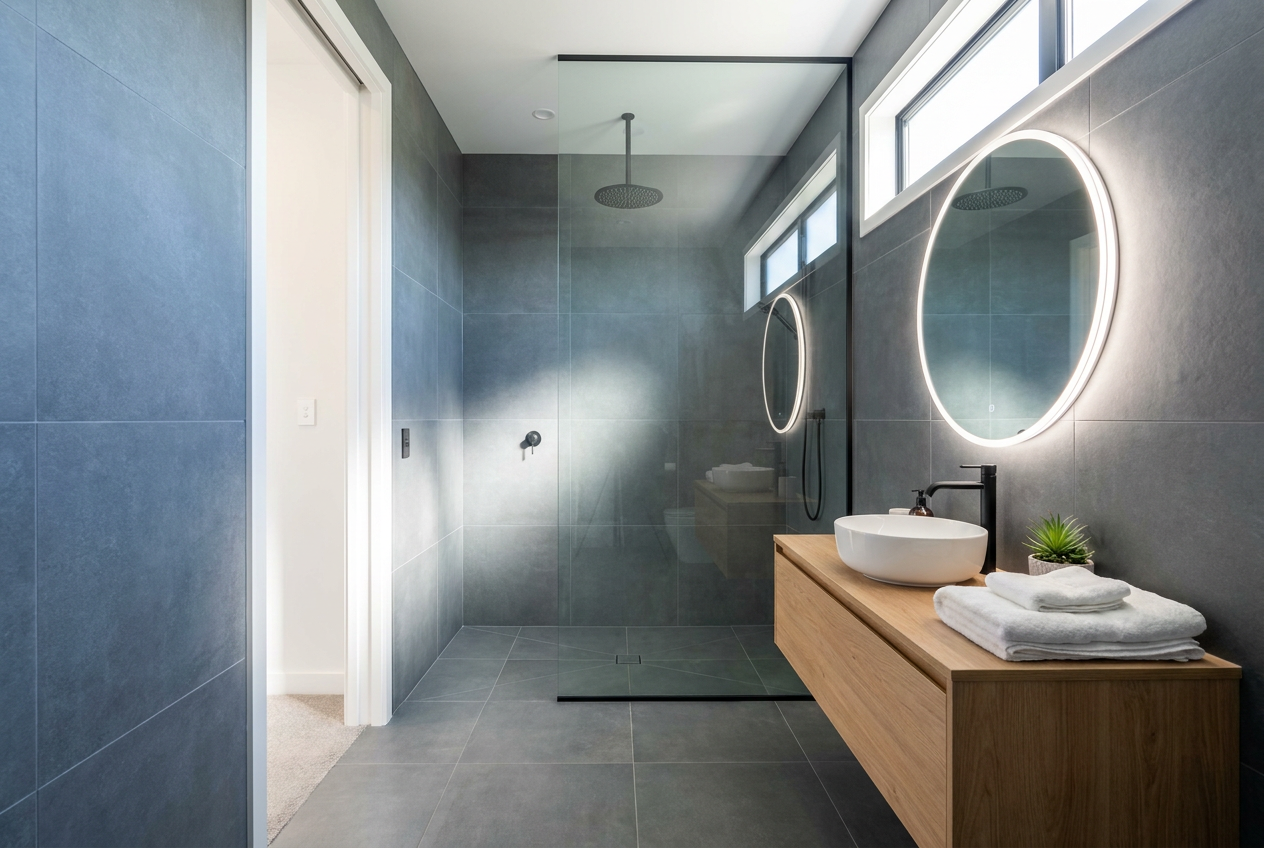
Silicone sealant is one of the most important — and most misused — products in a bathroom. Applied correctly, it creates a flexible, watertight seal at joints and junctions that grout simply can't handle. Get it wrong, and you're looking at mould, leaks, and potentially costly water damage behind your walls or under your floor.
Why Bathroom Silicone Matters
Bathrooms are classified as wet areas under the NZ Building Code (specifically clause E3 – Internal Moisture). Any water that gets past your tiles, grout, or fixtures can cause serious structural damage over time. Silicone seals the flexible joints — corners, junctions between the wall and bath, around shower trays, and where fixtures meet tiles — that expand and contract with temperature changes. Grout is rigid and will crack at these points; silicone is designed to flex.
BRANZ research consistently highlights poor wet-area sealing as a leading cause of internal moisture damage in NZ homes.
Choosing the Right Silicone
Not all silicone is created equal. Here's what to look for:
Must-Have Properties
- Mould-resistant / anti-fungal formula — essential in NZ's humid bathroom environments
- 100% silicone (not a silicone-acrylic blend) for wet areas — blends are less waterproof and less flexible
- Neutral cure — less likely to corrode metal fixtures than acetoxy (acid-cure) types, which smell strongly of vinegar
- Suitable colour — white, off-white, and clear are the most common; match your grout or fixture colour
NZ Brands to Look For
Sika and Ardex both offer professional-grade bathroom silicones widely used by NZ waterproofers and tilers. You'll also find a solid range of bathroom silicones at Bunnings and Mitre 10, including trade and DIY options. Look for products labelled specifically for wet areas or bathrooms.
Quick Comparison
| Type | Best For | Flexibility | Mould Resistance |
|---|---|---|---|
| 100% Silicone (neutral cure) | Showers, baths, wet areas | Excellent | High (if anti-fungal) |
| Silicone-acrylic blend | Low-moisture areas only | Moderate | Lower |
| Acetoxy (acid-cure) silicone | General use, not near metals | Good | Moderate |
| Polyurethane sealant | Exterior joints | Very high | Moderate |
For bathrooms, 100% neutral-cure silicone with an anti-fungal additive is the right choice almost every time.
What You'll Need
- Bathroom-grade silicone sealant (cartridge)
- Caulking gun
- Silicone remover or sharp scraper (for re-sealing jobs)
- Methylated spirits or isopropyl alcohol (for surface prep)
- Masking tape
- Smoothing tool or a wetted finger
- Clean cloths or paper towels
How to Apply Bathroom Silicone Step by Step
1. Remove Old Silicone Thoroughly
If you're re-sealing, all the old silicone must come out. Use a silicone remover product and a sharp scraper or Stanley knife. Any old silicone left behind will prevent the new sealant from bonding properly. This step takes patience — don't rush it.
2. Clean and Dry the Surface
Wipe the joint with methylated spirits or isopropyl alcohol to remove soap scum, grease, and any residue. The surface must be completely dry before you apply silicone. In a shower, this may mean waiting 24–48 hours after last use.
3. Mask Up for a Neat Finish
Apply masking tape along both sides of the joint, leaving the gap exposed. This gives you clean, straight lines and makes the job look professional.
4. Cut the Nozzle and Load the Gun
Cut the nozzle at a 45-degree angle to a size that matches your joint width — smaller is better; you can always go over again. Load the cartridge into your caulking gun.
5. Apply the Silicone
Hold the gun at roughly 45 degrees and apply steady, even pressure as you move along the joint in one smooth pass. Try to fill the joint in a single run without stopping.
6. Smooth and Tool the Joint
Dip your finger in water (or use a silicone smoothing tool) and run it firmly along the bead to press the silicone into the joint and create a concave, neat finish. Work quickly — silicone begins to skin over within minutes.
7. Remove the Tape and Allow to Cure
Peel the masking tape away immediately, before the silicone skins. Allow the silicone to cure fully before exposing it to water — check the product datasheet, but most bathroom silicones need at least 24 hours, and some recommend longer before full water exposure.
Common Mistakes to Avoid
- Applying over old silicone — it won't bond and will fail quickly
- Wet surfaces — silicone won't adhere properly to damp substrates
- Skipping the masking tape — leads to messy, uneven lines
- Using the wrong product — standard clear silicone without anti-fungal properties will go mouldy fast in a shower
- Not filling the joint fully — thin or incomplete beads allow water ingress
When to Call a Professional
Siliconing around a bath or vanity is a manageable DIY task for most homeowners. However, there are situations where you should bring in a qualified waterproofer or tiler:
- If you're re-tiling or waterproofing a shower from scratch — waterproofing membranes in wet areas must comply with the NZ Building Code (E3) and are best installed by a professional
- If you notice water staining, soft walls, or mould behind tiles — this suggests a deeper leak that silicone alone won't fix
- If you're working around plumbing fixtures — note that connecting or modifying plumbing is restricted work under NZ law and must be carried out by a licensed plumber registered with the Plumbers, Gasfitters and Drainlayers Board
For peace of mind, find a qualified local waterproofer or tiler on tradedirectory.co.nz.