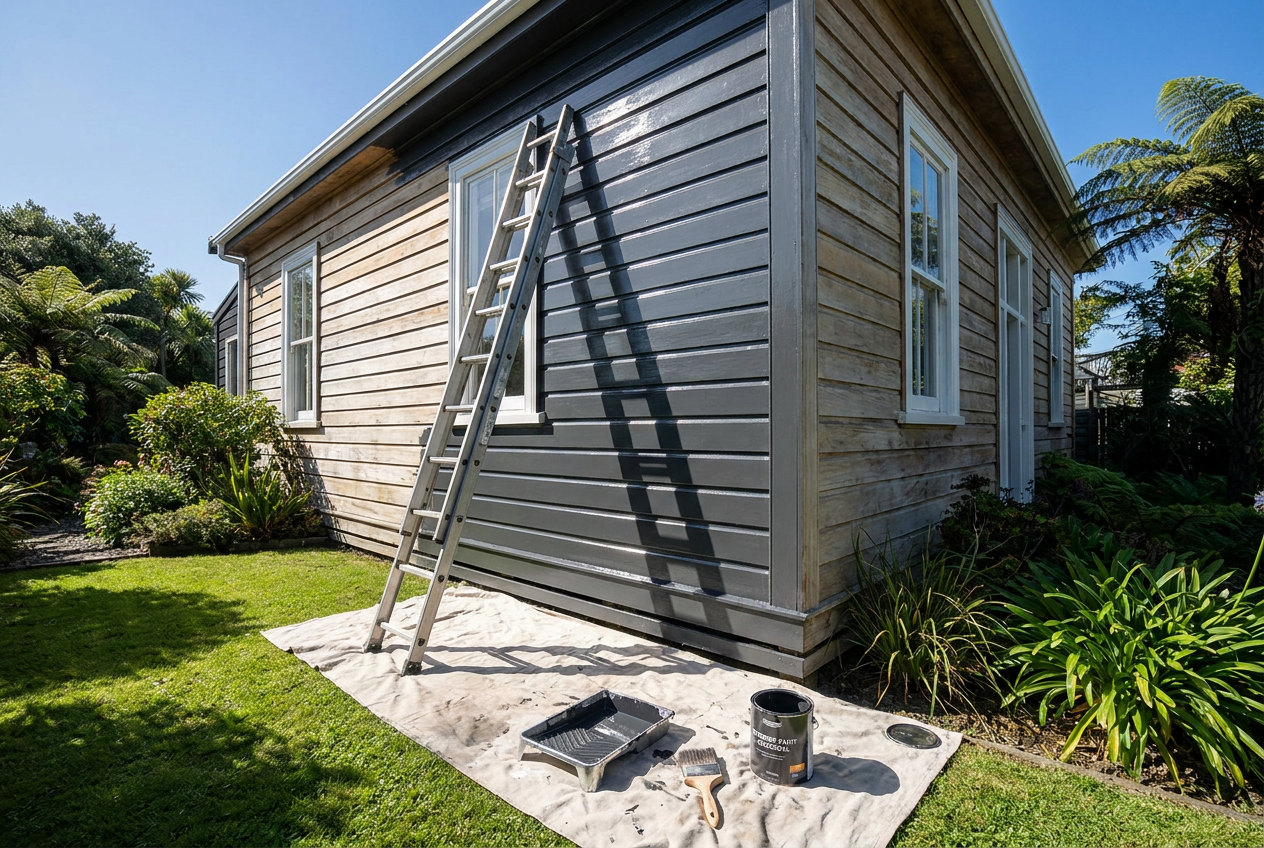
Getting the primer right on bare exterior timber is the single most important step in any exterior paint job. Skip it or choose the wrong product and you'll be repainting within a few years — a costly mistake in New Zealand's variable climate, where UV, moisture, and temperature swings put real pressure on painted surfaces. Here's what you need to know before you pick up a brush.
Why Priming Bare Timber Matters
Bare timber is porous and thirsty. Without a primer, your topcoat soaks unevenly into the grain, leading to poor adhesion, blotchy colour, and early peeling. A good primer seals the surface, stabilises any resin or tannins in the wood, and gives your topcoat something solid to grip. BRANZ research consistently shows that surface preparation — including correct priming — is the leading factor in how long an exterior paint system lasts.
Types of Primer for Bare Exterior Timber
Oil-Based (Alkyd) Primers
Oil-based primers have long been the trade standard for bare timber. They penetrate deeply into the wood grain, lock down resin bleed (especially important in species like pine and macrocarpa), and provide excellent adhesion for both oil and water-based topcoats. The trade-off is longer drying times, strong solvent fumes, and more difficult clean-up with mineral turpentine.
Water-Based Acrylic Primers
Modern water-based acrylic primers have improved enormously and are now a genuine option for exterior timber. They dry faster, have lower VOCs, and clean up with water. However, they can raise the grain slightly on raw timber, so a light sand after the first coat is recommended. Look for products specifically labelled for exterior use and bare timber.
Specialty Primers
- Penetrating oil primers (sometimes called timber conditioners): ideal for very dry, weathered, or porous timber that needs deep feeding before painting.
- Stain-blocking primers: essential if your timber has tannin-rich species (cedar, redwood) or visible knots that could bleed through and discolour your topcoat.
- Flexible primers: worth considering for joinery and areas prone to movement, as they accommodate timber expansion and contraction.
Matching Primer to Your Timber Species
| Timber Type | Recommended Primer Type | Key Reason |
|---|---|---|
| Radiata pine (treated) | Oil-based or quality acrylic exterior | Common NZ species; moderate resin |
| Macrocarpa / cypress | Oil-based or stain-blocking | High resin and tannin content |
| Cedar / redwood | Stain-blocking oil or acrylic | Strong tannins bleed through |
| Hardwoods (kwila, etc.) | Penetrating oil or adhesion primer | Dense grain, low porosity |
| Engineered/finger-jointed | Manufacturer-specified primer | Follow product data sheet |
Always check whether your timber is H3.1 or H3.2 treated (the standard for exterior above-ground use under NZS 3640). Some treatment chemicals can interfere with adhesion, so allow new treated timber to weather for several weeks before painting, or use a primer specifically compatible with treated timber.
NZ Brand Options Worth Knowing
Resene offers a well-regarded range of exterior timber primers, including their timber primer-undercoat products suitable for both bare and previously painted surfaces. Their in-store technical staff are genuinely helpful for matching primer to your specific situation.
Dulux and Wattyl both produce exterior wood primers available at most paint and hardware stores. Always read the product data sheet (PDS) for the specific primer you choose — it will tell you application rates, recoat times, and compatible topcoats.
You'll find a good range of primers at Bunnings, Mitre 10, and PlaceMakers.
Application Tips for Best Results
- Sand first: Use 80–120 grit sandpaper to smooth rough surfaces and open the grain. Remove all dust before priming.
- Prime on a dry day: Timber moisture content should be below around 15% for best adhesion. Avoid painting in direct hot sun or when rain is forecast within a few hours.
- Two coats on end grain: End grain is extremely absorbent — apply two coats of primer here, as it's where moisture most often enters and causes paint failure.
- Don't thin excessively: Follow the manufacturer's dilution guidelines. Over-thinning reduces the primer's protective properties.
- Recoat within the window: Most primers have a recommended overcoat window. Leaving primer exposed too long before topcoating can reduce adhesion.
When to Call a Professional
While priming and painting exterior timber is generally DIY-friendly, there are situations where a qualified painter adds real value:
- Large or complex projects (multi-storey homes, extensive weatherboards) where working at height safely is a concern — check WorkSafe NZ guidelines on working at heights before attempting ladder or scaffold work yourself.
- Significant timber damage or rot: A painter can identify whether timber needs replacing before painting — painting over rot just hides the problem.
- Heritage or high-spec joinery: Getting the primer and paint system wrong on quality joinery is an expensive mistake.
- If you're unsure of your timber species or treatment type: A professional will know what products are compatible.
You can find qualified, local painters on tradedirectory.co.nz — look for members of the Painting and Decorating Association of NZ (PDANZ) for added assurance of quality.