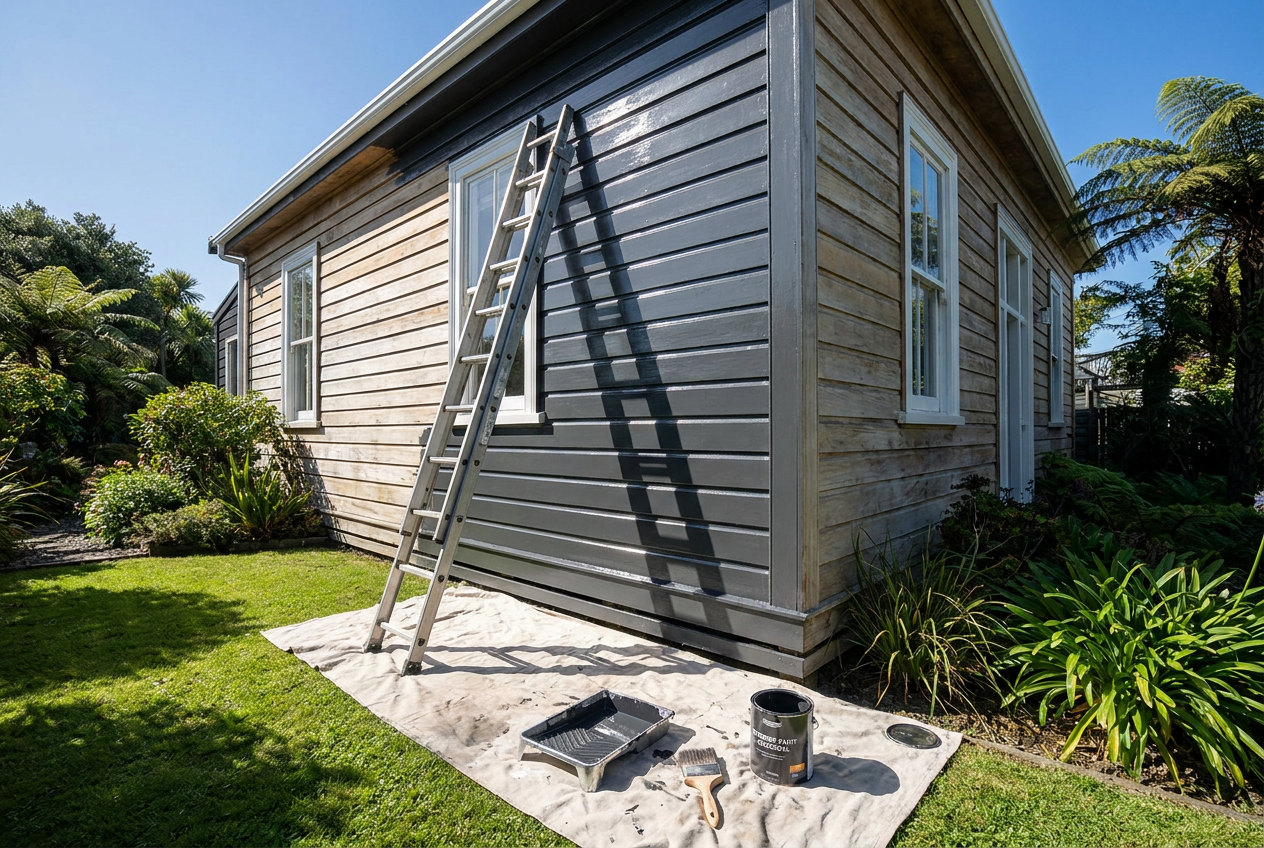
Exterior window joinery takes a real beating in New Zealand — intense UV, coastal salt air, driving rain, and temperature swings all conspire to crack, peel, and fade a poor paint job fast. Getting the right paint for your joinery material is just as important as the application itself, so let's break it down by substrate and situation.
Know Your Joinery Material First
Before you reach for a brush, identify what your joinery is made from. The three most common types in NZ homes are:
- Timber – found in older villas, bungalows, and character homes
- Aluminium – the most common in homes built from the 1970s onwards
- uPVC (vinyl) – increasingly common in newer builds and replacement joinery
Each material needs a different preparation approach and paint system. Using the wrong product can cause adhesion failure within a season.
Painting Timber Window Joinery
Timber joinery is the most forgiving to repaint but also the most demanding in terms of ongoing maintenance. A full paint system typically involves three stages:
- Primer – Use a quality exterior wood primer to seal the timber and give the topcoat something to grip. If the timber is bare or weathered, a penetrating primer is ideal.
- Undercoat – Builds film thickness and improves topcoat adhesion and coverage.
- Topcoat – A premium exterior gloss or semi-gloss waterborne enamel gives the best durability and is easier to clean than flat finishes.
Resene and Dulux both offer well-regarded exterior wood paint systems suited to NZ conditions. Look for products with good UV resistance — especially important in northern and coastal regions. Wattyl also has exterior timber systems worth considering.
Key tip: Always paint all six faces of bare timber joinery (including the back and bottom edges) to prevent moisture ingress, which is a leading cause of rot in NZ homes.
Painting Aluminium Window Joinery
Aluminium joinery cannot simply be painted over with a standard wall paint — adhesion will fail quickly without the right preparation. The process is more involved:
Surface Preparation
- Clean thoroughly with a degreaser to remove dirt, oxidation, and chalking
- Lightly sand or scuff the surface to give it a mechanical key
- Wipe down with a clean cloth and allow to dry completely
Primer Selection
- Use an etch primer or a self-etching primer specifically formulated for bare or previously painted aluminium. This chemically bonds to the metal surface.
- Some manufacturers offer a direct-to-metal (DTM) primer-and-topcoat system that simplifies the process.
Topcoat
- A high-quality exterior acrylic or alkyd enamel in a gloss or semi-gloss finish is recommended for durability and ease of cleaning.
- Resene and Dulux both supply aluminium-specific paint systems — check their technical data sheets for the correct primer pairing.
Colour note: Dark colours absorb more heat on aluminium joinery, which can cause expansion stress and paint failure over time. Lighter or mid-tone colours are generally safer choices, particularly in full-sun exposures.
Painting uPVC (Vinyl) Window Joinery
uPVC is the trickiest substrate to paint because it expands and contracts significantly with temperature changes, and many paints simply won't flex with it. If your uPVC joinery is in good condition, painting it may not be necessary — but if it's faded or you want a colour change, it is possible with the right products.
- Use a flexible, adhesion-promoting primer designed for plastics or uPVC
- Follow with a flexible exterior topcoat — some manufacturers offer specific uPVC paint systems
- Avoid very dark colours on uPVC for the same heat-absorption reasons as aluminium
Check with your joinery manufacturer before painting, as painting over uPVC may affect any remaining warranty.
Sheen Level: Why Gloss Matters on Joinery
| Sheen Level | Durability | Washability | Best Use |
|---|---|---|---|
| Full Gloss | Excellent | Excellent | Timber & aluminium joinery |
| Semi-Gloss | Very Good | Very Good | Joinery, trims |
| Satin | Good | Good | Low-traffic trims |
| Flat/Matt | Poor | Poor | Not recommended for joinery |
For exterior joinery, gloss or semi-gloss is almost always the right call. The harder film resists moisture, dirt, and UV better than lower-sheen finishes.
Preparation: The Most Important Step
No matter the substrate, preparation is what makes or breaks a paint job. BRANZ research consistently shows that paint failures are most often caused by poor surface prep, not product quality. At minimum:
- Remove all loose, flaking, or chalking paint
- Sand back to a sound surface
- Fill any cracks or gaps with a flexible exterior sealant (not standard filler, which can crack)
- Clean the surface and allow it to dry fully before priming
- Mask off glass carefully with quality painter's tape
Application Tips for a Long-Lasting Finish
- Don't paint in direct hot sun — the paint dries too fast, causing brush marks and poor film formation
- Paint on a dry day with low humidity; avoid painting if rain is forecast within a few hours
- Apply thin, even coats rather than one thick coat
- Allow full drying time between coats as specified on the product data sheet
- Two topcoats are always better than one for exterior joinery
When to Call a Professional
If your joinery has significant rot, deep corrosion, or failing sealant around the frame, it's worth getting a qualified painter to assess the job before you start. A professional will also have access to spray equipment that gives a far smoother finish on aluminium joinery than brush application. For any work involving the joinery frame itself — replacing glazing seals or re-bedding glass — you may need a licensed glazier or joiner.
You can find experienced local painters and tradespeople on tradedirectory.co.nz to get quotes and advice specific to your home.