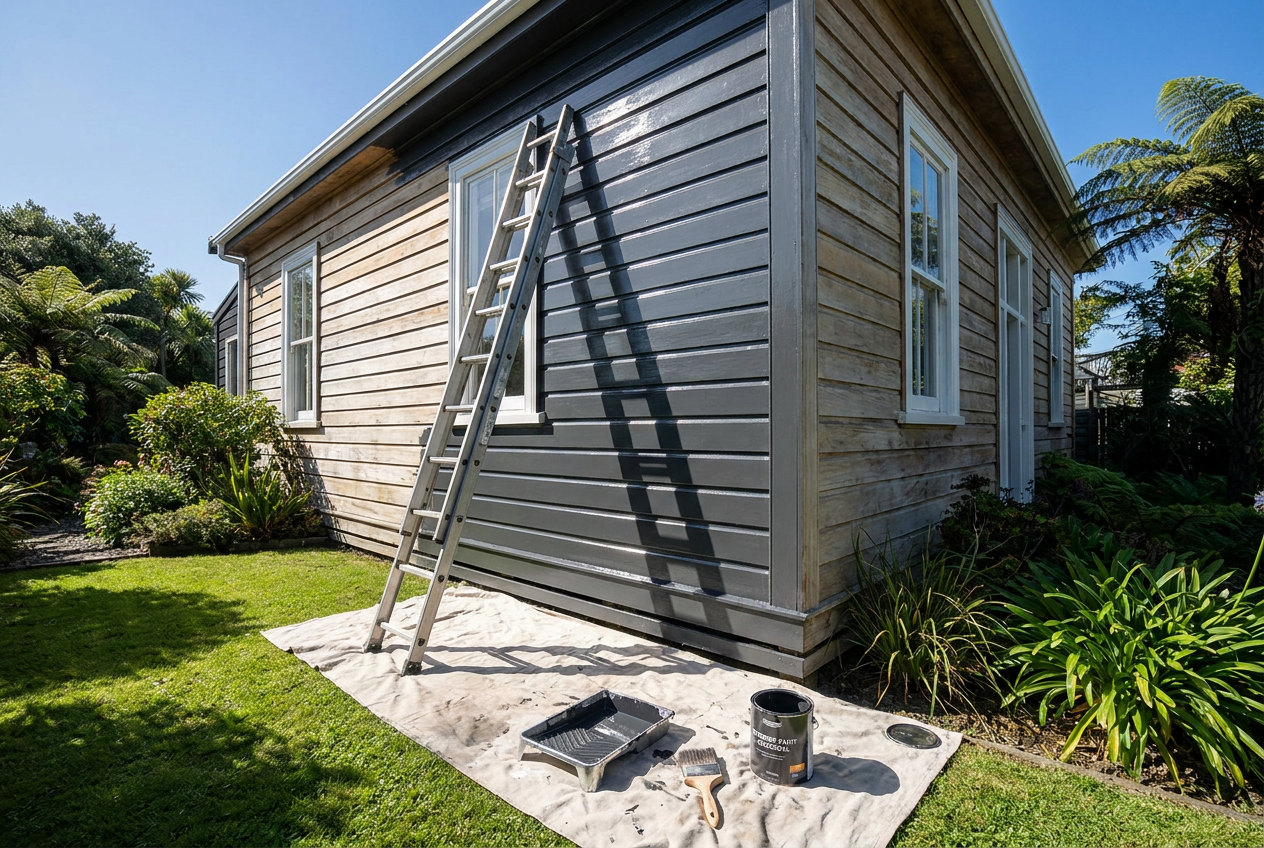
Exterior weatherboards take a real hammering from New Zealand's climate — UV radiation, driving rain, temperature swings, and coastal salt air can all degrade a paint film quickly. Choosing the right paint system (primer, undercoat, and topcoat) for your specific weatherboard type is the single most important decision you can make before picking up a brush.
Know Your Weatherboard Type First
Not all weatherboards are the same, and the paint system you choose must suit the substrate:
- Timber weatherboards (pine, cedar, macrocarpa) — the most common in older NZ homes. Timber expands and contracts with moisture and temperature, so flexibility in the paint film is critical.
- Fibre cement weatherboards — products like James Hardie HardiePanel or Linea are popular in modern builds. They're more dimensionally stable but still need the right primer.
- Engineered wood (e.g. LVL or composite boards) — follow the manufacturer's specific coating requirements closely.
- Previously painted surfaces — the existing paint type (oil-based vs water-based) affects what you can apply on top.
Water-Based vs Oil-Based Exterior Paint
This is the big question most homeowners ask first.
| Feature | Water-Based (Acrylic/Latex) | Oil-Based (Alkyd) |
|---|---|---|
| Flexibility | Excellent — handles timber movement well | Less flexible over time |
| Dry time | Fast (2–4 hours recoat) | Slow (overnight or longer) |
| Durability | Very good with quality products | Good initially, can become brittle |
| Clean-up | Water and soap | Mineral turpentine |
| VOCs | Low | Higher |
| NZ recommendation | Generally preferred | Mainly used for spot priming knots |
For most NZ timber weatherboards, a premium water-based acrylic topcoat is the go-to recommendation from professional painters. Acrylic paints breathe slightly, allowing moisture vapour to escape without blistering — a real advantage in our humid conditions.
Choosing a Quality Paint Brand
Stick to well-known NZ paint brands that formulate products for local conditions:
- Resene — their Lumbersider and X-200 waterborne systems are widely used by NZ painters on timber weatherboards. Resene's colour consultants can also advise on suitable products.
- Dulux — Weathershield is a popular exterior range with good UV resistance for NZ conditions.
- Wattyl — Solagard and ID Advanced exterior ranges are well regarded for durability.
All three brands offer products available at Mitre 10, Bunnings, and PlaceMakers, as well as their own trade stores.
The Importance of a Proper Primer
Skipping primer is one of the most common — and costly — DIY mistakes. A good primer:
- Seals the timber and reduces tannin bleed (especially important with cedar)
- Improves adhesion of the topcoat
- Helps the topcoat cover evenly, reducing the coats needed
For bare timber, use a dedicated exterior timber primer. For fibre cement, use an alkali-resistant primer as recommended by the board manufacturer — James Hardie, for example, specifies approved coating systems to maintain warranty.
For knots and resinous areas in timber, spot-prime with a shellac-based or oil-based knotting compound before applying your water-based primer, otherwise resin can bleed through and cause staining.
Sheen Level: What Finish Should You Choose?
- Low sheen / satin — the most popular choice for weatherboards. Hides surface imperfections, looks smart, and is easy to clean.
- Semi-gloss — sometimes used on trims and window joinery for contrast and durability.
- Flat/matt — not recommended for exterior weatherboards as it's harder to clean and less water-resistant.
Surface Preparation — Don't Skip This Step
Even the best paint will fail on a poorly prepared surface. Before you paint:
- Wash down the boards with a suitable exterior cleaner or diluted sugar soap to remove dirt, mould, and chalking.
- Sand any rough areas, feather back peeling paint, and fill cracks or gaps with a flexible exterior filler.
- Check for rot — soft, spongy timber must be repaired or replaced before painting.
- Allow to dry — painting over damp timber is a leading cause of paint failure in NZ.
BRANZ (Building Research Association of NZ) has excellent technical guidance on exterior paint systems and surface preparation if you want to go deeper.
NZ Climate Considerations
Where you live in New Zealand matters:
- Coastal areas — salt air accelerates paint breakdown. Choose products with strong UV and moisture resistance, and plan to repaint more frequently.
- High UV regions (e.g. Nelson, Hawke's Bay) — UV degradation is a major factor; look for products with good UV stabilisers.
- High rainfall areas (West Coast, Northland) — moisture management is critical; ensure good drainage details and use a breathable paint system.
How Many Coats Do You Need?
As a general guide for a full repaint:
- Bare timber: 1 coat primer + 1 coat undercoat (if recommended) + 2 topcoats
- Previously painted, sound surface: 1 coat primer (spot or full) + 2 topcoats
- Fibre cement (uncoated): Follow manufacturer's specification — typically 1 primer + 2 topcoats
When to Call a Professional
While a competent DIYer can paint single-storey weatherboards, there are times when hiring a qualified painter is the smart move:
- Working at height — painting above one storey involves scaffolding or ladders and real fall risk. WorkSafe NZ has strict guidelines around working at height.
- Extensive rot, damage, or failing paint — a professional can assess and remedy underlying issues properly.
- Lead paint — homes built before the 1980s may have lead-based paint. Sanding or stripping this is a health hazard requiring proper precautions.
- Large or complex homes — a professional painter will achieve a better, longer-lasting result efficiently.
You can find qualified, local painters on tradedirectory.co.nz — look for members of the Painting and Decorating Association of NZ (PDANZ) for added confidence.