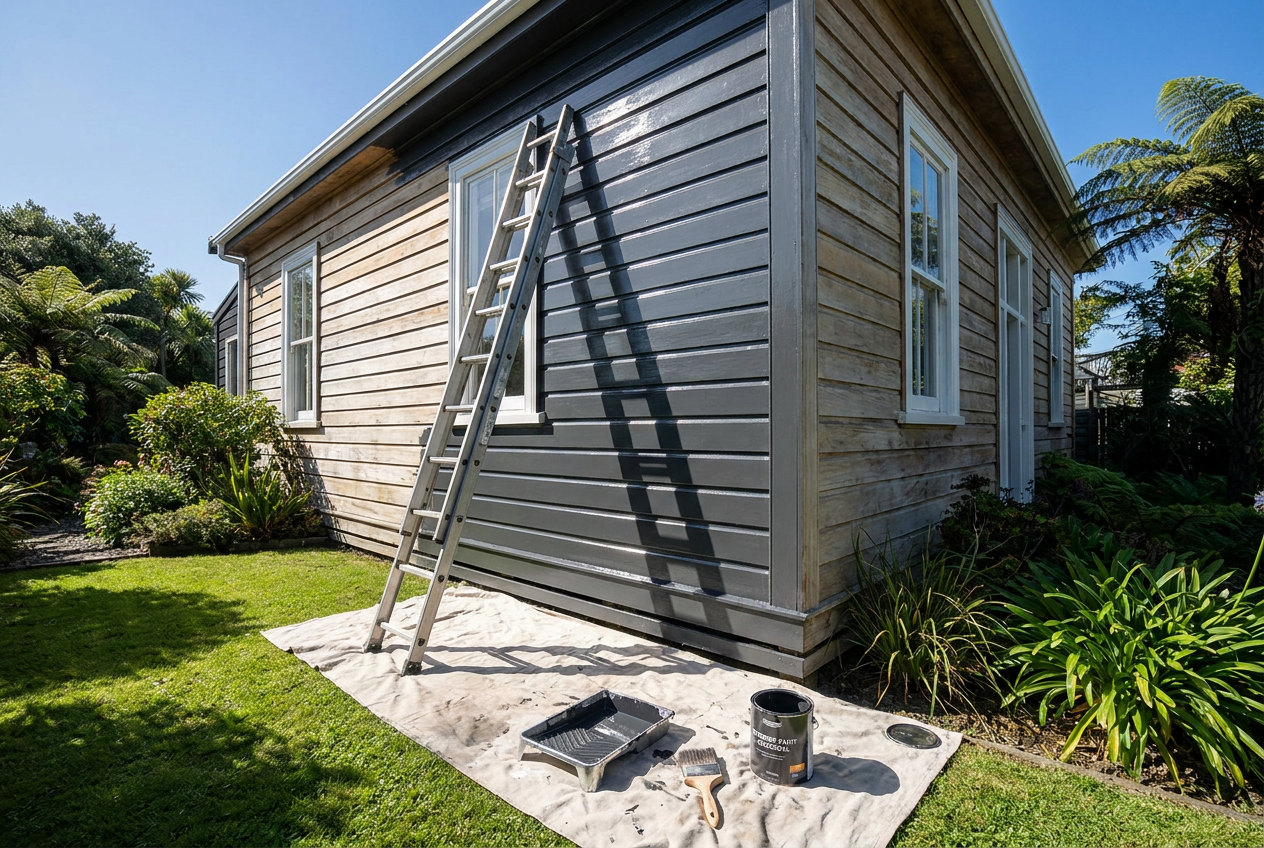
Painting or staining a timber fence is one of the most satisfying weekend DIY jobs — but pick the wrong product and you could be back out there sanding and recoating far sooner than you'd like. New Zealand's variable climate, from the humid north to the frosty south, means your fence coating needs to work hard. Here's what you need to know before you crack open a tin.
Paint vs Stain vs Oil — What's the Difference?
Before choosing a colour, you need to decide on the type of coating. Each has its pros and cons for timber fencing:
| Coating Type | Appearance | Durability | Maintenance | Best For |
|---|---|---|---|---|
| Solid/Opaque Paint | Fully coloured, hides grain | Good (5–10 yrs) | Needs sanding when peeling | Dressed or rough-sawn timber |
| Semi-transparent Stain | Shows wood grain | Moderate (3–6 yrs) | Easier to recoat | Attractive grain timber |
| Solid Stain | Coloured, grain partially visible | Good (5–8 yrs) | Easier than paint | Rough-sawn palings |
| Penetrating Oil/Decking Oil | Natural, enhances grain | Lower (1–3 yrs) | Easy to reapply | Hardwoods, oiled finishes |
For most NZ timber paling fences — especially rough-sawn pine — a solid stain or exterior paint gives the best balance of coverage and longevity.
Choosing the Right Product for NZ Conditions
NZ's UV levels are among the highest in the world, and coastal areas add salt air into the mix. Look for products specifically labelled for exterior timber with UV protection.
Water-based (acrylic) coatings are now the go-to for most exterior timber work. They dry faster, clean up with water, have lower VOC emissions, and hold their colour well. Oil-based products are still available and can offer excellent penetration on bare timber, but they take longer to dry and are harder to clean up.
Some trusted NZ options to explore:
- Resene offers a wide range of exterior timber stains and paints, including their popular Woodsman range, which is designed specifically for NZ fences and decks.
- Dulux has exterior timber stains and weathershield products suited to fencing.
- Wattyl produces the well-known Solagard and Timber Care ranges, both popular for exterior timber.
Visit your local Resene ColorShop or ask at Mitre 10 or Bunnings for in-store advice — staff can help match a product to your specific timber type and region.
Preparing Your Fence — Don't Skip This Step
Good preparation is what separates a finish that lasts from one that peels within a season.
Clean the timber
- Remove dirt, mould, and mildew with a timber cleaner or diluted bleach solution, then rinse thoroughly and allow to dry completely. Wet timber will reject most coatings.
- A water blaster can help, but keep the pressure moderate to avoid raising the grain or damaging soft pine.
Sand and repair
- Sand any rough or splintered areas, especially on dressed timber.
- Replace any badly rotted palings before you start — no paint will save rotten wood.
- Knock in any raised nails and consider using galvanised or stainless nails to prevent rust bleed-through.
Prime bare timber
- Always prime bare or new timber before applying a topcoat. A quality exterior timber primer seals the wood, improves adhesion, and extends the life of your topcoat significantly.
- If you're using a solid stain system, check whether the manufacturer recommends a dedicated primer or whether the stain itself is self-priming.
How Many Coats Do You Need?
As a general rule:
- Bare/new timber: 1 coat of primer + 2 topcoats
- Previously coated timber in good condition: 1–2 topcoats after a light sand and clean
- Previously coated timber in poor condition: Strip or sand back, then treat as bare timber
Always follow the manufacturer's recoat times — applying a second coat too soon can cause adhesion problems.
Application Tips for a Better Finish
- Brush or roller? A brush gives the best penetration into rough-sawn timber. A roller speeds things up on flat surfaces but can miss gaps between palings.
- Spray painting is fast and gives an even finish, but requires masking of surrounding areas and is best done on a still day to avoid overspray.
- Don't paint in direct hot sun — the coating can dry too fast and blister. Early morning or overcast days are ideal.
- Temperature matters: Most water-based coatings should be applied above 10°C. Check the tin for the manufacturer's recommended range.
- Work with the grain and maintain a wet edge to avoid lap marks.
Treated Timber — A Special Note
Many NZ fence palings are H3.1 or H3.2 treated pine (tanalised or similar). New treated timber can contain moisture and preservative chemicals that interfere with coatings. Allow new treated timber to weather for at least a few weeks before painting, or use a primer specifically designed for treated timber. Check with BRANZ or your paint supplier if you're unsure.
When to Call a Professional
Painting a fence is well within most homeowners' abilities, but there are times when it pays to bring in a qualified painter:
- Large or complex fencing where hiring a sprayer and scaffolding makes professional application more cost-effective.
- Lead paint concerns — if your fence has many layers of old paint and was built before the 1980s, there's a chance it contains lead. WorkSafe NZ has guidance on working safely with lead paint, and a professional painter will know how to handle it correctly.
- If you want a guaranteed, long-lasting result — a Licensed Building Practitioner or qualified painter will know the right products and systems for your specific situation.
You can find qualified, local painters on tradedirectory.co.nz to get the job done right.