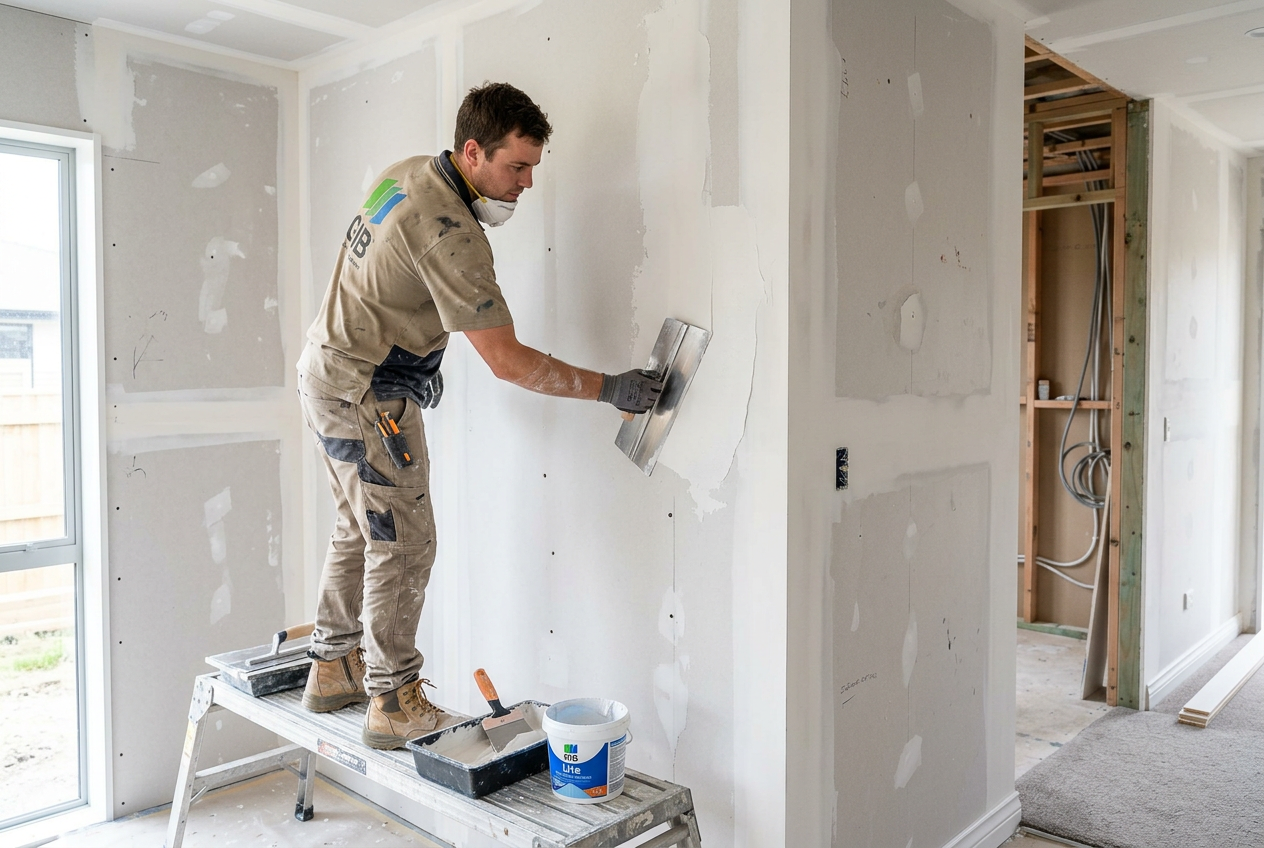
Choosing the wrong plaster compound can mean cracking, shrinkage, or a finish that simply won't hold up — especially in New Zealand's varied climate. Whether you're patching a GIB board wall or skimming a ceiling, understanding the difference between air-drying and setting compounds will save you time, money, and frustration.
How Air-Drying Compounds Work
Air-drying compounds (sometimes called "drying-type" or "ready-mixed" compounds) harden through the evaporation of water. As moisture leaves the product, it shrinks slightly and firms up. Because they rely on airflow and temperature, drying times vary considerably — a thick coat in a cold, damp South Island winter can take much longer than the same coat in a warm, dry Auckland summer.
These products typically come pre-mixed in a bucket, ready to use straight away. Common uses include:
- Finishing coats over already-set base coats
- Texture work and decorative finishes
- Light patching of small holes and dents
- Feathering and blending repairs into existing surfaces
Because they shrink as they dry, air-drying compounds are generally not recommended for filling deep holes or gaps in a single application — you'll need to build up in thin layers.
How Setting Compounds Work
Setting compounds (also called "hardening-type" or "hot mud" in trade slang) cure through a chemical reaction rather than evaporation. When water is added to the dry powder, a chemical process begins that causes the compound to harden within a set timeframe — regardless of temperature or airflow. This is similar in principle to how plaster of Paris works.
Setting compounds are sold as a dry powder that you mix with water on site. They are available in different set times — commonly ranging from around 20 minutes through to 90 minutes or more — so you can choose a product that suits your working pace and the size of the job.
Key uses include:
- Stopping (taping) coats over GIB board joints and corner beads
- Filling deep holes or damaged sections in a single pass
- Repairs that need to be painted quickly — you can often recoat within an hour or two
- High-humidity areas where an air-drying product might stay soft
Because setting compounds don't rely on evaporation, they experience minimal shrinkage, making them ideal for thicker applications.
Side-by-Side Comparison
| Feature | Air-Drying Compound | Setting Compound |
|---|---|---|
| How it hardens | Evaporation of water | Chemical reaction |
| Form | Pre-mixed (bucket) | Dry powder (mix on site) |
| Shrinkage | Moderate — build up in layers | Minimal |
| Drying/set time | Hours to days (climate-dependent) | 20–90+ minutes (product-dependent) |
| Sandability | Generally easy to sand | Can be harder to sand once fully set |
| Best for | Finishing, texturing, light patching | Stopping, deep fills, fast turnaround |
| Shelf life (unused) | Months in sealed bucket | Long shelf life as dry powder |
| Reworkable? | Yes — stays workable while wet | No — pot life is limited once mixed |
NZ Climate Considerations
New Zealand's climate ranges from the humid subtropics of Northland to the cold, damp conditions of Southland and the West Coast. BRANZ research highlights that moisture management is critical in NZ construction, and this applies directly to plastering. In high-humidity environments — bathrooms, laundries, or poorly ventilated rooms — air-drying compounds can remain tacky for extended periods and may be more prone to mould if painted over before fully cured. A setting compound is often the smarter choice in these situations.
Always check the manufacturer's minimum application temperature on the packaging. Most compounds should not be applied in near-freezing conditions.
Working with GIB Board Systems
Most NZ interior walls and ceilings use GIB plasterboard, and GIB's own stopping system recommends a specific sequence of coats. Typically, a setting-type compound is used for the first (stopping) coat over tape and beads, followed by air-drying compounds for the second and finish coats. Following the manufacturer's recommended system helps ensure the finished wall meets the NZ Building Code and performs as expected over time.
Tips for Getting the Best Results
- Don't over-thin air-drying compounds with water — it increases shrinkage and weakens the finish.
- Mix setting compounds in small batches — once the chemical reaction starts, you can't slow it down. Discard any material that begins to stiffen in the bucket.
- Sand between coats with an appropriate grit once each coat is fully hard or dry.
- Prime before painting — both compound types are porous and will cause uneven paint sheen if painted directly without a suitable sealer or primer. Resene and Dulux both offer dedicated plaster primers.
- Keep air-drying compounds from freezing — frost will ruin a bucket of pre-mixed product.
When to Call a Professional
While small patches and touch-ups are well within the reach of a capable DIYer, larger plastering jobs — such as stopping an entire room of new GIB, repairing significant water damage, or achieving a Level 4 or Level 5 finish for high-sheen paint — are best left to a qualified plasterer. A professional will have the tools, technique, and product knowledge to deliver a flat, consistent result efficiently.
If you're unsure about the extent of damage (for example, if you suspect moisture behind the wall), it's worth getting a tradesperson to assess the situation before you start patching. You can find qualified local plasterers on tradedirectory.co.nz.