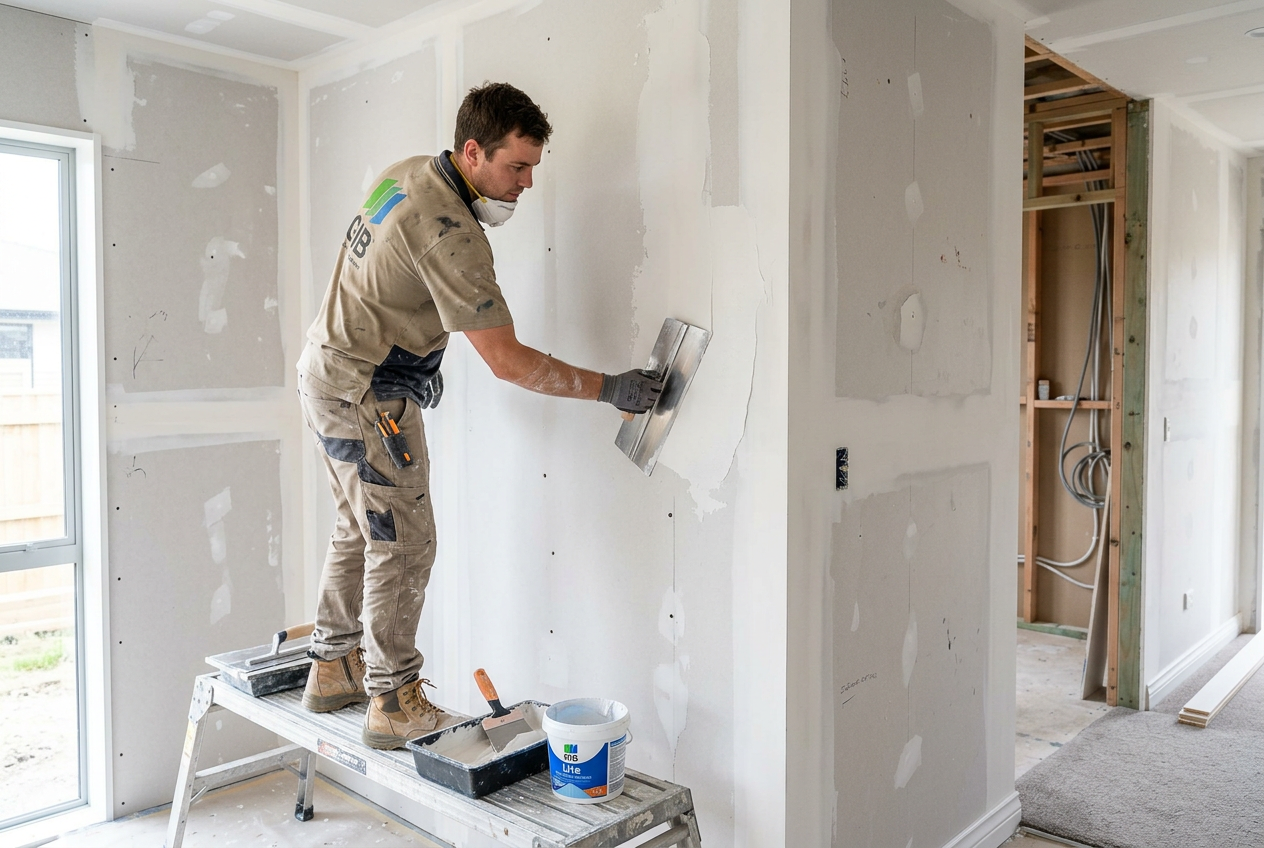
Choosing the right plaster finish level can make a significant difference to how your walls and ceilings look once painted — especially in rooms with strong lighting. In New Zealand, the two most common finishing levels for interior plasterboard are level 4 and level 5, and understanding the difference between them will help you have a much more informed conversation with your plasterer.
What Are Plaster Finish Levels?
Plaster finish levels are a standardised way of describing how thoroughly a plasterboard surface has been stopped, sanded, and prepared before painting. The system runs from level 0 (no finish at all) through to level 5 (the highest quality skim coat finish). These levels are widely referenced in the New Zealand construction industry and align with guidance from BRANZ, the building research authority that supports best practice in NZ construction.
The finish level you choose affects not just appearance, but also the type of paint sheen you can successfully apply without highlighting surface imperfections.
What Is a Level 4 Finish?
A level 4 finish is the standard finish used in most New Zealand homes. It involves:
- Taping and stopping all plasterboard joints with at least two coats of stopping compound
- Stopping over all fastener heads (screws or nails)
- Finishing corner beads and trims
- Light sanding to smooth the surface
Level 4 is suitable for most interior walls and ceilings that will be painted with a low-sheen or flat paint. It's the finish you'd typically expect in bedrooms, living areas, and hallways where lighting is relatively diffuse. GIB, New Zealand's leading plasterboard manufacturer, references this level in their installation and finishing guidelines as the standard residential specification.
When level 4 works well:
- Walls painted with flat or low-sheen paint
- Areas without strong raking or directional light
- Standard residential builds and renovations
- Ceilings in most rooms
What Is a Level 5 Finish?
A level 5 finish takes things a step further by applying a thin skim coat of finishing compound over the entire surface — not just the joints and fastener heads. This skim coat is then sanded back to create a perfectly uniform surface texture across the whole wall or ceiling.
This is the premium finish, and it's particularly important in situations where:
- High-sheen or semi-gloss paints are being used (these reflect light and reveal every imperfection)
- There is strong raking light — such as large windows, skylights, or directional downlights — that grazes across the wall surface
- A very high standard of finish is required, such as in prestige homes, feature walls, or commercial spaces
The skim coat essentially eliminates the slight difference in texture between the stopped joints and the bare plasterboard face, which can otherwise become visible (called photographing) once paint is applied.
Level 4 vs Level 5: A Quick Comparison
| Feature | Level 4 | Level 5 |
|---|---|---|
| Joints and fasteners stopped | Yes | Yes |
| Full skim coat over surface | No | Yes |
| Suitable for flat/low-sheen paint | Yes | Yes |
| Suitable for semi-gloss/gloss paint | No | Yes |
| Handles raking light well | Moderate | Yes |
| Time and cost | Standard | Higher |
| Typical use | Most NZ homes | Prestige, feature areas |
Why Does Lighting Matter So Much?
One of the most common complaints after a paint job is that joints or imperfections suddenly become visible once the room is furnished and lit. This is almost always a lighting issue rather than a paint issue. Raking light — light that travels at a shallow angle across a surface — is brutally unforgiving on any surface irregularity.
If your room has large glazed areas, exposed-bulb pendants, or wall-washing downlights, seriously consider specifying a level 5 finish. It's much easier and cheaper to get it right before painting than to fix it afterwards.
Paint Sheen and Finish Level
The paint sheen you choose must match your finish level. Applying a semi-gloss or gloss paint over a level 4 finish in a well-lit room is a recipe for disappointment. As a general guide:
- Flat or matte paint — level 4 is usually fine
- Low sheen — level 4 in most situations, level 5 if raking light is present
- Semi-gloss or gloss — level 5 is strongly recommended
Brands like Resene and Dulux offer a wide range of sheens and can advise on the right product for your surface preparation level.
Cost Considerations
A level 5 finish takes more time, more materials, and more skill than a level 4 finish. As a guide, expect to pay a meaningful premium for a level 5 finish — the additional labour and compound required can add noticeably to the overall plastering cost. Get quotes from your plasterer that clearly specify which finish level is included, so there are no surprises.
When to Call a Professional
Achieving a true level 5 finish is a skilled trade. Applying a skim coat evenly across an entire wall or ceiling, then sanding it back without creating waves or thin spots, requires experience and the right tools. A poor skim coat can actually look worse than a good level 4 finish.
For any significant plastering work — new builds, renovations, or feature areas — it's well worth engaging a qualified plasterer. You can find experienced local plasterers on tradedirectory.co.nz who can assess your specific situation and recommend the right finish level for your home.
If your project involves structural work or alterations to walls that are part of the building's weathertightness or bracing system, this may also touch on restricted building work under the NZ Building Code. Check with MBIE Building Performance or a Licensed Building Practitioner if you're unsure.