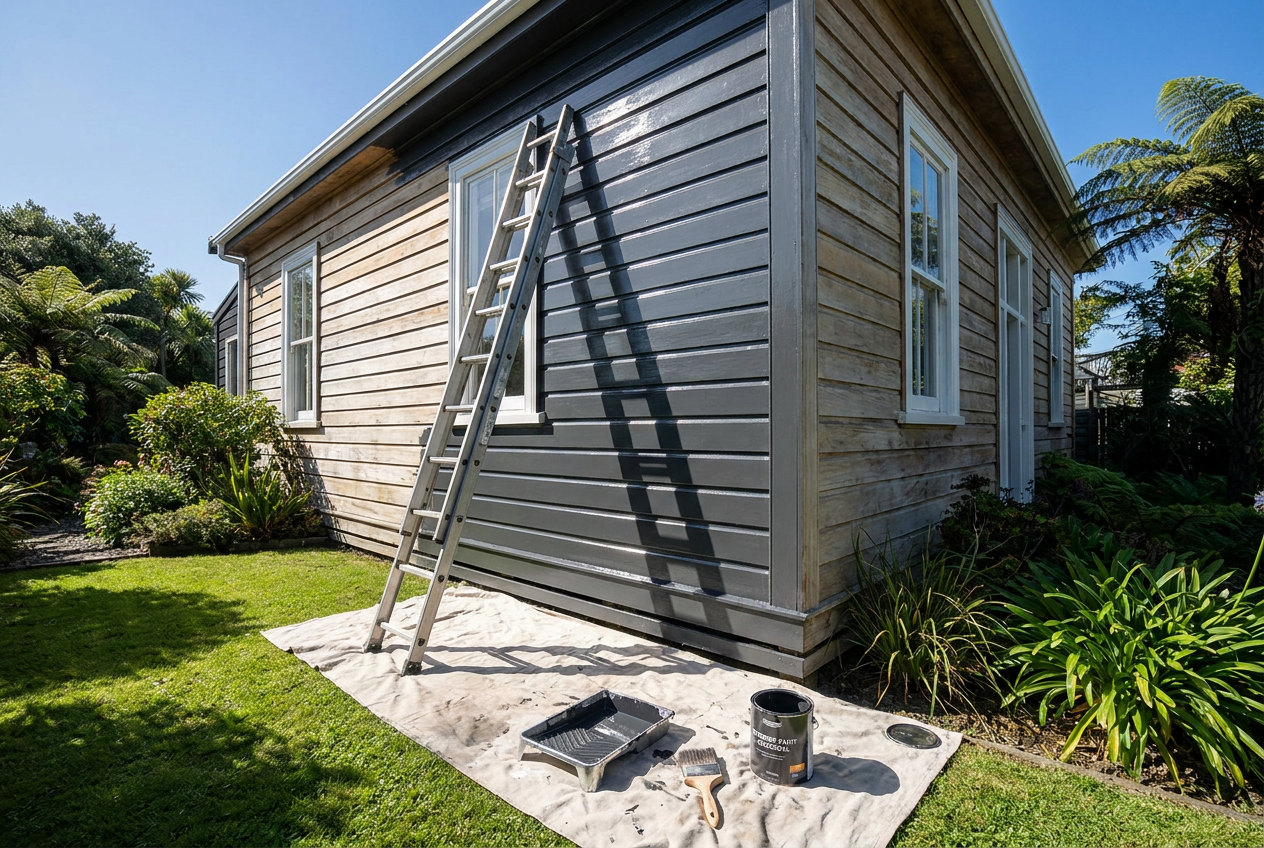
Painting a weatherboard house is one of the most rewarding DIY projects you can tackle – but choosing between a brush and a spray gun can make a big difference to the final result. Both methods have their place, and the best choice often depends on your house size, your experience level, and the condition of the boards. Here's what you need to know before you pick up a tool.
Understanding Your Weatherboards First
Before you even think about application method, it pays to assess what you're working with. NZ homes feature a range of weatherboard types – timber (rimu, pine, macrocarpa), fibre cement (such as James Hardie products), and composite or PVC boards. Each material has different porosity and paint adhesion characteristics. Timber boards in particular need careful attention to any cracking, peeling, or rot before painting begins.
Also consider NZ's variable climate. Coastal homes face salt spray, while high-humidity regions like Northland or the West Coast can accelerate paint failure. BRANZ recommends choosing a paint system suited to your specific exposure zone.
Preparation: The Most Important Step
Regardless of which application method you choose, surface preparation accounts for the majority of a paint job's success. Skipping or rushing prep is the number one reason paint fails prematurely.
- Wash down the entire exterior with a suitable house wash to remove mould, mildew, dirt, and chalking. A water blaster on a low setting works well, but avoid forcing water under the laps.
- Sand or scrape any loose or flaking paint back to a firm edge.
- Fill cracks and gaps with a flexible exterior filler or paintable sealant – pay special attention to board ends, window surrounds, and joins.
- Spot-prime any bare timber or repaired areas with a quality exterior primer before applying your topcoat system.
- Allow surfaces to dry fully – painting onto damp boards is a common cause of blistering and peeling.
Painting with a Brush: Pros and Cons
A brush (typically a 75–100 mm quality bristle brush) is the traditional method and still preferred by many professional painters for weatherboards.
Advantages:
- Forces paint into the grain and laps of the boards for excellent adhesion
- No overspray – no need to mask windows, gardens, or neighbouring properties
- Better control around trims, soffits, and detailed areas
- Suitable for smaller homes or spot repairs
- Lower equipment cost
Disadvantages:
- Significantly more time and physical effort, especially on a large two-storey home
- Can leave brush marks if technique or paint consistency isn't right
- Fatigue can affect finish quality toward the end of a long day
Tip: Use a quality synthetic or blend brush suited to water-based paints (most modern exterior paints are waterborne). Work paint into the underside of each board lap as you go to prevent early peeling at the edges.
Painting with a Spray Gun: Pros and Cons
Airless spray is the method of choice for professional painters on larger weatherboard homes, and it can deliver a superb finish when done correctly.
Advantages:
- Much faster coverage on large surfaces
- Smooth, even finish with no brush marks
- Ideal for rough-sawn or heavily textured boards where a brush struggles to get full coverage
Disadvantages:
- Overspray is a major issue – windows, doors, roofing, gardens, fences, and neighbouring properties all need thorough masking
- Requires practice to achieve an even coat without runs or thin patches
- Equipment hire or purchase adds cost
- Wind can make spraying impractical or cause overspray drift
- Thinning paint incorrectly can void manufacturer warranties
Tip: Always spray on a calm, dry day. Keep the gun moving at a consistent distance (typically 300–400 mm from the surface) and overlap each pass by around 50%. Back-rolling or back-brushing immediately after spraying can improve penetration into timber grain.
Brush vs Spray: A Quick Comparison
| Factor | Brush | Spray |
|---|---|---|
| Speed | Slower | Much faster |
| Finish quality | Very good with skill | Excellent when done right |
| Adhesion into grain | Excellent | Good (better with back-rolling) |
| Masking required | Minimal | Extensive |
| Equipment cost | Low | Moderate–high |
| Best for | Small homes, detail work, repairs | Large homes, textured boards |
| DIY-friendly | Yes | Moderate – requires practice |
Choosing the Right Paint
For NZ exteriors, a premium waterborne acrylic system is the modern standard. Look for products specifically formulated for exterior use with good UV resistance and flexibility to cope with timber movement. Resene and Dulux both offer well-regarded exterior weatherboard systems, and Wattyl has a strong range suited to NZ conditions. Always follow the manufacturer's recommended primer and topcoat system – mixing brands across a paint system can cause compatibility issues.
As a general guide, most weatherboard homes will need two topcoats over a primed surface for adequate film build and durability.
Safety Considerations
Working at height on ladders or scaffolding carries real risk. WorkSafe NZ recommends using scaffolding rather than ladders for any work above one storey. If you're spraying, wear an appropriate respirator mask – not just a dust mask – and eye protection. Solvent-based products require additional ventilation precautions.
When to Call a Professional
Painting a weatherboard house is not restricted work under NZ law, so homeowners can legally do it themselves. However, there are good reasons to hire a qualified painter:
- Large or multi-storey homes where scaffolding and speed matter
- Significant rot, damage, or previous paint failure that needs expert diagnosis
- Fibre cement boards that require specific paint systems to maintain manufacturer warranties
- When you want a guaranteed, long-lasting result without the time investment
A professional painter will also have access to commercial-grade equipment and products, and can advise on the right system for your specific boards and location. You can find qualified local painters on tradedirectory.co.nz.