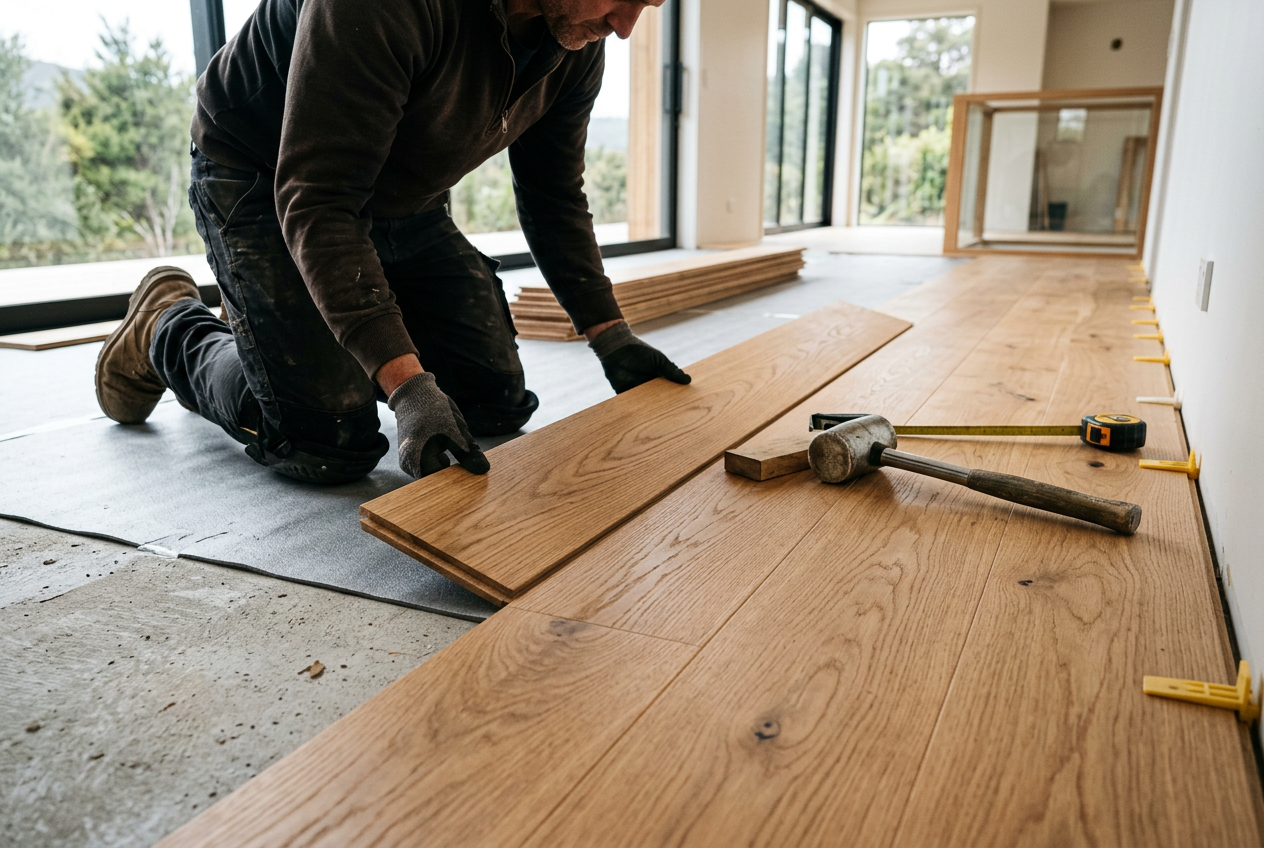
Where two different flooring materials meet — say, timber boards running into ceramic tiles, or vinyl plank butting up against carpet — a transition strip (also called a threshold strip) bridges the gap neatly, protects exposed edges, and prevents a trip hazard. Choosing the right type makes a real difference to both the look and longevity of your floors.
Why Transition Strips Matter
Without a proper transition, flooring edges can chip, lift, or create an uneven lip that catches feet. In New Zealand homes, where open-plan living is common and it's not unusual to have timber or LVP (luxury vinyl plank) in living areas meeting tiles in the kitchen or carpet in bedrooms, transitions are a practical necessity. They also allow for the expansion gaps that floating floors need — skipping a strip and butting floors hard against each other can cause buckling over time, especially in our variable humidity conditions.
The Main Types of Transition Strip
T-Bar (T-Mould)
The most common type. Shaped like a T, it sits in a channel track and bridges two floors of similar height. Ideal between two hard floors — timber to tile, LVP to LVP in different rooms, or laminate to laminate. Available in timber, aluminium, and PVC.
Reducer Strip
Used when one floor is higher than the other — for example, a thick engineered timber floor meeting a thinner vinyl or tile. The strip slopes gently from the higher surface down to the lower one, eliminating a trip edge.
End Cap (Baby Threshold)
Used where a floor meets a vertical surface or terminates — such as at a sliding door track, a fireplace hearth, or a step edge. It caps off the exposed edge of the flooring neatly.
Carpet Bar (Carpet-to-Hard Floor Strip)
A flat or slightly angled strip with teeth or a tack edge on one side to grip carpet, and a smooth lip on the other to sit over the hard floor. Essential where carpet meets timber, tile, or vinyl.
Square-Edge / Overlap Reducer
A heavier-duty option where one floor significantly overlaps the other. Often used at doorways where a tile floor meets a lower carpet or vinyl.
Stair Nosing
Not strictly a transition strip, but used at the edge of a step where flooring meets a stair drop. Important for safety and required to meet the NZ Building Code requirements around stair safety.
Comparing Transition Strip Types at a Glance
| Strip Type | Best For | Height Difference | Typical Materials |
|---|---|---|---|
| T-Bar / T-Mould | Hard floor to hard floor | Same level | Timber, aluminium, PVC |
| Reducer | Hard floor to lower floor | Moderate difference | Timber, aluminium |
| End Cap | Floor to fixed object or step | N/A | Timber, aluminium |
| Carpet Bar | Carpet to hard floor | Slight difference | Aluminium, steel |
| Overlap Reducer | Doorway, large height gap | Larger difference | Aluminium |
| Stair Nosing | Stair edges | Step drop | Timber, aluminium |
Choosing the Right Material
Timber or timber-look strips suit hardwood, bamboo, or engineered timber floors and give a warm, seamless appearance. Many flooring brands offer matching profiles.
Aluminium strips are durable, moisture-resistant, and suit tiled areas, wet-area doorways, and high-traffic zones. They're a practical choice in kitchens and bathrooms where moisture is a factor — important given BRANZ guidance on managing moisture in NZ homes.
PVC or vinyl strips are flexible, affordable, and work well with LVP or vinyl sheet flooring. They're less prone to denting than aluminium in some situations.
For wet areas specifically, always choose a waterproof strip and ensure the transition doesn't compromise the waterproof membrane — this is relevant to NZ Building Code clause E3 (Internal Moisture).
Installation Tips for DIYers
- Measure the gap carefully before buying — strips come in standard lengths (commonly 90 cm or 180 cm) and can be cut to size with a hacksaw or mitre saw.
- Most T-bar and reducer strips use a track system: the track is fixed to the subfloor first (screwed or glued), then the cover strip clips or snaps in. This allows the floating floor to expand underneath.
- Leave the expansion gap your flooring manufacturer specifies — typically around 10–12 mm for floating floors — before fitting the strip.
- In doorways, position the strip under the closed door so it's hidden when the door is shut — a neat professional trick.
- You can find a good range of transition strips at Bunnings and Mitre 10, or through flooring specialists and PlaceMakers.
Colour and Finish Matching
Transition strips are available in a wide range of timber stains, anodised aluminium finishes, and painted colours. Try to match the dominant floor or the door architrave for the most cohesive look. Some flooring suppliers offer colour-matched profiles specific to their product ranges — worth asking about when you purchase your flooring.
When to Call a Professional
Fitting a transition strip is generally a straightforward DIY job for a confident homeowner. However, consider calling a qualified flooring installer if:
- The height difference between floors is significant and you're unsure which strip profile is correct
- The transition is in a wet area (bathroom, laundry) where waterproofing integrity matters under the NZ Building Code
- You're dealing with underfloor heating beneath one or both floors — incorrect installation can damage heating elements
- The subfloor is uneven and needs preparation before the strip will sit flat
- You want a guaranteed, professional finish — especially in a rental property where Healthy Homes standards and tenant safety are a consideration
A skilled flooring installer will also spot issues like subfloor movement or moisture that could cause problems down the track. You can find qualified local flooring professionals on tradedirectory.co.nz.