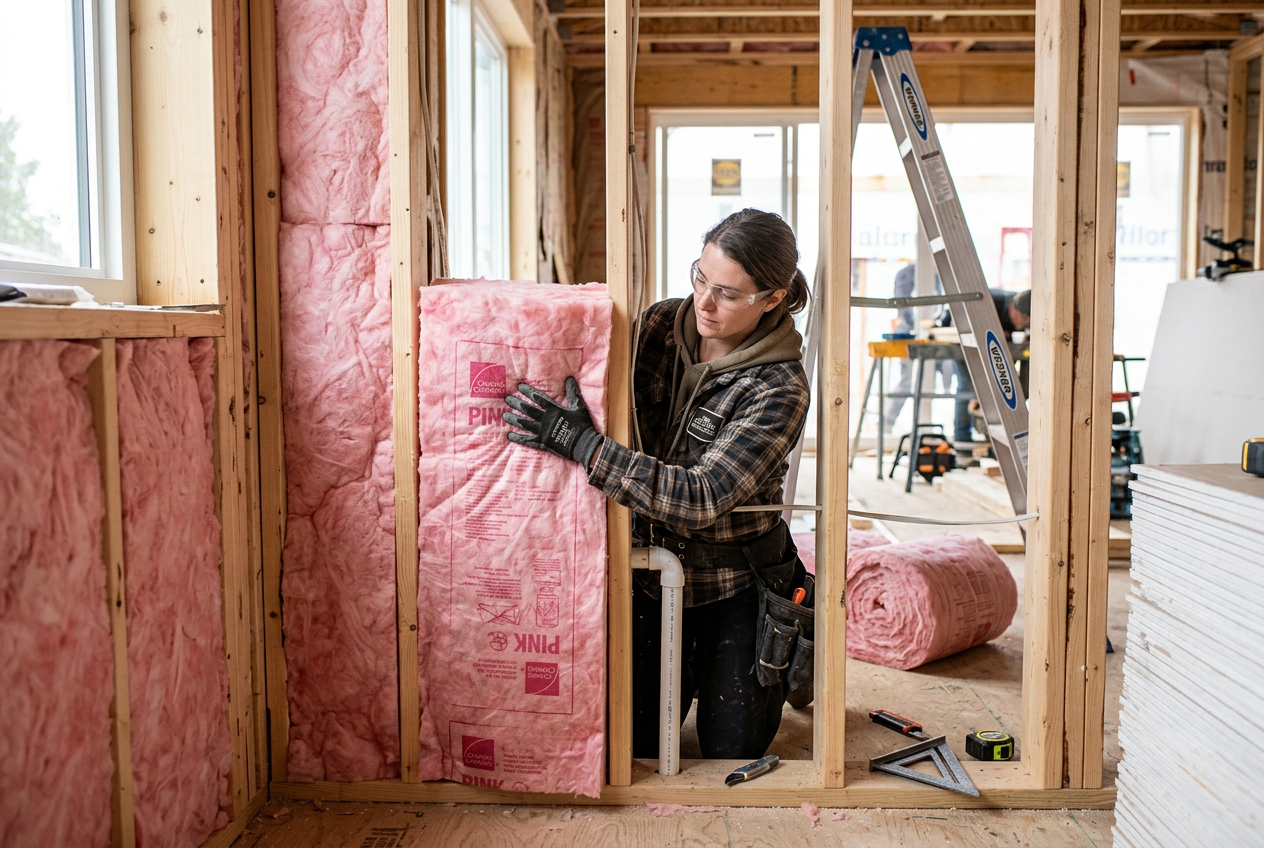
Insulation is one of the most cost-effective upgrades you can make to a New Zealand home — but with so many products and ratings on the market, it can be confusing to know where to start. Understanding R-values is the key to making smart insulation choices that keep your home warm, dry, and compliant with NZ regulations.
What Is an R-Value?
An R-value (resistance value) measures how well a material resists the flow of heat. The higher the R-value, the better the insulation performs. In New Zealand, R-values are expressed in metric units (m²·K/W). When you see a product labelled R2.6 or R3.6, that number tells you how effectively it slows heat transfer — a higher number means a warmer, more energy-efficient home.
It's important to note that R-values are additive. If you install two layers of insulation with R1.8 each, the combined R-value is approximately R3.6 (though real-world performance can vary slightly depending on installation quality and air gaps).
Why R-Values Matter in NZ
New Zealand's climate varies enormously — from the subtropical north of Auckland to the cold, frosty winters of Otago and Southland. A home in Invercargill needs significantly more insulation than one in Kerikeri. That's why the NZ Building Code and associated standards set minimum R-value requirements based on climate zones.
There are six climate zones across NZ (as defined in NZS 4218), ranging from Zone 1 (warm northern regions) through to Zone 3 (cold southern and alpine areas). The colder your zone, the higher the minimum R-value required.
Minimum R-Values Under the NZ Building Code
For new builds and major renovations, the Building Code sets minimum total R-values (which include the thermal resistance of the building materials themselves, not just the insulation product). As a general guide:
| Location | Ceiling (min.) | Underfloor (min.) | Walls (min.) |
|---|---|---|---|
| Zone 1 (e.g. Northland, Auckland) | R3.3 | R1.3 | R1.9 |
| Zone 2 (e.g. Wellington, Nelson) | R3.3 | R1.3 | R1.9 |
| Zone 3 (e.g. Otago, Southland) | R3.3 | R1.3 | R2.0 |
Note: These are indicative minimums for typical construction. Always check the current MBIE Building Performance guidance and consult your local council, as requirements can change and vary by construction type.
For existing homes, the Healthy Homes Standards set insulation requirements for rental properties. Landlords must ensure ceiling and underfloor insulation meets minimum R-values (where it is reasonably practicable to install), and all insulation must be in good condition.
Types of Insulation Available in NZ
Glasswool / Fibre Batts
Glasswool batts (sometimes called fibreglass batts) are the most common insulation type in NZ homes. They're available at Bunnings and Mitre 10 in a range of R-values and are suitable for ceiling and underfloor installation. They're cost-effective and easy to handle with basic PPE (gloves, mask, eye protection).
Polyester Batts
Polyester batts are a popular alternative — they're itch-free, making them easier to handle, and are made from recycled plastic bottles. They perform similarly to glasswool at comparable R-values.
Blown-In / Loose-Fill Insulation
Loose-fill insulation (such as blown glasswool or cellulose) is pumped into ceiling cavities using specialist equipment. It's particularly useful for topping up existing insulation or filling irregular spaces. This type generally requires a professional installer.
Rigid Foam Board
Rigid polystyrene or polyisocyanurate boards are used in specific applications such as under concrete slabs, in wall cavities during construction, or on the exterior of framing. They offer high R-values for their thickness.
Reflective Foil
Reflective foil insulation works by reflecting radiant heat rather than absorbing it. It's often used under metal roofing or in combination with other insulation types. On its own, it typically doesn't meet minimum R-value requirements for NZ climate zones.
How to Choose the Right R-Value for Your Home
- Find your climate zone using the BRANZ resources or your local council.
- Prioritise the ceiling — heat rises, so ceiling insulation gives you the biggest bang for your buck.
- Check what's already there — if you have old or damaged insulation, it may need replacing rather than topping up.
- Aim above the minimum — building to minimum code is a legal floor, not a comfort target. Many energy experts recommend exceeding minimums, especially in colder zones. Energywise has helpful guidance on cost-effective upgrades.
- Consider the whole building envelope — insulation works best when combined with good draught-stopping, double glazing, and ventilation.
DIY vs Professional Installation
Homeowners can legally install ceiling and underfloor batts themselves in most situations — it's not restricted work. However, there are important safety considerations:
- Always wear a dust mask (P2 rated), safety glasses, and gloves when handling glasswool.
- Never cover or block soffit vents in the ceiling space.
- Take care around recessed lighting — insulation must be kept clear of non-IC-rated downlights to prevent fire risk.
- Working in confined roof and underfloor spaces carries fall and injury risks — assess carefully before proceeding.
When to Call a Professional
While basic batt installation is DIY-friendly, there are situations where you should engage a qualified insulation installer:
- Blown-in insulation requires specialist equipment and expertise.
- Wall insulation in existing homes often involves opening wall linings — this may constitute restricted building work requiring a Licensed Building Practitioner (LBP).
- If your home has asbestos in older insulation or wall materials (common in homes built before the 1990s), do not disturb it — contact a licensed asbestos removalist and check WorkSafe NZ guidelines.
- If you're unsure about your climate zone requirements, compliance, or the condition of existing insulation, a professional assessment is well worth it.
You can find qualified, local insulation installers on tradedirectory.co.nz.