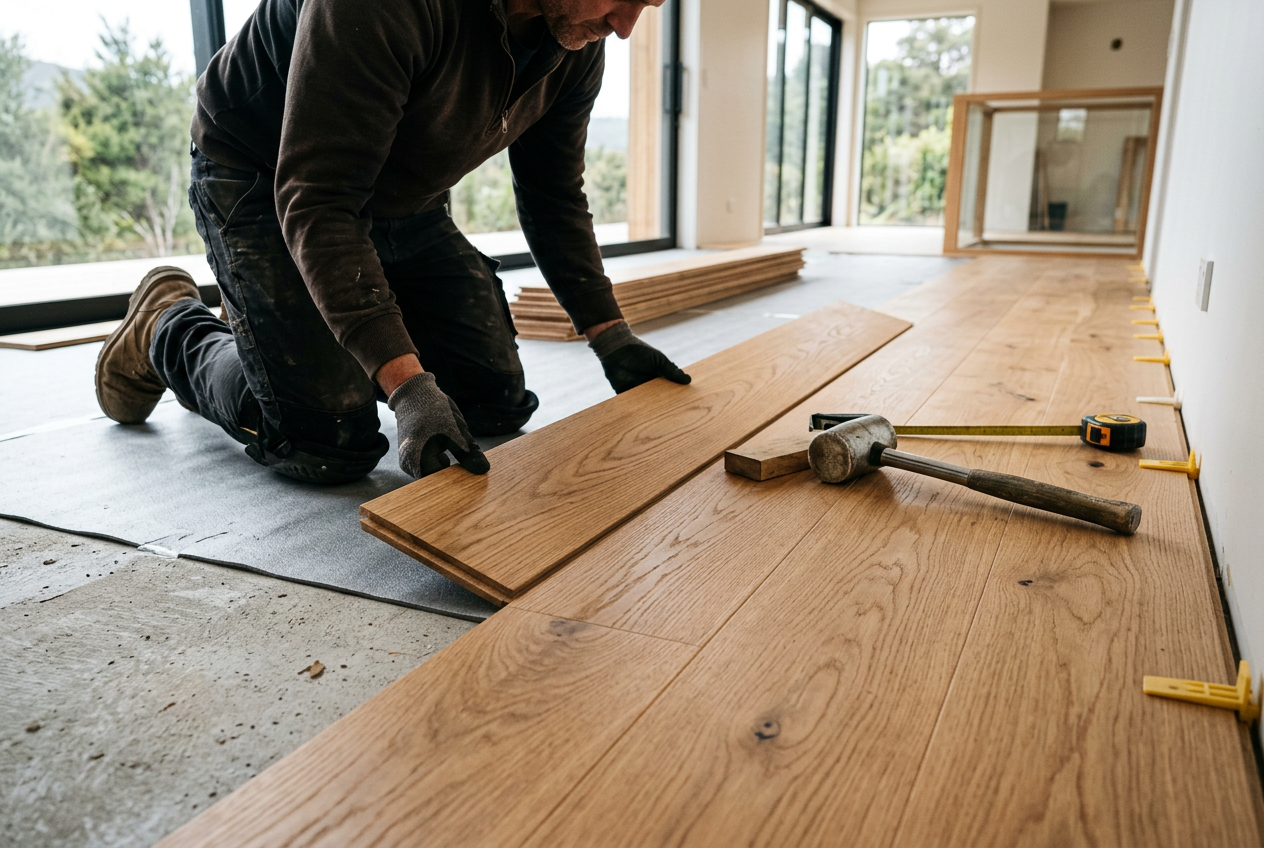
Floating floors are one of the most popular flooring choices in New Zealand homes — and for good reason. Unlike traditional timber floors that are nailed or glued directly to the subfloor, a floating floor is installed so that it sits freely on top of the subfloor, held together by its own interlocking system. This makes it a practical, cost-effective option for many Kiwi DIYers and homeowners alike.
How Does a Floating Floor Work?
The term "floating" refers to the installation method, not the material itself. The floor planks or tiles click or lock together at their edges using a tongue-and-groove or click-lock profile, forming a single connected surface. This surface is then laid over an underlay (a thin foam, cork, or rubber layer) that sits on top of the subfloor.
Crucially, the floor is not fixed to the subfloor — no nails, no glue (in most cases). Instead, it's held in place by its own weight and by expansion gaps left around the perimeter of the room. These gaps, typically around 10–12 mm, allow the floor to expand and contract naturally as temperature and humidity change — something that matters a lot in New Zealand's varied climate, from humid Northland summers to cold Southland winters.
Types of Floating Floors Available in NZ
Several different materials can be installed as a floating floor:
| Type | Common Names | Best For |
|---|---|---|
| Laminate | Laminate timber, HDF core | Living areas, bedrooms, rentals |
| Luxury Vinyl Plank (LVP) | LVP, SPC, WPC, vinyl plank | Kitchens, bathrooms, high-traffic areas |
| Engineered Timber | Engineered hardwood | Living areas, where real wood look is wanted |
| Cork | Cork floating floor | Bedrooms, home offices (comfort underfoot) |
Luxury Vinyl Plank (LVP) — particularly the rigid-core SPC (Stone Plastic Composite) variety — has become extremely popular in NZ homes because it's waterproof, durable, and comfortable underfoot. It suits the Healthy Homes requirements for rental properties too, as it's easy to clean and maintain. You can explore flooring options at Bunnings or Mitre 10.
Engineered timber floating floors give you the warmth and look of real wood but are more dimensionally stable than solid timber, making them better suited to NZ's humidity swings.
The Role of Underlay
Underlay is a critical part of any floating floor installation. It provides:
- Sound dampening — reduces impact noise between floors (important in multi-storey homes)
- Thermal insulation — adds a small amount of warmth underfoot
- Moisture barrier — some underlays include a built-in DPC (damp-proof course) layer, important over concrete slabs
- Levelling — helps bridge minor subfloor imperfections
Always check the flooring manufacturer's specifications for the correct underlay type and thickness. Using the wrong underlay can void your warranty.
Subfloor Preparation — Don't Skip This Step
A floating floor is only as good as the surface beneath it. The subfloor must be:
- Flat — typically within 3 mm over a 1.8 m span (check your product specs)
- Dry — moisture in a concrete slab is a common issue in NZ. Test with a moisture meter before laying
- Clean and solid — remove any debris, protruding fixings, or soft spots
If you're laying over concrete, BRANZ recommends checking for moisture transmission, especially in older homes without a proper vapour barrier under the slab.
Pros and Cons of Floating Floors
Advantages
- Generally easier and faster to install than glued or nailed floors — suitable for confident DIYers
- Can be installed over most existing subfloors including concrete, plywood, and sometimes existing tiles
- Easier to replace individual planks if damaged
- Wide range of styles and price points
Disadvantages
- Can feel slightly hollow or "clicky" underfoot compared to glued-down floors
- Expansion gaps must be covered by skirting or scotia — if gaps are too small, the floor can buckle
- Not all types are suitable for wet areas; always check the product's wet-area rating against the NZ Building Code's E3 (Internal Moisture) requirements
- Some floating floors are not suitable under heavy, fixed cabinetry
Is It Suitable for Wet Areas?
Not all floating floors are appropriate for bathrooms or laundries. Under the NZ Building Code, wet areas must have flooring that resists moisture penetration. Waterproof LVP/SPC products are generally suitable, but laminate and most engineered timber floating floors are not recommended in fully wet areas. Always check the manufacturer's wet-area certification and installation guidelines.
Can You DIY a Floating Floor?
Floating floors are one of the more DIY-friendly flooring options. The click-lock system means most homeowners with basic tools and patience can achieve a good result. You'll need:
- Tape measure, pencil, and chalk line
- Pull bar, tapping block, and rubber mallet
- Jigsaw or mitre saw for cuts
- Spacers for expansion gaps
That said, getting the subfloor prep right and ensuring correct expansion gaps are critical. Mistakes can lead to buckling, squeaking, or voided warranties.
When to Call a Professional
While floating floor installation is DIY-friendly, there are situations where a qualified flooring installer is the smarter choice:
- Large or complex areas with lots of cuts, angles, or transitions
- Subfloor levelling required (grinding concrete or laying fibre-cement sheet)
- Underfloor heating systems — some floating floors are compatible, but installation must follow specific guidelines
- Rental properties where a professional finish is important for compliance with Healthy Homes standards
- You're unsure about moisture levels or subfloor condition
A qualified flooring installer will also provide a workmanship guarantee. You can find experienced local flooring professionals on tradedirectory.co.nz.