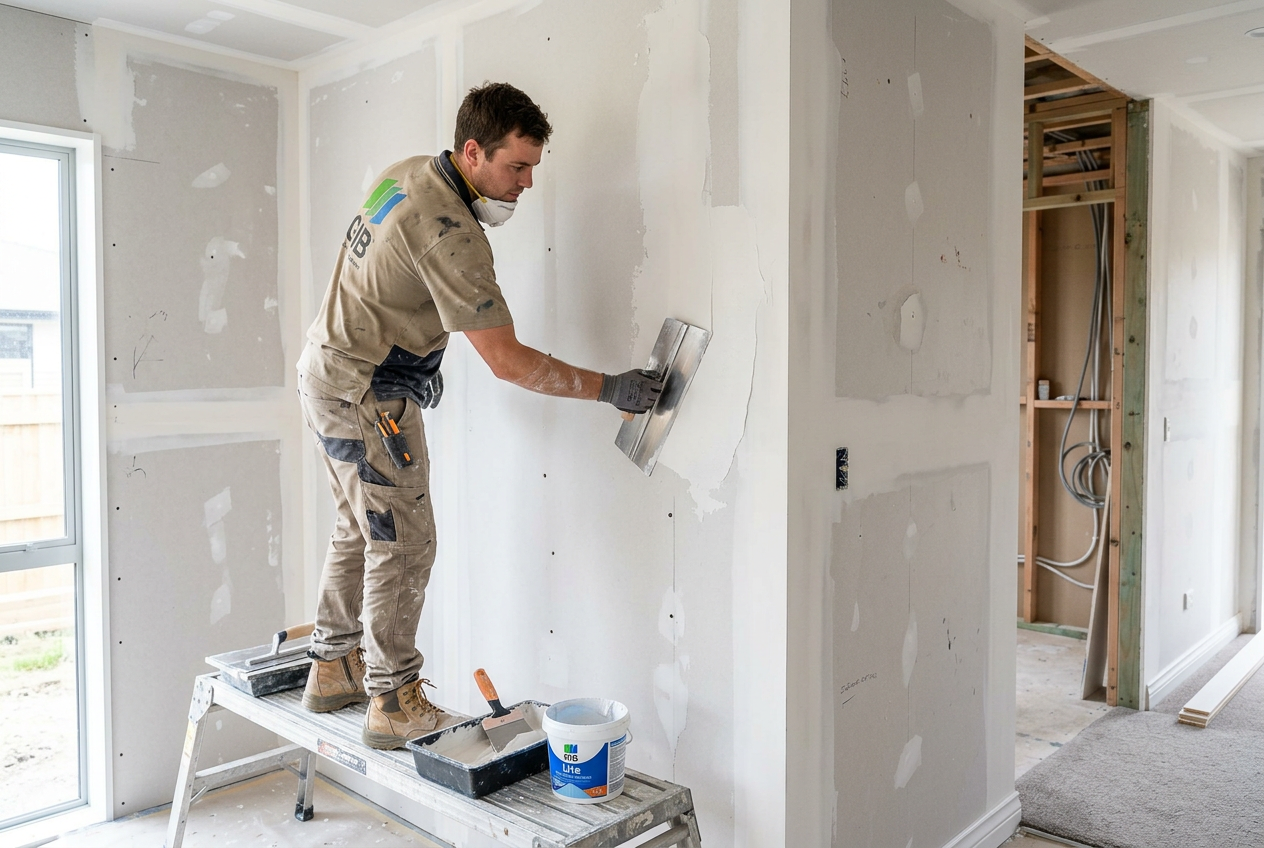
Nail pops are one of the most common plasterboard complaints in New Zealand homes — those annoying little bumps or cracked circles that appear on walls and ceilings, often months or even years after a house is built. The good news is that they're usually straightforward to fix yourself with basic tools and a bit of patience.
What Exactly Is a Nail Pop?
A nail pop occurs when a nail or screw that was used to fix plasterboard (also called GIB board in NZ) to the framing pushes outward through the surface coating. You'll typically see a small circular bump, a crack in the paint, or even the fastener head itself becoming visible. They can appear on walls but are especially noticeable on ceilings where light rakes across the surface.
Why Do Nail Pops Happen?
There are a few common causes:
- Timber shrinkage and movement: New Zealand framing timber — particularly radiata pine — contains moisture when installed. As it dries and shrinks over time, it can pull away from the fastener, causing the nail or screw to shift and push the plasterboard surface outward. This is the most common cause in newer homes.
- Nails instead of screws: Older homes (and some budget builds) used nails to fix plasterboard. Nails have far less holding power than screws and are much more prone to working loose over time. GIB recommends screws as the preferred fastener for plasterboard fixing.
- Fasteners driven too deep or too shallow: If a screw or nail is driven at the wrong depth, it won't hold the board firmly against the framing, making movement more likely.
- Framing movement and settling: All houses settle over time. Minor structural movement — especially in the first few years — can cause fasteners to shift.
- Inadequate fastener spacing: If fixings are spaced too far apart, the board can flex between them, increasing stress on individual fasteners.
BRANZ notes that some degree of movement in timber-framed buildings is normal and expected, particularly in the first couple of years after construction.
Tools and Materials You'll Need
Before you start, gather the following:
- Hammer or screwdriver
- 32–38 mm coarse-thread drywall screws
- Nail punch (if dealing with nails)
- Flexible filling knife (100–150 mm wide)
- Fine-grit sandpaper (120–180 grit)
- GIB Tradeset or similar plasterboard stopping compound
- Primer and topcoat paint to match your wall
Step-by-Step: How to Fix a Nail Pop
Step 1 – Secure the fastener
If the original fixing is a nail, use a nail punch and hammer to drive it at least 1–2 mm below the surface of the board (called dimpling). Don't try to pull it out — you'll damage the board face.
If it's a screw, tighten it back down until it dimples slightly below the surface without breaking the paper face.
Step 2 – Add a new screw nearby
Drive a new drywall screw into the framing approximately 50–75 mm above and below the popped fastener. This pulls the board back tight against the stud or joist and takes the load off the original fixing. Make sure you're hitting solid timber — use a stud finder if needed.
Step 3 – Apply stopping compound
Using your filling knife, apply a thin coat of stopping compound (such as GIB Tradeset or a pre-mixed compound) over the dimpled fastener heads. Feather the edges out smoothly. Allow to dry fully — drying times vary depending on the product and conditions, so check the manufacturer's instructions.
Step 4 – Sand and recoat
Once dry, lightly sand the area smooth with fine-grit sandpaper. Apply a second thin coat if needed, feathering it even wider. Repeat until the surface is flush and smooth. Two to three coats is typical for a professional finish.
Step 5 – Prime and paint
Apply a suitable primer before painting — this is important for adhesion and to prevent the stopping compound from flashing (showing through the topcoat). Resene and Dulux both offer interior primers suited to plasterboard repairs. Finish with your topcoat, blending into the surrounding wall as best you can.
Tips for a Seamless Finish
- Work in good lighting so you can spot any unevenness before painting.
- Thin coats dry faster and are easier to sand than thick ones.
- If you're repainting a large area, consider rolling the entire wall for a consistent sheen.
- In humid areas like bathrooms, use a moisture-resistant stopping compound and ensure adequate ventilation.
Comparison: Nail vs Screw Fixings
| Feature | Nails | Screws |
|---|---|---|
| Holding power | Lower | Higher |
| Pop risk | Higher | Lower |
| Ease of repair | Moderate | Easy |
| Recommended by GIB? | No (legacy use) | Yes |
When to Call a Professional
Most nail pop repairs are well within a confident DIYer's ability. However, consider calling a qualified plasterer if:
- You have widespread nail pops across multiple walls or ceilings — this could indicate a systemic framing or moisture issue.
- The plasterboard surface is badly damaged, cracked, or sagging.
- You suspect the movement is caused by a structural issue, in which case a Licensed Building Practitioner (LBP) should assess the building first. You can verify LBP credentials at lbp.govt.nz.
- You're not confident achieving a smooth, paint-ready finish — a poor repair can look worse than the original pop.
A skilled local plasterer will have the tools and experience to blend repairs invisibly. Find qualified tradespeople in your area on tradedirectory.co.nz.
Sources & Further Reading
- GIB – Plasterboard installation and fixing guidance
- BRANZ – Building research and technical guidance for NZ homes
- Resene – Interior paints and primers
- MBIE Building Performance – NZ Building Code information
- Licensed Building Practitioners – Find or verify an LBP
- Mitre 10 – Plasterboard repair tools and materials