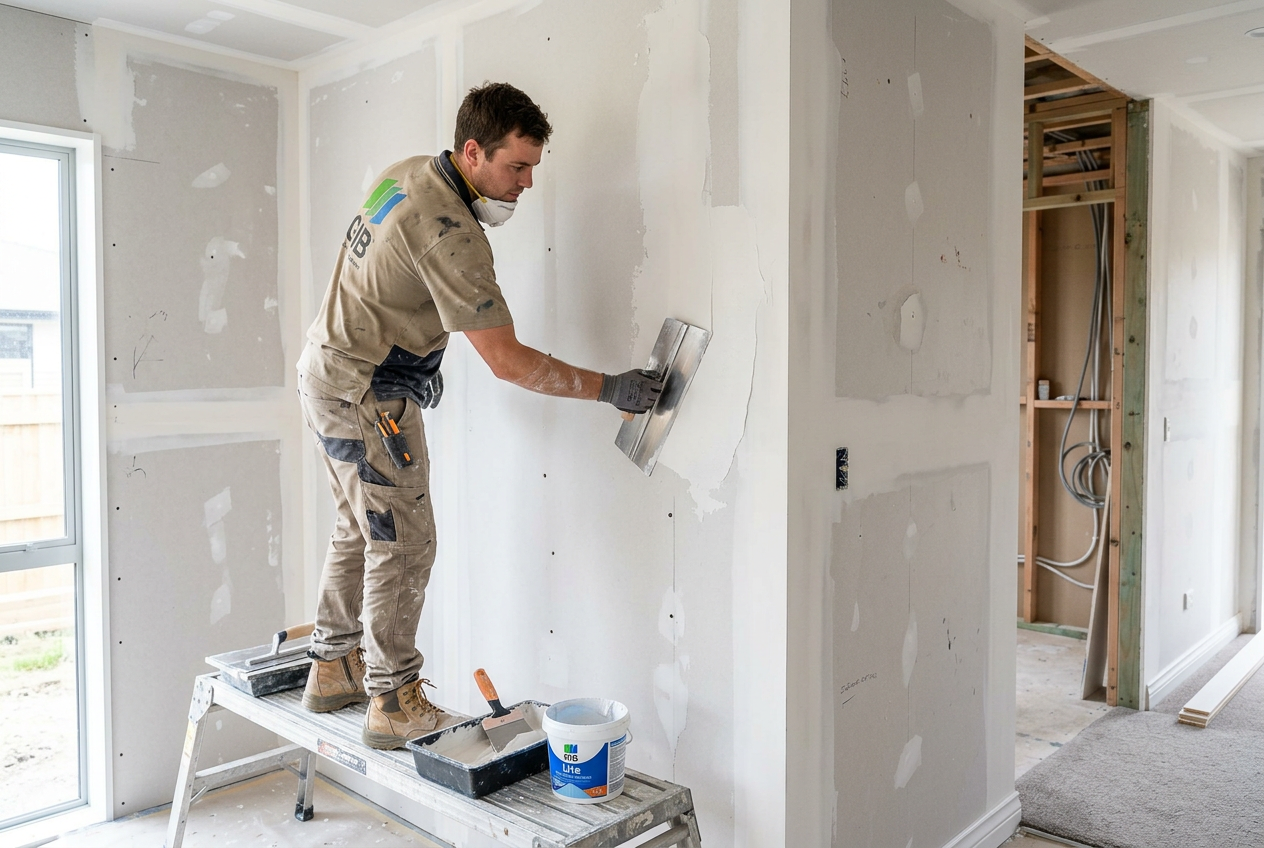
Cracks in exterior plaster are one of the most common concerns for New Zealand homeowners — and for good reason. Left untreated, even small cracks can allow moisture to penetrate your walls, leading to costly damage. Understanding what causes them and how to fix them properly can save you a lot of headaches down the track.
Why Does Exterior Plaster Crack?
Plaster is a rigid material applied over a substrate (such as timber framing, fibre cement, or masonry), and it's constantly exposed to the elements. Several factors cause it to crack:
- Shrinkage during curing – Fresh plaster shrinks slightly as it dries. If it dries too quickly (common in hot, windy NZ summers), hairline cracks can form.
- Thermal movement – New Zealand's climate swings between hot summers and cold winters. Plaster expands and contracts with temperature changes, and over time this stresses the surface.
- Structural movement – Timber-framed homes (built to NZS 3604) naturally move as timber dries out and settles. This movement can telegraph through the plaster coat.
- Poor application or mix – Incorrect water-to-mix ratios, applying plaster in direct sun, or skipping a bonding coat can all lead to premature cracking.
- Substrate issues – Rusting reinforcing mesh, delaminating fibre cement sheet, or a failing base coat will eventually show up as surface cracks.
- Earthquake damage – In seismically active areas of NZ, even minor shakes can cause cracking at stress points like window and door corners.
Types of Cracks and What They Mean
Not all cracks are equal. Knowing what you're looking at helps you decide how urgently to act.
| Crack Type | Appearance | Likely Cause | Urgency |
|---|---|---|---|
| Hairline cracks | Very fine, surface only | Shrinkage or thermal movement | Low – monitor |
| Map/crazing cracks | Spider-web pattern | Over-trowelled finish, fast drying | Low–Medium |
| Diagonal cracks at corners | 45° from window/door corners | Structural movement or settlement | Medium–High |
| Wide or deep cracks (>2 mm) | Visible gap, may be stepped | Foundation movement, serious settlement | High – get advice |
| Cracks with staining or damp | Discolouration around crack | Water ingress occurring | High – act now |
If you're seeing wide cracks, stepped cracks following mortar lines, or cracks that reappear after repair, it's worth having a Licensed Building Practitioner or structural engineer assess your home before you attempt any DIY fix.
Tools and Materials You'll Need
For minor to moderate crack repairs, gather the following:
- Exterior acrylic filler or flexible sealant – for hairline to small cracks
- Polymer-modified render or patching compound – for deeper repairs (products from Sika or Ardex are well-regarded in NZ)
- Crack widening tool or angle grinder with diamond blade
- Stiff brush and vacuum
- Bonding agent/primer
- Trowel and hawk
- Quality exterior paint for finishing (see Resene or Dulux for suitable exterior topcoats)
Step-by-Step: How to Fix Exterior Plaster Cracks
1. Assess and Prepare the Crack
Before filling anything, understand what you're dealing with. Tap the plaster around the crack — a hollow sound means the plaster has delaminated and a larger area may need to come off. Use a screwdriver or crack-widening tool to open hairline cracks slightly into a "V" shape; this gives the filler something to key into. Remove all loose material and brush the area clean.
2. Check for Moisture
If the crack feels damp or you can see staining, find and fix the source of water before patching. Sealing over a wet crack will trap moisture and the repair will fail. BRANZ has excellent guidance on diagnosing moisture issues in NZ wall systems.
3. Apply a Bonding Agent
For anything deeper than a surface hairline, brush or roll a bonding agent into the prepared crack and allow it to become tacky. This dramatically improves adhesion of your patching compound.
4. Fill the Crack
- Hairline cracks: A quality exterior acrylic filler applied with a putty knife is usually sufficient. Smooth flush with the surrounding surface.
- Cracks up to around 5 mm wide: Use a polymer-modified render or patching compound. Apply in layers no thicker than about 10 mm at a time, allowing each layer to firm up before adding the next.
- Larger or moving cracks: Consider using a flexible polyurethane or elastomeric sealant rather than rigid filler, so the repair can accommodate future movement without re-cracking.
5. Texture Matching
This is where many DIY repairs fall short. Exterior plaster finishes — whether roughcast, texture coat, or smooth — are tricky to match perfectly. Practice your texture technique on a piece of board first. A dash brush, sponge, or roller can help replicate common NZ finishes.
6. Prime and Paint
Once the repair is fully cured (follow the product's recommended time — don't rush this step), apply a suitable exterior primer and then a topcoat that matches your existing paint. Check with Wattyl or your paint supplier for the right primer for your plaster type.
Preventing Future Cracks
- Ensure gutters and downpipes are clear and directing water away from walls
- Keep garden irrigation away from the base of plastered walls
- Repaint exterior surfaces on a regular maintenance cycle — a good paint film is your first line of defence
- Address any cracking promptly before water gets in
When to Call a Professional
Some situations are beyond a weekend DIY job. Call a qualified renderer or Licensed Building Practitioner if:
- Cracks are wider than about 2 mm, stepped, or diagonal from corners
- Large areas of plaster are hollow or delaminating
- You suspect the issue is structural or foundation-related
- The home is a monolithic cladding system (e.g. EIFS/Insulclad) — these require specialist knowledge due to weathertightness risks under the NZ Building Code
- Repairs are needed in a wet area or near penetrations governed by E2 External Moisture provisions
A skilled renderer will not only fix the crack correctly but also match your existing finish far more convincingly than most DIY attempts. You can find qualified local renderers on tradedirectory.co.nz.