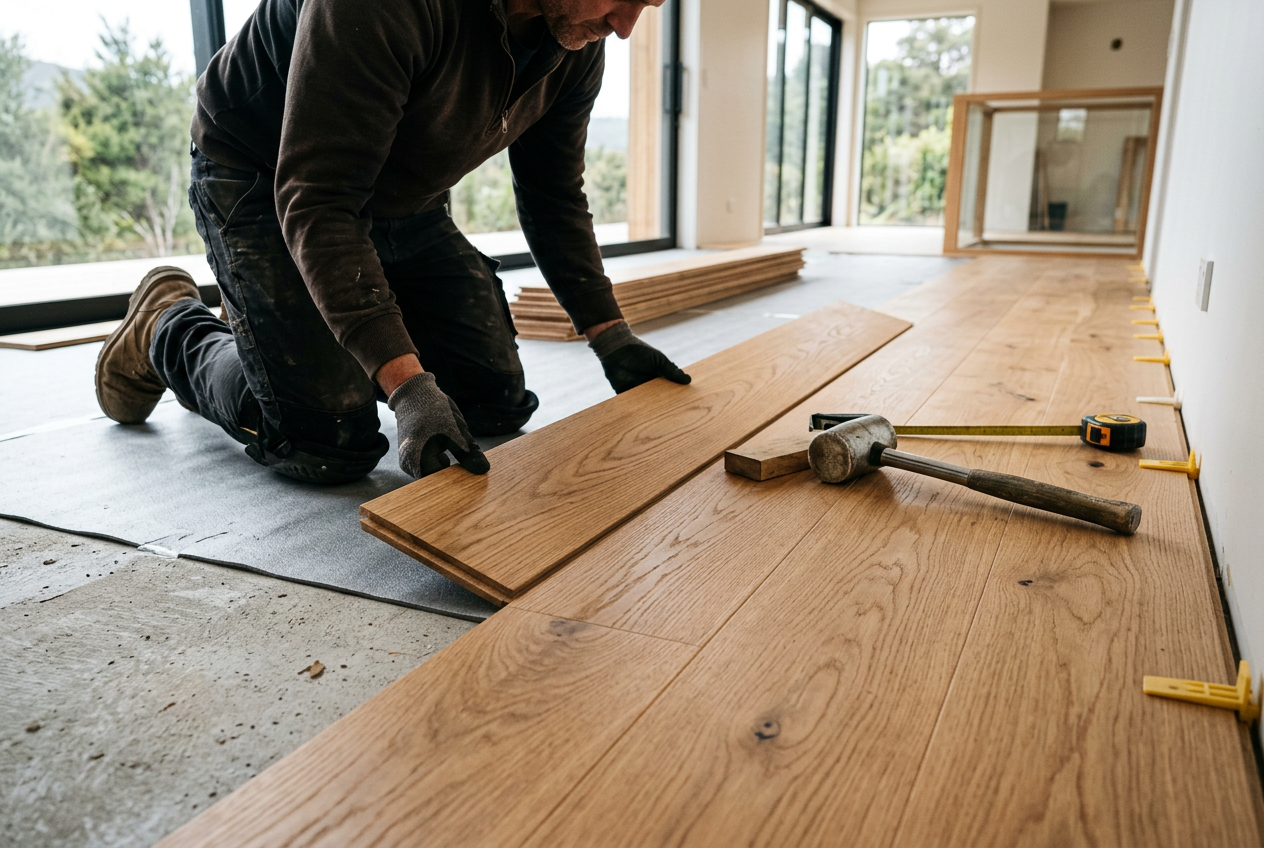
Engineered timber flooring is one of the most popular choices for Kiwi homes — it looks great, handles our variable climate reasonably well, and suits a wide range of subfloors. But one of the first decisions you'll face is whether to glue it down or float it. Both methods work well when done correctly, but the right choice depends on your specific situation.
What Is the Difference Between Gluing and Floating?
Glue-down installation means adhering each board directly to the subfloor using a flexible flooring adhesive. The floor becomes a fixed, solid surface with no movement underfoot.
Floating installation means the boards are clicked or glued together at the tongue-and-groove joints, but the floor is not fixed to the subfloor. It sits on top of an underlay and is free to expand and contract as a single unit.
Both methods are widely used in New Zealand and are compatible with engineered flooring — unlike solid timber, which is almost always glued or nailed down.
Key Factors to Help You Decide
Subfloor Type
Your subfloor is often the deciding factor:
- Concrete slab — Both methods work, but glue-down is often preferred for slabs because it eliminates the hollow, slightly springy feel that floating floors can have. Use a moisture-tolerant adhesive and always check moisture levels first.
- Timber joists/particle board — Floating is very common here and straightforward. Glue-down is also possible but requires a very flat, structurally sound surface.
- In-slab underfloor heating — Glue-down is generally recommended by manufacturers for heated slabs, as it ensures good thermal contact and prevents the floor from lifting or gapping. Always check the flooring manufacturer's specifications.
- Existing tiles or vinyl — Floating over a flat, well-bonded existing surface is often the easiest option.
Moisture and NZ Climate Conditions
New Zealand's humidity swings — particularly in coastal areas, Auckland's humid summers, and cold South Island winters — mean moisture management is critical. Engineered flooring handles movement better than solid timber, but it still expands and contracts.
- Always test concrete subfloors for moisture before installation. BRANZ recommends following manufacturer guidelines for acceptable moisture levels.
- In high-moisture areas (e.g., near the coast or in poorly ventilated subfloor spaces), a glue-down method with a moisture-barrier adhesive can offer extra protection.
- Floating floors need adequate expansion gaps around the perimeter — typically around 10–12 mm — to allow for seasonal movement.
Room Size and Shape
Large, open-plan rooms can be a challenge for floating floors. As the floor expands and contracts, the movement accumulates across the width. Most manufacturers specify a maximum floating area (often around 10–12 metres in any direction) before a break or transition strip is needed. For very large rooms, glue-down is often the better long-term choice.
Acoustic Performance
Floating floors can produce a hollow sound underfoot, which some people find annoying — especially in apartments or multi-storey homes. A quality acoustic underlay helps significantly, but glue-down floors generally feel and sound more solid. If you're in a body corporate situation, check whether there are acoustic requirements for your building.
Comparing the Two Methods
| Factor | Glue-Down | Floating |
|---|---|---|
| Feel underfoot | Solid, quiet | Can feel hollow without good underlay |
| Installation difficulty | Higher — needs correct adhesive and technique | Lower — suitable for confident DIYers |
| Subfloor flatness required | Very flat (within ~3 mm over 1.8 m) | Flat, but slightly more forgiving |
| Underfloor heating compatibility | Generally preferred | Check manufacturer specs carefully |
| Repairability | Harder to replace individual boards | Easier to lift and relay |
| Cost (as a guide) | Higher (adhesive cost, labour) | Lower overall |
| Large rooms | Better suited | May need transition strips |
Can a Homeowner DIY This?
Floating installation is within reach for a competent DIYer with patience and the right tools. You'll need a pull bar, tapping block, spacers, underlay, and a good saw. Take time to acclimatise the flooring to your home's conditions for at least 48–72 hours before laying.
Glue-down installation is more demanding. Spreading adhesive evenly, working at the right pace before the adhesive skins over, and ensuring the subfloor is properly prepared all require experience. Mistakes can be costly and difficult to fix. If you're not confident, this is a job worth leaving to a professional.
For either method, subfloor preparation is non-negotiable. Grinding down high spots on concrete or sanding down ridges on timber subfloors is essential. Products from Ardex or Mapei are commonly used by NZ tradespeople for levelling compounds.
When to Call a Professional
Consider hiring a qualified flooring installer if:
- You have a large or complex room layout
- You're installing over underfloor heating
- Your subfloor needs significant preparation or levelling
- You're unsure about moisture readings or subfloor condition
- You want the manufacturer's warranty to remain valid (many require professional installation)
A professional installer will also know which adhesives comply with NZ conditions and manufacturer specs — products from Sika are widely used in the NZ flooring trade for flexible, moisture-tolerant bonding.
You can find qualified local flooring installers on tradedirectory.co.nz.
Quick Tips Before You Start
- Acclimatise your flooring — leave it in the room for at least 48 hours before installation
- Check your subfloor flatness — most manufacturers require no more than 3 mm variation over 1.8 m
- Read the manufacturer's installation guide — warranty requirements vary
- Don't skip the underlay — even for glue-down, some products recommend an acoustic or moisture-barrier membrane
- Leave expansion gaps — around all fixed objects including door frames, islands, and walls