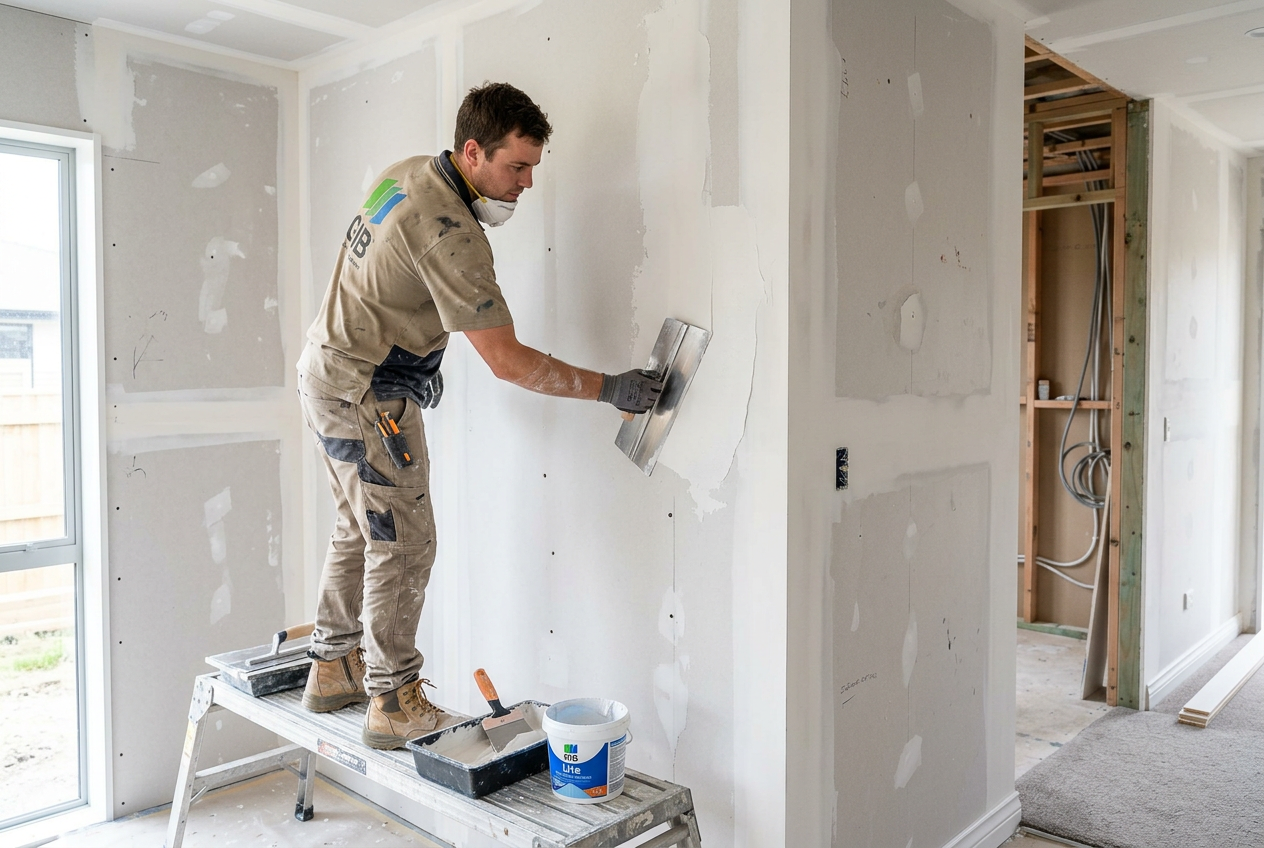
Painting over plaster stopping before it's fully dry is one of the most common — and costly — mistakes in home renovation. The result can be bubbling, flaking, or uneven sheen that's difficult to fix without starting over. Understanding the drying process will save you time, money, and frustration.
What Is Plaster Stopping?
Plaster stopping (also called stopping compound or joint compound) is the material used to fill and smooth joints, nail holes, and imperfections in plasterboard walls and ceilings. In New Zealand, GIB plasterboard systems are the most widely used, and GIB's own stopping compounds are formulated to work with their board systems. Stopping is typically applied in multiple coats — a base coat, a fill coat, and a finish coat — each needing to dry before the next is applied.
How Long Does Plaster Stopping Take to Dry?
As a general guide, each coat of stopping compound needs a minimum of 24 hours to dry under good conditions before the next coat or paint is applied. However, this is a minimum — not a guarantee. Final coats before painting often benefit from 48 hours or more, particularly in cooler or more humid conditions.
For a full multi-coat stopping job (three coats is standard for a Level 4 or Level 5 finish), you could be looking at several days of drying time in total before the surface is ready for paint.
Key factors that affect drying time
- Humidity: New Zealand's coastal and northern regions can have high ambient humidity, which significantly slows drying. In Auckland or Northland, add extra time.
- Temperature: Cold conditions (below around 10°C) slow drying considerably. Avoid stopping work in winter without adequate heating.
- Ventilation: Good airflow speeds up drying. Open windows or use a fan where possible.
- Coat thickness: Thicker applications take longer. Experienced plasterers apply thin, even coats for this reason.
- Product type: Some setting-type compounds (which cure chemically rather than just drying) can be faster, but they require experience to use correctly.
How to Tell If Stopping Is Dry Enough to Paint
The most reliable method is the visual colour check. Wet stopping compound appears darker — often a mid-grey or off-white — while fully dry compound turns a consistent, bright white across the entire surface. Any darker patches mean moisture is still present.
Do not rely on touch alone. The surface can feel dry to the touch while the interior is still damp, especially with thicker fills.
A simple moisture check
If you're unsure, press a piece of clear plastic (like a zip-lock bag) firmly against the wall and tape the edges. Leave it for an hour. If condensation forms on the inside of the plastic, the wall is still releasing moisture and is not ready for paint.
Why Painting Too Early Causes Problems
When paint is applied over damp stopping, several things can go wrong:
- Raised grain / flashing: The moisture causes the surface to swell unevenly, creating visible patches once the paint dries.
- Poor adhesion: Paint may peel or bubble as trapped moisture escapes.
- Mould risk: Sealing moisture into walls can encourage mould growth — a particular concern under New Zealand's Healthy Homes Standards for rental properties.
- Uneven sheen: Even if the paint appears to stick, you may notice dull or shiny patches (called suction variation) that are very difficult to correct.
Priming Before Painting: Don't Skip This Step
Once stopping is fully dry, always apply a sealer or primer before your topcoats. Fresh stopping is highly porous and will absorb paint unevenly if you go straight to a topcoat. A good quality water-based sealer/primer — such as those available from Resene or Dulux — will seal the surface, even out suction, and give you a consistent base for your finish coats.
Resene's Broadwall range and Dulux's Aquanamel primer/undercoats are popular choices among NZ painters for interior plasterboard work.
Finish Level and Drying Time
| GIB Finish Level | Typical Use | Coats Required | Minimum Dry Time Before Paint |
|---|---|---|---|
| Level 3 | Behind tiles or textured finishes | 2 coats | 48 hours total |
| Level 4 | Standard painted walls | 3 coats | 72+ hours total |
| Level 5 | High-sheen or critical lighting | 3 coats + skim | 96+ hours total |
These are minimum guides under good drying conditions. Always add time in humid or cold weather.
Tips for Faster, Safer Drying
- Run a dehumidifier in enclosed rooms, especially in winter or in bathrooms.
- Use low-heat ventilation — a fan heater on a low setting can help without cracking the compound.
- Avoid stopping work in direct sunlight through windows, which can cause the surface to dry too fast and crack.
- In wet areas (bathrooms, laundries), ensure the stopping and paint products are rated for moisture-prone environments, in line with MBIE Building Code clause E3 requirements for internal moisture.
When to Call a Professional
For small holes and minor touch-ups, stopping is a manageable DIY task. However, for new GIB installations, large repairs, or any work requiring a Level 4 or Level 5 finish, it's well worth engaging a qualified plasterer. Achieving a smooth, paint-ready finish across large areas takes skill and the right tools — and mistakes are time-consuming to fix.
You can find licensed, experienced local plasterers on tradedirectory.co.nz to get the job done right the first time.