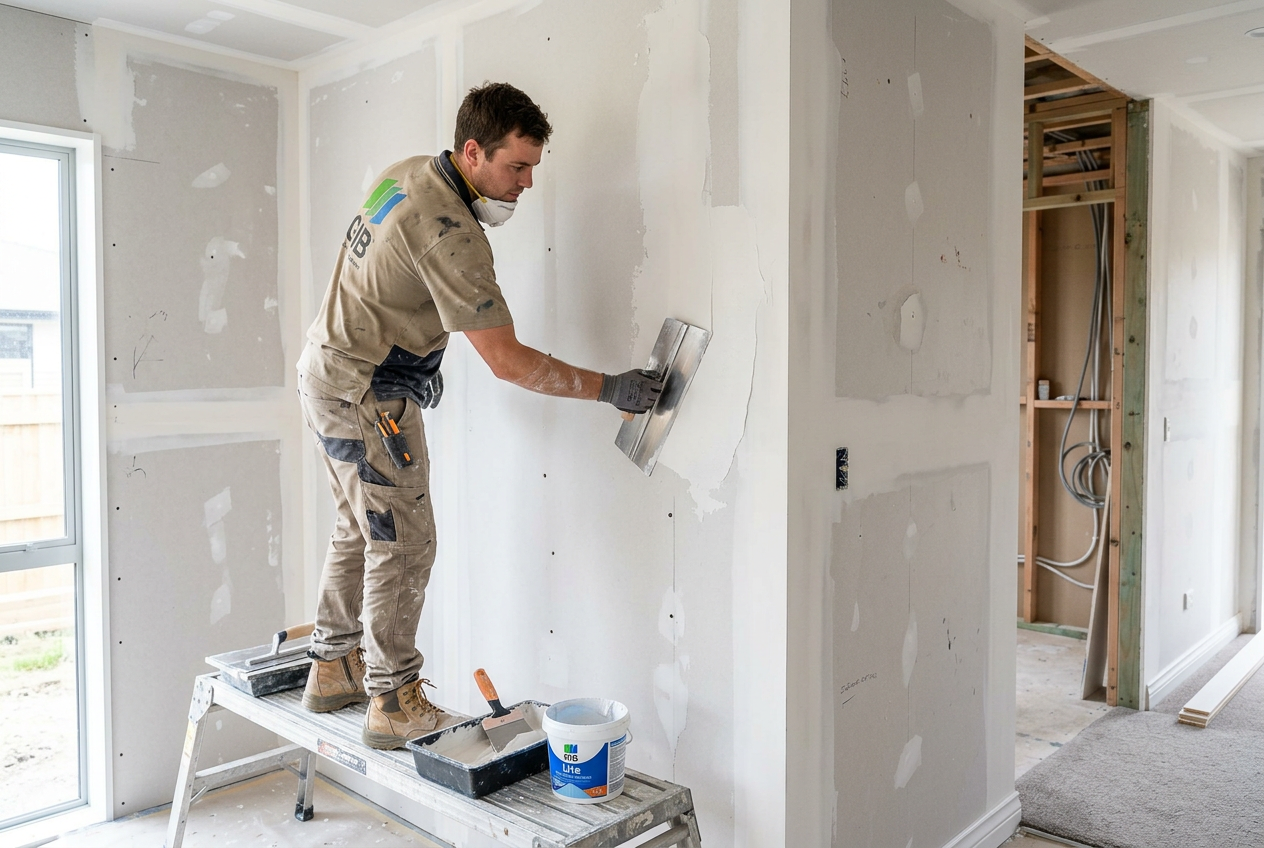
Cracking plasterboard joints are one of the most common complaints in NZ homes — and one of the most misunderstood. Whether you're seeing hairline cracks along the ceiling or wider splits at wall joins, the good news is that most causes are preventable. Understanding why joints crack in the first place is the key to fixing them properly and stopping them from coming back.
Why Do Plasterboard Joints Crack?
Cracks at plasterboard joints are almost always caused by movement — either in the building structure, the plasterboard itself, or both. Common culprits include:
- Seasonal timber movement — NZ's variable climate means framing timber expands and contracts with humidity changes, putting stress on joints
- Inadequate stopping (jointing) technique — too thin a coat, skipping coats, or using the wrong products
- Insufficient drying time between coats — rushing the job traps moisture and causes shrinkage cracking
- Poorly embedded tape — if the paper or fibreglass mesh tape isn't fully bedded into compound, it will eventually lift and crack
- Structural settlement — especially common in newer homes during the first few years
- Incorrect plasterboard installation — boards fixed too tightly, wrong fastener spacing, or boards not acclimatised before installation
BRANZ research consistently identifies poor workmanship and moisture-related movement as the leading causes of plasterboard joint failure in New Zealand.
Choosing the Right Materials
Using quality materials makes a significant difference. For standard interior stopping, you'll need:
- Paper jointing tape — the preferred choice for flat joints; stronger than mesh over time
- Fibreglass mesh tape — useful for repairs and corners but can be prone to cracking if not used with the right compound
- Setting-type compound — hardens by chemical reaction, good for first coats and repairs
- Drying-type (air-dry) compound — easier to sand, ideal for finishing coats
- Corner bead — metal or plastic, essential for protecting and straightening external corners
GIB publishes detailed installation and stopping guides specific to their plasterboard systems, and following the manufacturer's system is important for warranty and best results. You can find stopping compounds and tapes at Bunnings or Mitre 10.
The Correct Stopping Process
Proper jointing is a multi-coat process — there are no shortcuts. Here's how it should be done:
Coat 1 — Bedding Coat
- Apply a thin layer of compound over the joint
- Embed paper tape immediately, pressing firmly with a broad knife to remove air bubbles
- Feather the edges and allow to fully dry before proceeding
Coat 2 — Fill Coat
- Apply a wider, slightly thicker coat over the dried tape
- Feather edges out further (typically 150–200 mm either side of the joint)
- Allow to fully dry — this can take 24 hours or more depending on humidity and temperature
Coat 3 — Finish Coat
- Apply a very thin, wide skim coat
- Feather edges out as far as needed for a flat finish
- Once dry, sand lightly with fine-grit paper and wipe clean before painting
Never rush drying times. In NZ's cooler or more humid regions (think Southland, Wellington, or the West Coast), drying can take considerably longer than in drier areas like Hawke's Bay or Central Otago.
Preventing Cracks Long-Term
Even a perfectly stopped joint can crack if the underlying conditions aren't right. Here's how to reduce the risk:
| Prevention Step | Why It Matters |
|---|---|
| Acclimatise plasterboard before fixing | Reduces moisture-related movement after installation |
| Use correct fastener spacing | Prevents board flex and fastener popping |
| Control indoor humidity | Reduces seasonal timber movement |
| Allow new builds to settle | First-year settlement cracks are normal and can be re-stopped |
| Use cornice adhesive at ceiling junctions | Reduces stress cracking where walls meet ceilings |
| Prime before painting | Seals the surface and reduces paint-related shrinkage |
For homes with ongoing structural movement, consider using flexible jointing compounds or control joints in long runs of plasterboard — your plasterer can advise on the best approach.
Repairing Existing Cracks
For minor hairline cracks, a simple re-stop is usually sufficient:
- Rake out the crack slightly with a scraper or utility knife to give the compound something to grip
- Apply a thin bedding coat and embed fresh paper tape if the original tape has lifted
- Follow the three-coat process above
- Sand, prime, and repaint
For wider or recurring cracks — especially diagonal cracks running from door or window corners — the cause may be structural. In that case, fixing the symptom without addressing the cause will only result in the crack returning.
When to Call a Professional
While minor crack repairs are within reach of a capable DIYer, there are situations where you should bring in a qualified plasterer:
- Cracks are wide, recurring, or getting worse over time
- You're seeing cracks in multiple locations throughout the home
- The cracking is associated with door or window frames that are sticking or distorting (possible structural issue — consult a Licensed Building Practitioner)
- You're stopping a large area and want a smooth, paint-ready finish
- The work is in a wet area (bathroom/kitchen) where NZ Building Code clause E3 requirements apply
A skilled plasterer will achieve a far flatter, more durable finish than most DIY attempts — and it's worth the investment before painting. You can find qualified local plasterers on tradedirectory.co.nz.