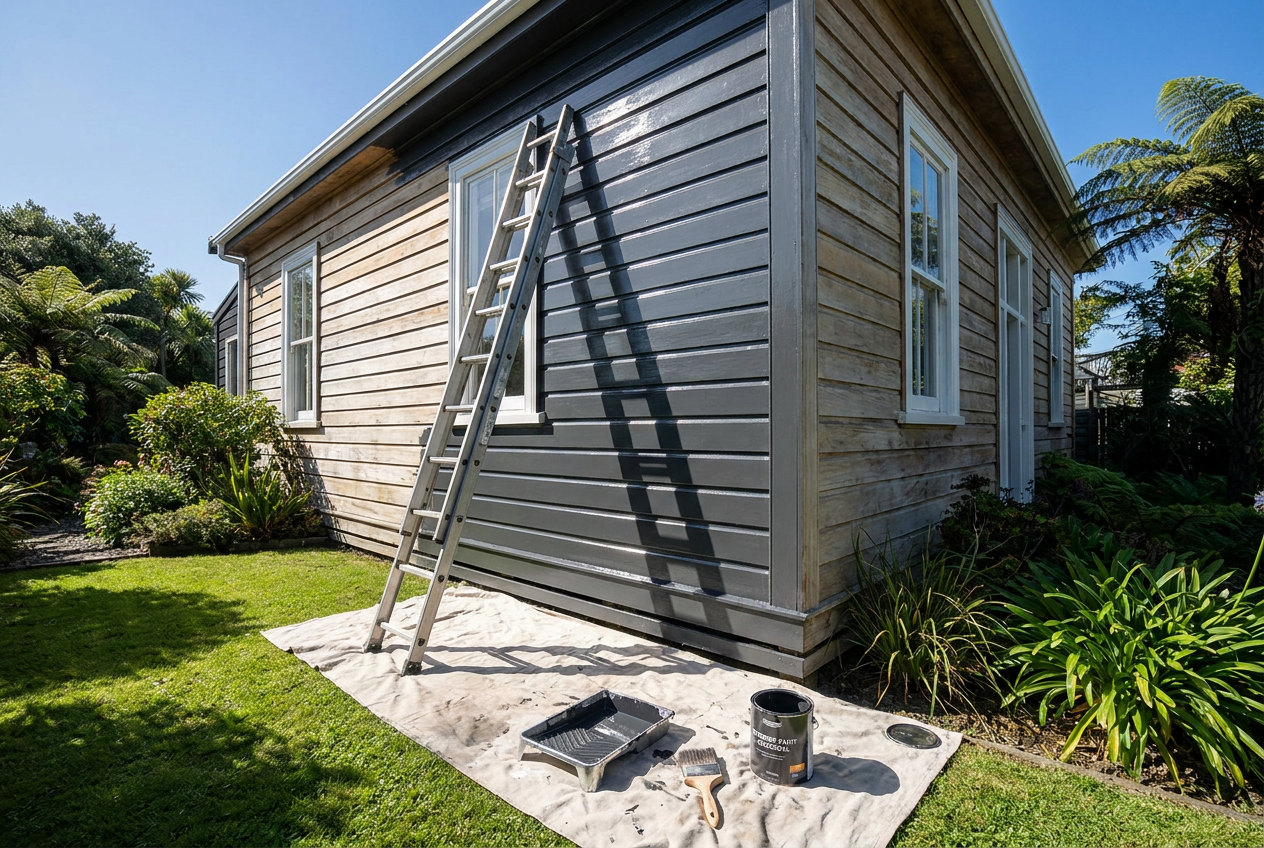
Peeling exterior paint is one of the most frustrating problems NZ homeowners face — and one of the most common. Whether you've got a weatherboard bach on the Coromandel or a brick-and-plaster home in Wellington, our variable climate puts real pressure on exterior coatings. The good news is that with the right preparation and products, you can stop the peeling cycle for good.
Why Does Exterior Paint Peel?
Understanding the cause is the first step to fixing it. Peeling almost always comes down to one or more of these issues:
- Moisture — water getting behind the paint film from leaks, condensation, or inadequate sealing
- Poor surface preparation — painting over dirty, chalky, or glossy surfaces that don't allow adhesion
- Incompatible paint systems — applying water-based paint over an oil-based coat without proper priming
- Skipping primer — bare or porous substrates need a dedicated primer to grip the topcoat
- Age and UV degradation — NZ's high UV index breaks down paint films faster than many other countries
BRANZ research consistently identifies moisture as the leading cause of paint failure on NZ homes, so always rule out leaks before you repaint.
Step 1 — Find and Fix the Source of Moisture
Before you touch a scraper or brush, inspect your home for:
- Blocked or leaking gutters and downpipes
- Cracked or missing caulking around windows, doors, and penetrations
- Roof or flashing leaks that let water track down walls
- Rising damp in older homes without a damp-proof course
Fix any leaks or drainage issues first. Repainting over an active moisture problem is a waste of time and money — the paint will peel again within months.
Step 2 — Strip and Prepare the Surface Properly
Good preparation is 80% of a lasting paint job. Here's the process:
Remove all loose and peeling paint
Use a paint scraper, wire brush, or a heat gun to remove all flaking material. Feather the edges of sound paint with 80–120 grit sandpaper so there's no sharp step for water to get under.
Clean the surface thoroughly
Wash the entire surface with a sugar soap solution or a dedicated exterior cleaner to remove dirt, mould, and chalky residue. A water blaster on a low-to-medium setting works well for weatherboards — just allow the surface to dry completely (usually several dry days) before painting.
Treat mould and mildew
NZ's humid climate means mould is common. Apply a fungicidal wash and let it dwell before rinsing. Many painters use a diluted bleach solution, but purpose-made products from Resene (such as their Moss & Mould Killer) are formulated for NZ conditions.
Fill holes and cracks
Use a flexible exterior filler or paintable caulk for gaps around joinery. Rigid fillers can crack with timber movement — choose products rated for exterior use.
Step 3 — Prime Before You Topcoat
Primer is not optional. It seals the substrate, improves adhesion, and blocks stains. Choose the right primer for your surface:
| Surface | Recommended Primer Type |
|---|---|
| Bare timber | Penetrating oil-based or water-based timber primer |
| Previously painted (sound) | Adhesion primer or light sand and clean |
| Bare or repaired plaster/fibre cement | Sealer/primer (e.g. Resene Limelock for alkaline surfaces) |
| Galvanised metal | Etch primer or specific galv primer |
| Previously oil-based paint | Shellac-based or adhesion primer before water-based topcoat |
For fibre cement products like James Hardie cladding, always follow the manufacturer's coating specifications — using the wrong primer can void warranties.
Step 4 — Choose the Right Exterior Paint
Not all exterior paints are equal. Look for:
- 100% acrylic formulations — these flex with timber movement and resist UV better than cheaper vinyl-acrylic blends
- Mould-resistant additives — essential in damp NZ regions
- High-build options for weathered or rough surfaces
Reputable NZ paint brands including Resene, Dulux, and Wattyl all offer quality exterior ranges with good technical data sheets to guide your selection. Ask in-store for advice specific to your substrate and region.
Step 5 — Apply Paint in the Right Conditions
Even the best paint will fail if applied in poor conditions:
- Temperature — most exterior paints require surfaces to be between roughly 10°C and 35°C
- Humidity — avoid painting on very humid days or when rain is forecast within a few hours
- Direct sun — painting in harsh direct sunlight can cause the paint to dry too fast and blister
- Dew — never paint early morning on surfaces that may still be damp
Apply the number of coats specified on the tin — usually two topcoats over primer. Cutting corners here is a false economy.
Ongoing Maintenance Tips
- Inspect your exterior paint every year, especially after winter
- Spot-prime and touch up any chips or cracks before they let moisture in
- Keep gutters clear so water doesn't overflow onto walls
- Trim vegetation away from walls to improve airflow and reduce moisture
A well-maintained paint system on a typical NZ home should last many years before a full repaint is needed — the exact lifespan depends on your climate zone, substrate, and paint quality.
When to Call a Professional
If peeling is widespread, if you suspect significant moisture damage or rot in the substrate, or if your home was built before the 1980s and may have lead paint, it's time to call a qualified painter. Lead paint removal is a health hazard — WorkSafe NZ has guidance on safe handling, and a professional will have the right equipment and training.
For homes with complex cladding systems, significant rot repair, or where the NZ Building Code's weathertightness requirements (particularly Clause E2) may be relevant, a Licensed Building Practitioner (LBP) may need to be involved in any remedial work.
You can find qualified, vetted local painters and tradespeople on tradedirectory.co.nz — a great way to get the job done right the first time.