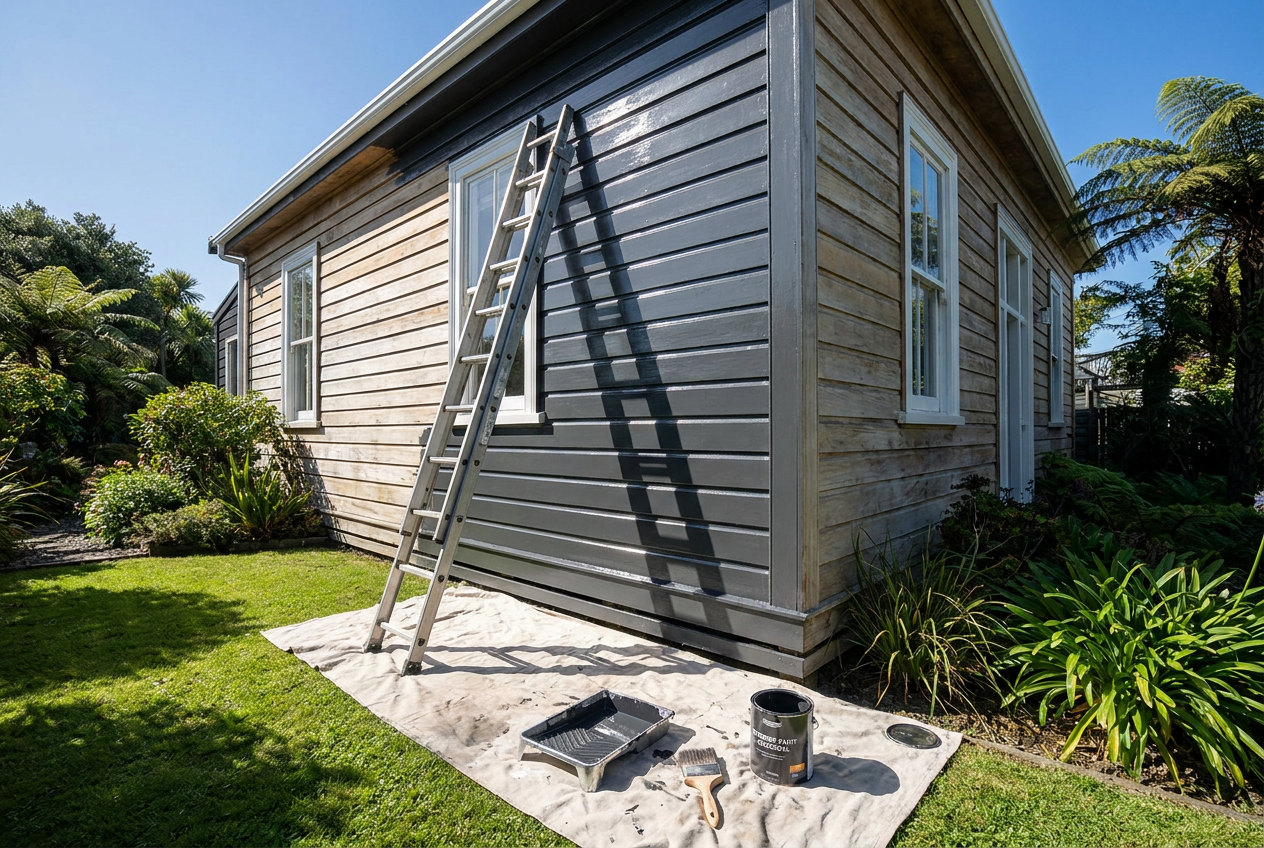
A well-stained fence doesn't just look great — it protects your timber from New Zealand's harsh UV, rain, and humidity. Done properly, a quality stain job can last several years before needing a top-up. Here's how to get it right from the start.
Why Staining Matters in the NZ Climate
New Zealand's climate is tough on timber. High UV levels, coastal salt air, and frequent wet-dry cycles cause unprotected wood to grey, crack, and rot surprisingly quickly. A penetrating timber stain soaks into the wood fibres rather than sitting on top like paint, allowing the timber to breathe while still repelling moisture and blocking UV damage. This makes stain one of the best long-term choices for fences, particularly for rough-sawn or textured timber.
Choosing the Right Stain
Not all stains are equal. Here's a quick comparison of the main types:
| Type | Finish | Durability | Best For |
|---|---|---|---|
| Penetrating oil-based stain | Semi-transparent | 3–5 years | Rough-sawn, aged timber |
| Water-based semi-transparent stain | Natural look | 2–4 years | New or smooth timber |
| Solid colour stain | Opaque | 4–6 years | Weathered or patchy timber |
| Clear water repellent | None | 1–2 years | Temporary protection only |
For most NZ fences, a semi-transparent penetrating stain strikes the best balance — it shows the timber grain while providing solid protection. Resene and Wattyl both offer excellent timber stain ranges suited to NZ conditions. Dulux also has a range of exterior timber coatings worth considering.
Always check the product is rated for exterior use and suitable for your timber species (pine, macrocarpa, cedar, etc.).
What You'll Need
- Stiff-bristle brush or broom (for cleaning)
- Garden hose or pressure washer
- Timber cleaner/brightener (if the fence is weathered or grey)
- Sandpaper (80–120 grit) or a sanding block
- Drop cloths or plastic sheeting
- Quality exterior brush (50–75 mm) or a roller with a rough-surface sleeve
- Stirring stick
- Safety glasses and gloves
- Old clothes you don't mind staining
Step 1 – Clean the Fence Thoroughly
This is the most important step. Stain won't penetrate dirty, greasy, or mouldy timber properly.
- Remove any loose dirt with a stiff brush.
- Apply a timber wash or cleaner (available at Bunnings or Mitre 10) to kill mould and mildew.
- Rinse well with a hose. A pressure washer on a low setting works well but avoid blasting soft timber at close range — it can raise the grain.
- Allow the fence to dry completely — at least 48 hours in fine weather, longer in winter or shaded areas. Staining damp timber is one of the most common DIY mistakes and will cause peeling or blotchy results.
Step 2 – Sand and Prepare the Surface
For new timber, a light sand with 80–120 grit paper opens up the grain and helps the stain penetrate evenly. Remove all dust before proceeding.
For weathered grey timber, use a dedicated timber brightener after cleaning. This restores the wood's natural pH and opens the grain so the stain can soak in properly. Follow the product instructions carefully.
Protect any plants, concrete, or surfaces nearby with drop cloths — stain is very difficult to remove once it dries.
Step 3 – Apply the Stain
- Stir, don't shake the stain to avoid bubbles.
- Work on a dry, overcast day if possible. Direct hot sun causes the stain to dry too fast, leaving lap marks and uneven colour.
- Apply with a quality brush, working the stain into the grain with firm strokes. A roller speeds up large flat areas, but follow up with a brush to work the product in.
- Apply one coat at a time and check the manufacturer's recommended recoat time before adding a second coat. Over-applying stain can cause it to sit on the surface and peel.
- Work from top to bottom to catch any drips.
- Pay extra attention to end grain (the tops of palings and posts) — this is where moisture enters most readily. Apply an extra coat here.
Step 4 – Allow to Cure and Inspect
Allow the stain to cure fully before the fence is exposed to rain — check the product datasheet for exact times. Once dry, inspect for any missed spots, thin patches, or drips and touch up as needed.
How Often Should You Recoat?
In New Zealand, most quality fence stains need a maintenance coat every 2–4 years, depending on:
- Sun exposure (north-facing fences fade faster)
- Coastal or high-humidity locations (more frequent maintenance needed)
- Timber species (denser timbers like macrocarpa hold stain longer)
- Product quality (premium stains generally last longer)
The good news is that maintenance coats are much easier than the first application — a light clean and a single top-up coat is usually all that's needed if you don't let it go too long.
When to Call a Professional
Most fence staining is well within DIY reach, but there are times when it pays to bring in a qualified painter:
- Large or complex fences where prep and application time is significant
- Fences with significant rot or structural damage — a painter can identify issues before they worsen
- Heritage or high-value properties where a flawless finish matters
- If you're unsure about the right product for an unusual timber species
A professional painter will also have access to commercial-grade equipment and products that can extend the life of the finish. You can find qualified local painters on tradedirectory.co.nz.