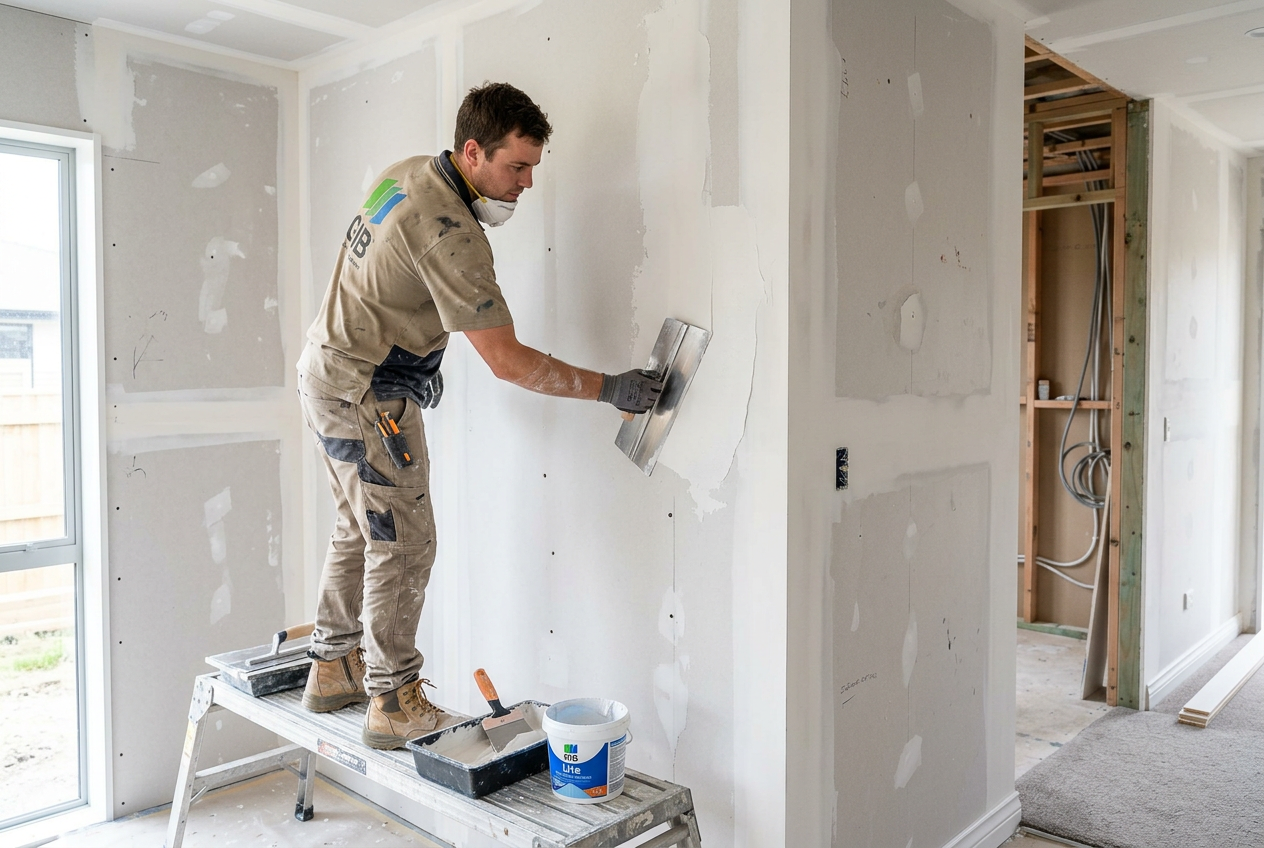
Skim coating is the process of applying one or two thin layers of finishing plaster or compound over an existing wall surface to create a smooth, even finish ready for painting. It's a satisfying DIY project for patient homeowners, but it does take practice to master. Whether you're refreshing a tired lounge wall or smoothing out a patched area, this guide walks you through the process step by step.
What Is Skim Coating and When Do You Need It?
Skim coating involves spreading a very thin layer (typically 1–3 mm) of finishing compound or plaster over a wall surface. You might need it when:
- Walls have minor surface imperfections, old texture, or hairline cracks
- You've patched a hole and need to blend the repair into the surrounding wall
- Existing paint is peeling and the surface is uneven
- You want a high-quality, flat finish before applying premium paint
It's different from full plastering — you're not building up thickness, just refining the surface.
Tools and Materials You'll Need
Gather everything before you start. Having the right gear makes a big difference.
Tools:
- 200–300 mm flexible steel finishing trowel or plasterer's knife
- Hawk (hand board) to hold your compound
- Corner bead trowel (for internal corners)
- Sanding pole with 120-grit and 180-grit sandpaper
- Bucket and mixing paddle (or a drill with a mixing attachment)
- Drop sheets and masking tape
- Bright work light or lamp (essential for spotting imperfections)
Materials:
- Finishing compound or skim plaster — products like GIB Tradeset or a pre-mixed finishing compound from Bunnings or Mitre 10 work well for most NZ homeowners
- PVA bonding agent or primer sealer (to seal porous surfaces)
- Fine-grit sandpaper
- Clean water
| Product Type | Best For | Drying Time (approx.) |
|---|---|---|
| Pre-mixed compound | Patching, small areas, beginners | Slow (overnight+) |
| Powder-based skim plaster | Larger areas, faster turnaround | Faster (1–4 hrs) |
| Gypsum finishing plaster | Professional-grade smooth finish | Moderate |
Preparing the Wall
Good preparation is the difference between a finish that lasts and one that peels or cracks.
- Clean the surface — remove dust, grease, and any loose paint or plaster. A sugar soap wash works well.
- Repair any significant damage first — fill holes deeper than a few millimetres with a base coat filler and let it cure fully before skim coating over the top.
- Sand glossy surfaces lightly so the compound has something to grip.
- Apply a PVA bonding agent diluted with water to porous or bare plasterboard surfaces. This prevents the wall from sucking moisture out of your compound too quickly, which causes cracking. Let it become tacky before applying compound — don't let it dry completely.
- Protect floors and trim with drop sheets and masking tape.
Mixing Your Compound
If using a powder-based product, follow the manufacturer's instructions carefully. As a general rule, add powder to water (not the other way around) and mix to a smooth, lump-free consistency — similar to thick yoghurt or whipped cream. Avoid over-mixing, which introduces air bubbles. Pre-mixed compounds can often be used straight from the bucket, though a quick stir helps.
Applying the Skim Coat
This is where technique matters most. Work in manageable sections — around 1–2 square metres at a time.
First Coat
- Load your hawk with compound and scoop a small amount onto your trowel.
- Hold the trowel at a low angle (about 15–20 degrees) to the wall and spread the compound in long, sweeping strokes.
- Work from top to bottom, overlapping each pass slightly.
- Aim for an even layer of around 1–2 mm. Don't worry about perfection on the first coat — it's a base.
- Once the section is covered, go back over it with the trowel held at a slightly higher angle to flatten ridges and trowel marks.
- Allow to dry fully before applying the second coat.
Second Coat
Apply a second thin coat (often 1 mm or less) perpendicular to the first. This cross-hatching technique helps fill any lines left by the first pass. Finish by "polishing" the surface with a clean, slightly damp trowel using firm, flat strokes.
Sanding and Finishing
Once fully dry (check the product instructions — don't rush this), sand the surface lightly with 120-grit paper on a pole sander, then finish with 180-grit. Use a bright side-light to reveal any remaining high spots or hollows. Wipe away dust with a damp cloth and allow to dry before priming.
Always prime before painting. A quality sealer-primer from Resene or Dulux will seal the fresh compound and ensure your topcoat adheres evenly and doesn't look patchy.
Common Mistakes to Avoid
- Applying coats that are too thick — thin coats dry better and crack less
- Skipping the bonding agent on porous surfaces
- Not allowing each coat to dry fully before the next
- Using a dirty trowel (dried lumps will drag and scratch the surface)
- Painting without priming first
When to Call a Professional
Skim coating an entire room, working with damaged or damp plaster, or achieving a Level 5 finish (the highest standard, required under some specifications) is genuinely skilled work. BRANZ research consistently shows that surface preparation and finishing quality have a major impact on how long a paint job lasts.
If your walls have significant cracking, water damage, or you're working around GIB plasterboard that needs stopping to meet the NZ Building Code, it's worth bringing in a qualified plasterer. You can find licensed local plasterers on tradedirectory.co.nz — a professional will save you time and deliver a result that's hard to match as a first-timer.
Note: Skim coating itself is not restricted work under NZ law, but any work involving structural elements, wet areas (as defined under NZ Building Code clause E3), or weathertightness may require a building consent and work by a Licensed Building Practitioner.