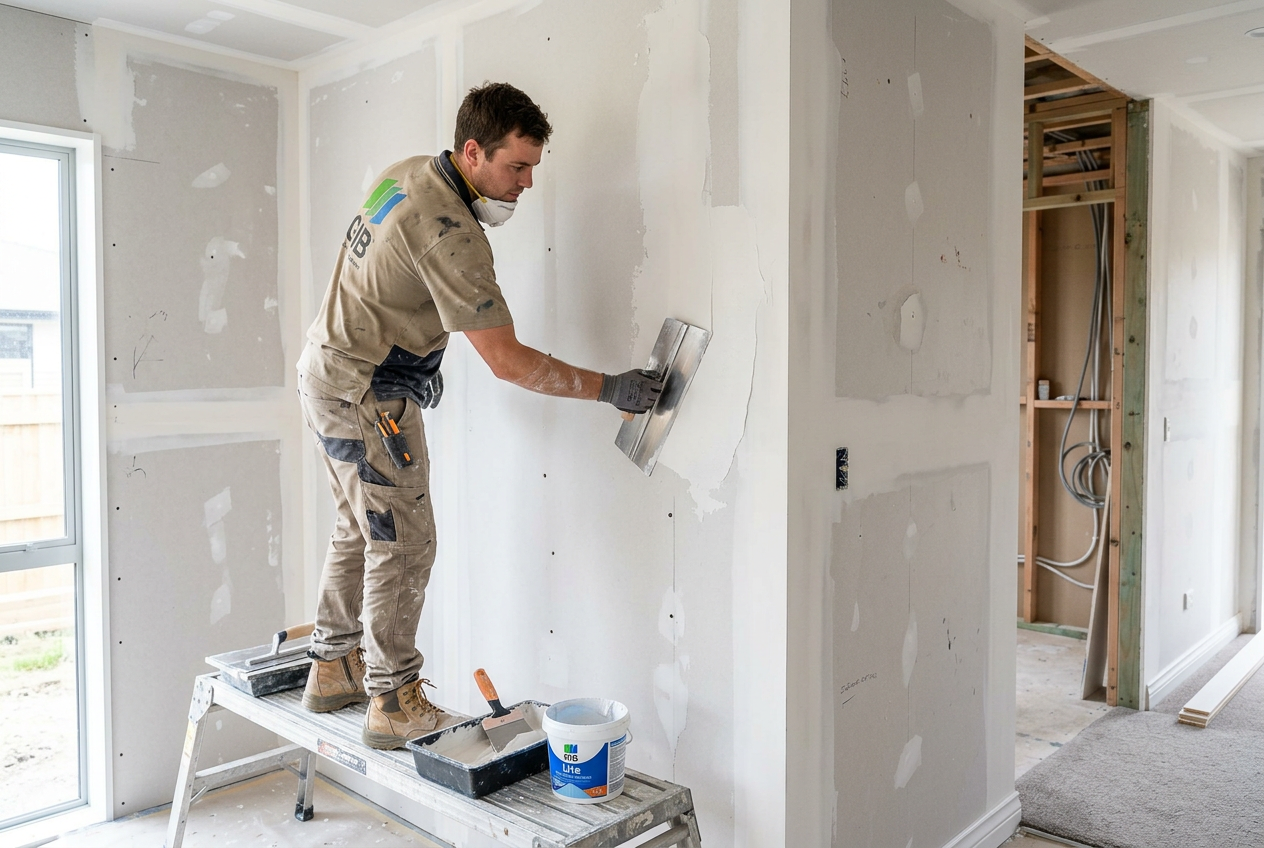
Water stains, sagging plaster, and crumbling ceilings are a common headache for NZ homeowners — especially after a leaky roof, burst pipe, or heavy rain event. The good news is that many water-damaged plaster ceilings can be repaired with patience and the right materials. The key is to fix the source of the water first, then tackle the plaster.
Step 1: Find and Fix the Water Source
Before you touch the ceiling, stop the water ingress. Repairing plaster over an active leak is a waste of time and money. Common culprits in NZ homes include:
- Cracked or missing roof tiles and flashings
- Blocked gutters causing overflow
- Leaking pipes or bathroom waste fittings above the ceiling
- Condensation from poor ventilation (common in older NZ homes)
If the leak involves plumbing, note that drain, waste, and water supply work is restricted under the Plumbers, Gasfitters, and Drainlayers Act. You must use a licensed tradesperson — check the Plumbers Gasfitters & Drainlayers Board to verify credentials. Once the source is fixed, allow the ceiling to dry thoroughly — this can take one to several weeks depending on how saturated the area is.
Step 2: Assess the Damage
Once dry, press gently on the affected area. You're dealing with one of two ceiling types:
| Ceiling Type | How to Identify | Repair Approach |
|---|---|---|
| Solid plaster (older homes) | Thick, heavy, often on timber lath | Patch with base coat + finish plaster |
| GIB plasterboard (modern) | Hollow sound when tapped, paper-faced | Cut out and replace damaged sheet |
If large sections feel soft, spongy, or are visibly sagging, they may need to be cut out entirely. Sagging plaster is a safety hazard — keep people out of the room until it's made safe.
Step 3: Gather Your Tools and Materials
For most ceiling patch repairs you'll need:
- Safety glasses and a dust mask (P2 rated)
- Drop sheet and ladder
- Broad knife / plasterer's trowel
- Sandpaper (medium and fine grit)
- Plasterboard offcuts or solid plaster patching compound
- Fibreglass mesh tape or paper jointing tape
- Cornice cement or setting-type compound
- Ceiling sealer/primer
- Ceiling paint
For GIB plasterboard repairs, GIB publishes detailed technical information on their products and jointing systems. Products like Ardex or Mapei jointing compounds are also widely used by NZ tradespeople — see Ardex and Mapei for product guides.
Step 4: Remove Damaged Material
- Use a broad knife to carefully cut away all loose, soft, or crumbling plaster back to a firm edge.
- For plasterboard, use a jab saw to cut a neat rectangle or square, cutting back to the nearest ceiling joists so you have something solid to fix new board to.
- Vacuum up dust and debris before proceeding.
Safety note: Older NZ homes (pre-1980s) may have ceilings containing asbestos in textured coatings or backing materials. If you're unsure, do not sand or disturb the material — get it tested by a qualified assessor first. WorkSafe NZ has guidance on managing asbestos safely.
Step 5: Apply the Patch
For plasterboard ceilings:
- Cut a piece of new GIB board to fit the opening and screw it to the joists.
- Apply paper or fibreglass mesh tape over all joins.
- Apply jointing compound in thin coats (typically two to three coats), feathering the edges wide so the patch blends in.
- Allow each coat to dry fully before applying the next.
- Sand smooth between coats using fine-grit paper.
For solid plaster ceilings:
- Dampen the edges of the existing plaster to improve adhesion.
- Apply a base coat (scratch coat) of plaster, pressing it firmly into the lath or substrate.
- Once firm but not fully set, scratch the surface to key the next coat.
- Apply a finish coat and trowel smooth.
- Allow to cure fully before painting.
Step 6: Prime and Paint
Water-damaged areas must be sealed before painting to prevent stains bleeding through. Use a quality stain-blocking ceiling sealer — ask at your local paint store. Resene and Dulux both offer suitable primers and ceiling paints in a range of whites and tints. Apply at least two coats of ceiling paint, feathering out well beyond the repair so the sheen matches.
When to Call a Professional
Call a qualified plasterer if:
- The damaged area is larger than roughly half a square metre
- The ceiling is sagging or structurally compromised
- You suspect asbestos
- You want a seamless, invisible repair (matching old texture is a skilled job)
- The damage is in a bathroom or wet area (NZ Building Code clause E3 sets strict requirements for wet area linings)
For electrical wiring near the damaged area, do not touch it yourself — all electrical work is restricted work under NZ law. Check the Electrical Workers Registration Board to find a registered electrician.
You can find qualified local plasterers and other tradespeople at tradedirectory.co.nz.