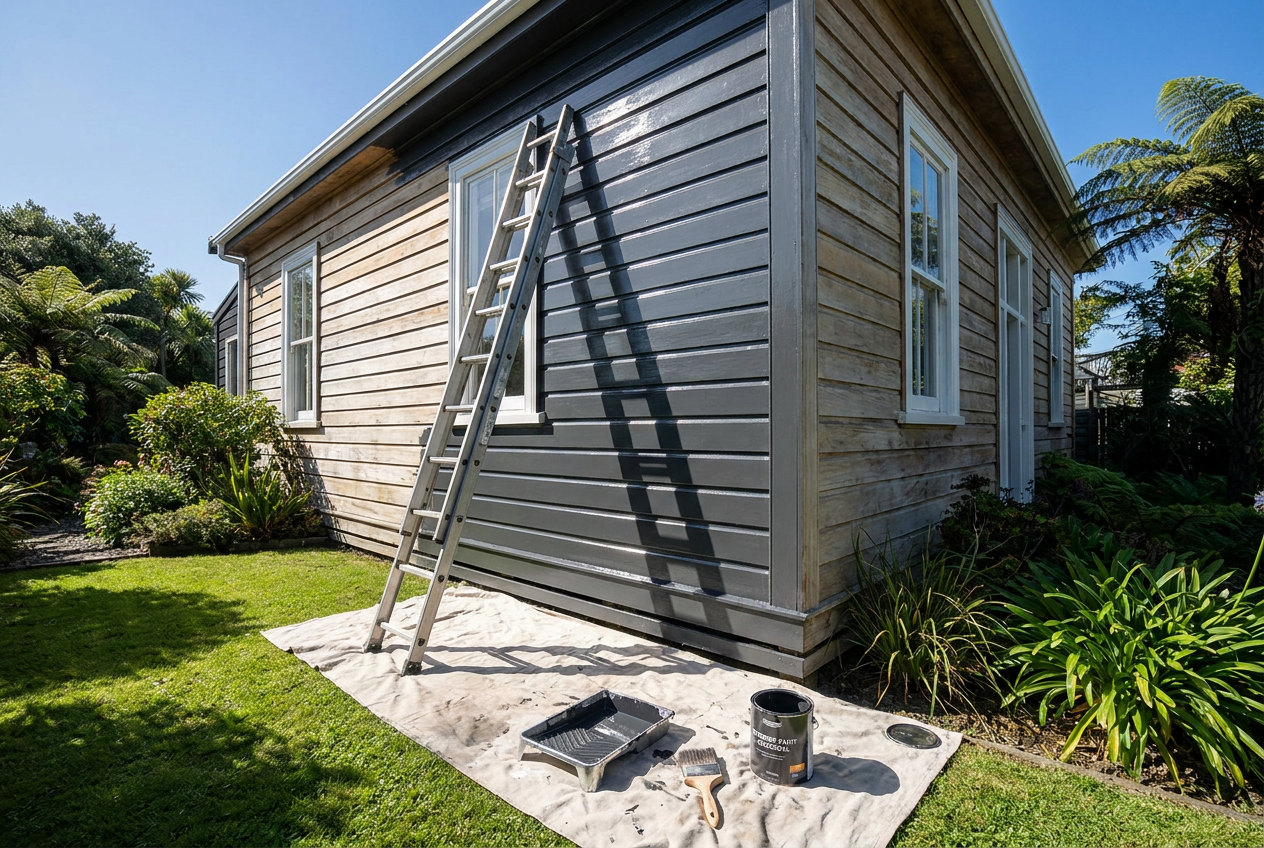
A fresh coat of paint can transform your home's exterior, but the real secret to a finish that lasts is thorough preparation. Skip the prep and even the best paint will peel, bubble, or crack within a few years. Whether your weatherboards are timber, fibre cement, or a composite material, the steps below will set you up for a professional-quality result.
Identify Your Weatherboard Type
Before you pick up a scraper, know what you're working with. The most common types in New Zealand homes are:
- Timber weatherboards – rimu, pine, or cedar; common in older villas and bungalows
- Fibre cement weatherboards – such as James Hardie products (e.g. Harditex, Linea); popular in homes built from the 1980s onward
- Composite or engineered wood – requires specific primer systems; check the manufacturer's data sheet
Each material has slightly different prep requirements, particularly around priming, so always read the paint manufacturer's technical data sheet before you start.
Safety First — Check for Lead Paint and Asbestos
If your home was built before 1980, there is a real chance the existing paint contains lead. Sanding or scraping lead paint creates hazardous dust. Purchase a lead test kit from your local hardware store, or have a professional assess the surface. WorkSafe NZ has clear guidance on working safely with lead paint.
Similarly, some older fibre cement and textured coatings may contain asbestos. If you're unsure, don't sand or disturb the surface — get it tested first.
Step 1 — Clean the Surface Thoroughly
Dirt, mould, salt, and chalky old paint all prevent new paint from bonding properly. This step is non-negotiable.
- Wash down the boards using a garden hose or low-pressure water blaster. High-pressure washing can force water behind boards and cause swelling in timber — keep the pressure moderate and angle the nozzle downward.
- Treat mould and mildew with a dedicated fungicidal wash or a diluted bleach solution. Mould is extremely common in New Zealand's humid climate, especially on south-facing walls. Allow the wash to dwell for the recommended time, then rinse thoroughly.
- Remove salt deposits if you're near the coast — a thorough fresh-water rinse is essential.
- Allow the boards to dry completely — this can take several days in cooler or overcast weather. Painting over damp timber is one of the most common causes of premature paint failure.
Step 2 — Scrape and Sand
Once dry, inspect every board carefully:
- Scrape away any loose, flaking, or peeling paint with a quality scraper. Feather the edges of remaining paint so there's no hard ridge.
- Sand the scraped areas (and any glossy surfaces) to give the new paint something to grip. Work with the grain on timber boards. Start with a medium-grit paper and finish with a finer grit for a smooth surface.
- Remove all dust with a dry brush or cloth before moving on.
Step 3 — Repair Damaged Boards and Gaps
This is the stage where you address any structural issues:
- Fill cracks and holes in timber with a flexible exterior-grade filler. Rigid fillers can crack as timber moves with temperature and moisture changes.
- Replace any badly rotted boards entirely — filler is not a substitute for sound timber. Check the NZ Building Code requirements if you're making significant repairs.
- Re-seal gaps around window and door joinery with a paintable exterior sealant (such as a product from Sika). This keeps water out and is critical for weathertightness.
- On fibre cement boards, check for any cracked or chipped edges and repair with a suitable patching compound per the manufacturer's instructions.
Allow all fillers and sealants to cure fully before sanding smooth and priming.
Step 4 — Prime the Surface
Priming is not optional. A good primer seals the surface, improves adhesion, and helps the topcoat colour go on evenly.
| Surface | Recommended Primer Type |
|---|---|
| Bare or repaired timber | Solvent-based or water-based timber primer |
| Fibre cement (new or bare) | Alkali-resistant or fibre cement primer |
| Previously painted (sound) | Adhesion primer or direct-to-surface topcoat |
| Heavily weathered/chalky | Penetrating primer or sealer first |
- Apply primer to all bare timber end-grain — this is where moisture enters most readily.
- Use a brush to back-prime the back face of any boards you've removed or replaced before re-fixing them. This dramatically extends the life of the timber.
- Allow the primer to dry fully per the manufacturer's instructions before applying topcoats.
Brands like Resene and Dulux offer comprehensive exterior primer systems with technical data sheets available on their websites — always match your primer to your chosen topcoat brand where possible.
Step 5 — Final Check Before You Paint
- Check the weather forecast. Aim for a dry spell of at least two to three days. Don't paint in direct hot sun, high winds, or if rain is expected within a few hours.
- Surface temperature matters — most exterior paints require the surface to be above a minimum temperature (check the tin). Early mornings in winter can be too cold.
- Mask off windows, doors, and trim with quality painter's tape.
When to Call a Professional
While a competent DIYer can handle prep and painting on a straightforward single-storey home, there are situations where you should bring in a qualified painter:
- Working at height on two-storey or steep-roofed homes — scaffolding and fall-arrest systems are required under WorkSafe NZ guidelines
- Lead paint removal on older homes — a professional with the right PPE and disposal methods is strongly recommended
- Suspected asbestos — do not disturb; call a licensed asbestos assessor
- Extensive rot or weathertightness issues — these may require a Licensed Building Practitioner (LBP) to carry out restricted building work
- Large or complex projects where a poor result would be costly to fix
You can find qualified, local painters on tradedirectory.co.nz — look for members with solid reviews and relevant experience with your board type.