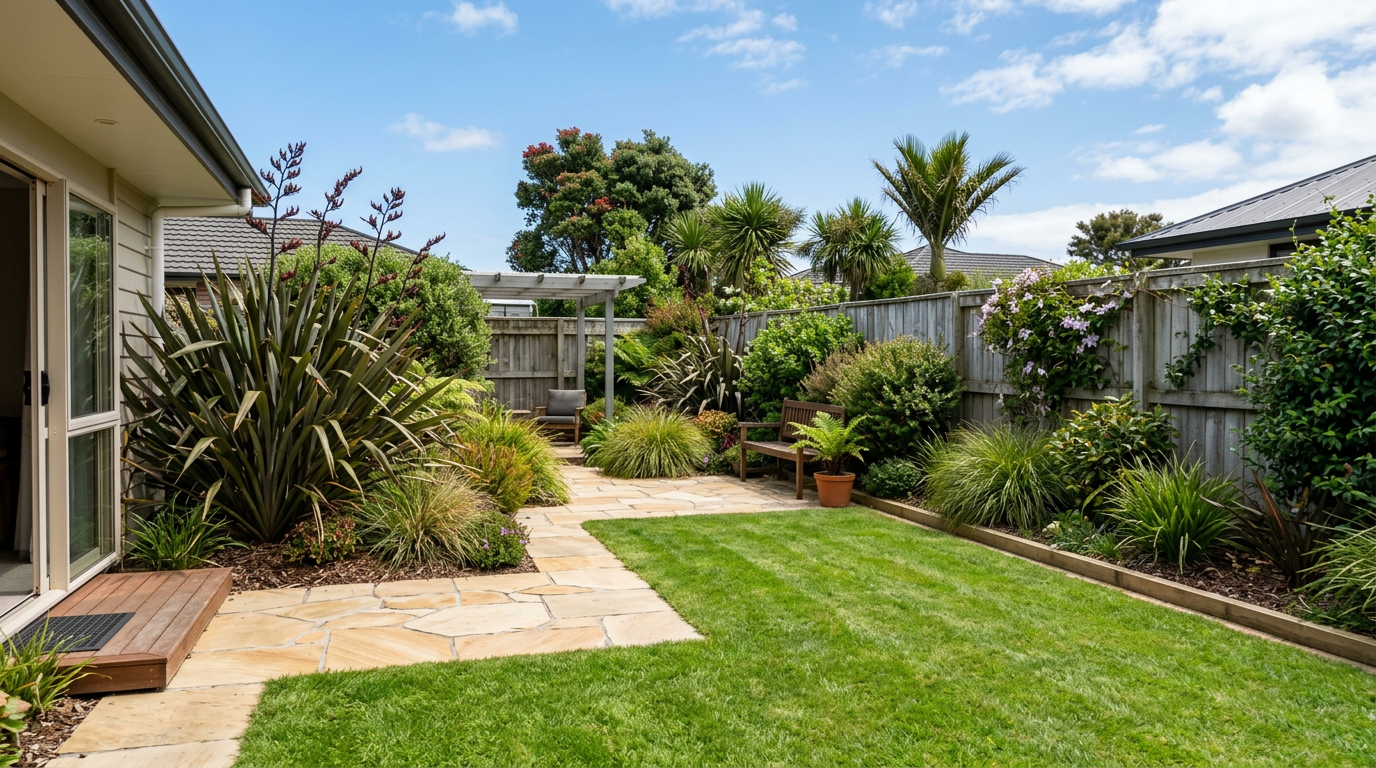
Planting a native hedge along your boundary fence is one of the most rewarding things you can do for your property — it adds privacy, supports local wildlife, and looks great year-round. With the right species choice and a bit of upfront effort, a native hedge will establish quickly and need far less maintenance than many exotic alternatives.
Why Choose Native Species?
Native plants are adapted to New Zealand's soils and climate, making them generally more resilient once established. They also provide habitat and food for native birds and insects, support biodiversity, and are often more drought-tolerant than exotic hedging plants. Popular choices include kōwhai, pittosporum (kōhūhū), griselinia (kapuka), corokia, mānuka, and flax (harakeke) for lower borders.
For a dense, formal hedge, griselinia littoralis (kapuka) is one of the most popular choices across New Zealand — it's fast-growing, wind-hardy, and handles coastal conditions well. Pittosporum tenuifolium is another excellent option, with attractive dark stems and a tidy growth habit.
Checking Rules Before You Start
Before you dig, check a few things:
- Boundary setbacks: Your local council may have rules about planting height or proximity to the boundary. Check your district plan or ring your council to confirm.
- Underground services: Contact Dial Before You Dig (or your local lines company) to identify any buried pipes or cables along the fence line.
- Consent: Hedging is generally exempt from building consent, but if you're planning any associated structures (like retaining walls over 1.5 m), check with your council. See MBIE Building Performance for Schedule 1 exemption guidance.
- Neighbour relations: A quick conversation with your neighbour about your plans is always a good idea, especially if roots or shade could affect their property.
Choosing the Right Species for Your Conditions
Different parts of New Zealand have very different climates, so match your species to your site:
| Species | Height (mature) | Best for | Notes |
|---|---|---|---|
| Griselinia littoralis | 4–8 m | Coastal, windy sites | Fast-growing, clips well |
| Pittosporum tenuifolium | 3–6 m | Most NZ regions | Attractive foliage, good bird habitat |
| Corokia cotoneaster | 1.5–3 m | Dry, exposed sites | Slow-growing, very hardy |
| Mānuka (Leptospermum) | 2–5 m | Wet or poor soils | Great for bees and birds |
| Harakeke (flax) | 1–2 m | Low borders, wet areas | Bold texture, no clipping needed |
For colder inland areas (Central Otago, Canterbury high country), check with a local nursery about frost hardiness before purchasing.
Preparing the Soil
Good soil preparation is the single biggest factor in hedge success.
- Mark your line — use a string line along the fence to keep planting straight.
- Clear the area — remove grass, weeds, and any debris at least 600 mm wide along the planting line.
- Dig a trench — for most hedging plants, dig 400–500 mm deep and wide. Break up compacted subsoil with a fork.
- Improve the soil — mix in compost or well-rotted organic matter. If your soil is heavy clay, add gypsum to improve drainage. Sandy soils benefit from extra organic matter to retain moisture.
- Check drainage — fill the trench with water and see how quickly it drains. Native plants generally dislike waterlogged roots.
Planting Your Hedge
- Best time to plant is late autumn to early spring when the ground is moist and temperatures are mild — this reduces transplant stress.
- Spacing: For a dense hedge, space plants 600 mm–1 m apart for most medium species. Griselinia can go up to 1 m apart; slower-growing corokia can be planted at 500 mm.
- Planting depth: Plant at the same depth as the nursery pot — don't bury the stem.
- Backfill and firm the soil around the roots, removing air pockets.
- Water in well with a slow, deep soak immediately after planting.
- Mulch around the base with bark or wood chip mulch (50–75 mm deep), keeping it clear of the stem. This retains moisture and suppresses weeds.
Aftercare and Establishment
The first two summers are critical. Key tasks:
- Water regularly — deep watering once or twice a week in dry spells is better than frequent shallow watering. Established natives are drought-tolerant, but young plants are not.
- Weed control — keep the mulched strip weed-free to reduce competition.
- Fertilise lightly — a slow-release native plant fertiliser in spring can help establishment. Avoid high-nitrogen fertilisers, which can cause lush, weak growth.
- First trim — wait until plants are well established (usually 12–18 months) before shaping. A light trim encourages bushy, dense growth. Use sharp hedging shears or a hedging trimmer.
- Ongoing trimming — most native hedges need trimming once or twice a year, typically in late spring after any flowering, and again in late summer.
When to Call a Professional
Most homeowners can plant a hedge themselves, but there are times when a professional landscaper is worth calling in:
- If your site has significant slope, drainage issues, or poor soil that needs expert assessment.
- If you need retaining walls or irrigation systems installed alongside the hedge.
- If you're unsure about underground services or boundary rules.
- If you want a large-scale planting done quickly and correctly.
A qualified landscaper can also advise on the best species for your specific microclimate and soil type. You can find experienced local landscapers on tradedirectory.co.nz.