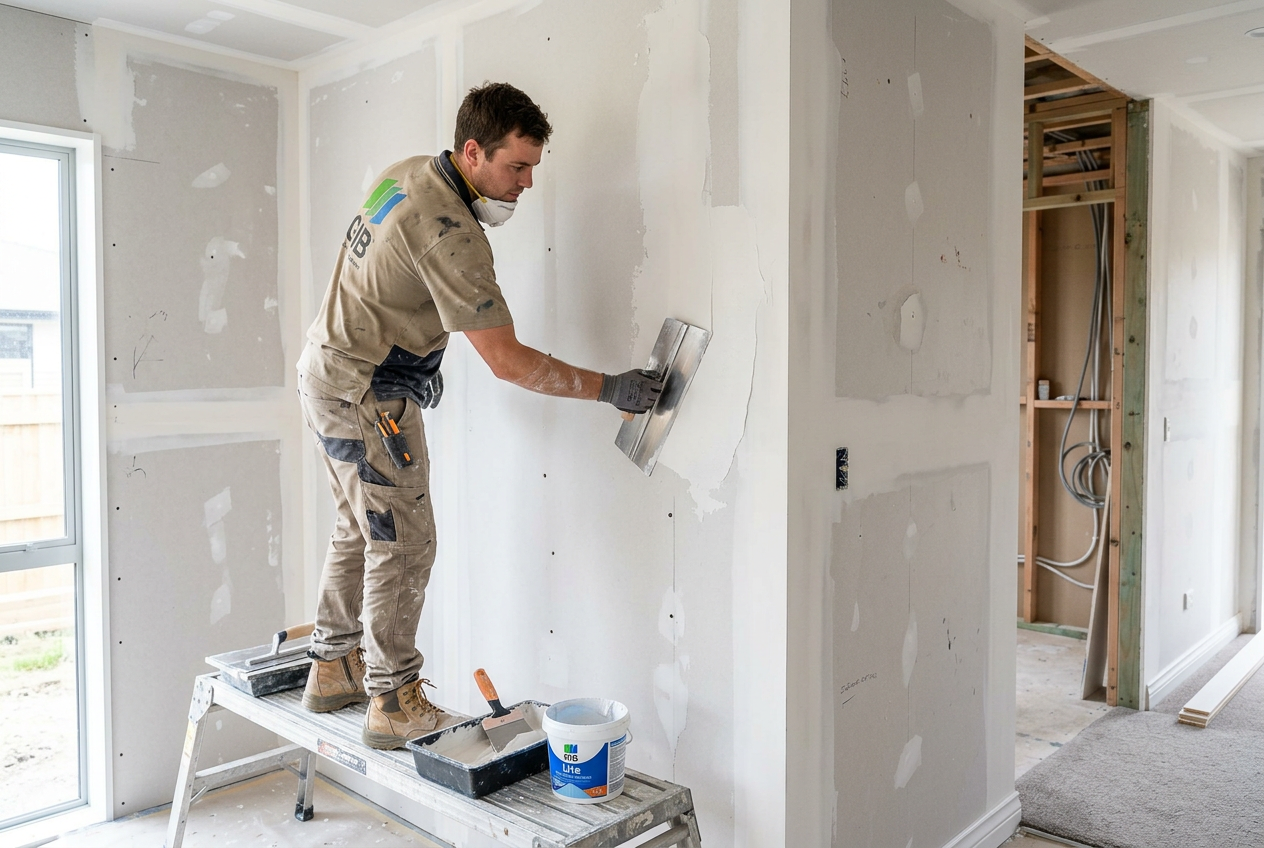
A small hole in your plasterboard wall — from a doorknob, a stray screw, or a removed wall anchor — is one of those repairs that looks daunting but is very manageable for a careful DIYer. With the right materials and a bit of patience between coats, you can achieve a finish that's virtually invisible once painted.
What You'll Need
Before you start, gather your materials. Most of these are available at Bunnings or Mitre 10.
- Gib Tradeset 45 or Gib Basecoat – setting-type compounds for filling
- Gib EasyFinish or a pre-mixed finishing compound – for the final skim coat
- Fibreglass mesh tape or paper jointing tape
- A backing patch or Gib repair patch (for holes larger than about 20 mm)
- 150 mm and 200 mm broad knives (plasterer's spatulas)
- Fine-grit sandpaper (120–180 grit) and a sanding block
- Primer and topcoat paint matched to your wall
- Safety glasses and a dust mask when sanding
Understanding the Size of the Hole
The repair method depends on how big the hole is:
| Hole Size | Recommended Method |
|---|---|
| Up to ~10 mm (nail/screw hole) | Fill directly with compound, no tape needed |
| 10–75 mm (small punch-through) | Mesh patch or self-adhesive repair patch + compound |
| 75–150 mm (medium hole) | Backing board method or clip-in plasterboard patch |
| Larger than 150 mm | Consider calling a plasterer |
This guide focuses on holes up to around 75 mm — the sweet spot for confident DIY repairs.
Step 1 – Prepare the Hole
Clean up any loose or crumbling edges around the hole. If the paper face of the Gib board is torn and lifting, trim it back neatly with a sharp utility knife. Dust out the cavity. For holes with sharp or jagged edges, lightly sand the perimeter so the patch has a smooth surface to bond to.
Step 2 – Apply a Backing Patch (for Holes Over ~20 mm)
For anything larger than a small screw hole, you need something for the compound to bridge across. Options include:
- Self-adhesive fibreglass mesh patches – peel and stick directly over the hole; quick and easy
- Clip-in plasterboard patches – a small piece of Gib board held in place with a clip mechanism; great for cleaner, stronger repairs
- Timber backing strip – feed a thin piece of timber through the hole, hold it against the back of the board, and screw through the face to hold it; then cut a piece of Gib to fit and screw it to the timber
For tiny holes (nail pops, small anchors), skip straight to Step 3.
Step 3 – First Coat of Compound
Mix your setting compound (such as Gib Tradeset 45) to a smooth, peanut-butter consistency — not too wet, not too stiff. Apply it firmly over the patch or hole with your broad knife, pressing it into any gaps and feathering the edges outward onto the surrounding wall. Embed your paper or mesh tape into this coat if you're using tape, pressing it flat and smoothing compound over the top.
Allow this coat to set fully. Setting compounds harden by chemical reaction, not just drying, so don't rush it.
Step 4 – Second and Third Coats
Once the first coat is hard, lightly sand any ridges or high spots, wipe away dust, and apply a second coat with a wider knife, feathering the edges further out. The goal each time is to blend the repair into the surrounding wall.
A third thin finishing coat using a pre-mixed finishing compound (such as Gib EasyFinish) gives a smoother surface that's easier to sand. Each coat should be thinner than the last.
Tip: Feather each coat at least 50–100 mm beyond the previous one. This gradual blending is the secret to an invisible repair.
Step 5 – Sand and Prime
Once the final coat is fully dry, sand the area smooth with 120–180 grit sandpaper. Work in good light — a torch held at a low angle (raking light) will reveal any lumps or hollows. Wipe away all dust with a damp cloth and allow to dry.
Apply a plasterboard primer or a PVA-based sealer before painting. Skipping primer is a common mistake — unprimed compound absorbs paint unevenly and leaves a dull patch called flashing, even after multiple topcoats. Resene and Dulux both offer suitable primers for plasterboard repairs.
Step 6 – Paint to Match
Apply your topcoat in the same sheen level as the surrounding wall. If you don't have leftover paint, take a small chip to your local paint store — Resene and Dulux both offer colour-matching services. Two thin topcoats will usually give the best result.
Tips for a Professional Finish
- Don't rush drying times. Applying the next coat too soon traps moisture and causes cracking.
- Keep your tools clean. Dried lumps of compound on your knife will drag and score the wet surface.
- Work in a well-ventilated area and wear a dust mask when sanding — plasterboard dust is a nuisance to lungs.
- Check WorkSafe NZ guidance if you're working in an older home where you suspect the existing texture coat or paint may contain hazardous materials.
When to Call a Professional
Some situations are best left to a qualified plasterer:
- Holes larger than about 150 mm — these often need new nogging (timber backing) and a proper plasterboard patch, which requires more skill to finish seamlessly.
- Wet area walls (bathrooms, laundries) — repairs near showers or baths must comply with NZ Building Code clause E3 and may require waterproof membrane work. MBIE Building Performance has guidance on wet area requirements.
- Textured ceilings or walls — matching existing texture (such as a stipple or skip-trowel finish) is a skilled job.
- Suspected structural damage — if the hole reveals damaged framing, consult a Licensed Building Practitioner.
- Any electrical wiring visible in the cavity — do not touch it. Electrical work is restricted work under NZ law and must be carried out by a registered electrician licensed with the Electrical Workers Registration Board (EWRB).
If you'd rather leave it to the experts, you can find qualified local plasterers on tradedirectory.co.nz.