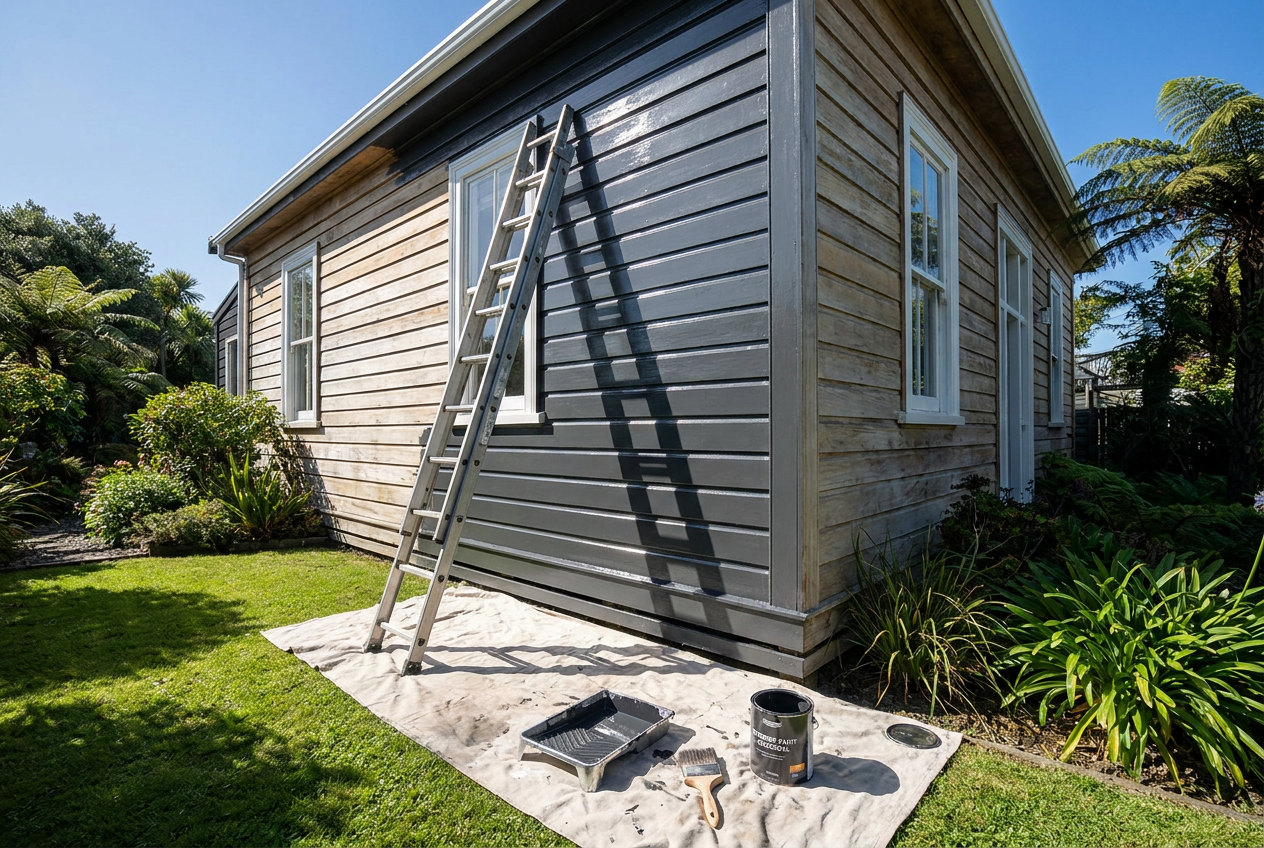
Painting bare exterior timber for the first time is one of the most satisfying DIY projects you can tackle — but it's also one where preparation makes or breaks the result. New Zealand's variable climate, from the humid north to the UV-intense south, means a proper paint system is essential to protect your timber for years to come.
Understanding Why Bare Timber Needs Special Treatment
Unpainted timber is porous and thirsty. Without a proper primer, topcoats can peel, blister, or fail within a season. Bare timber also contains natural resins and tannins (especially in species like macrocarpa or rimu) that can bleed through paint and cause staining. The goal of a first-time paint system is to seal the wood, lock in any extractives, and build a stable foundation for your topcoats.
BRANZ research consistently shows that paint failure on timber is most often caused by inadequate surface preparation — not the paint itself.
Step 1 — Choose the Right Timber and Check Its Condition
Before you open a tin, assess what you're working with:
- Moisture content: Timber should be dry before painting — ideally below 18% moisture content. Use a moisture meter (available from Bunnings or Mitre 10). Painting wet timber is the number-one cause of early paint failure.
- Species: Some NZ timbers (macrocarpa, cedar, redwood) are high in tannins and need a stain-blocking primer.
- Treatment: H3.1 or H3.2 treated pine is common for exterior use in NZ. Check the treatment level is appropriate for your application under the NZ Building Code.
- Rough-sawn vs dressed: Rough-sawn timber holds paint well due to its texture; dressed (smooth) timber may need a light sand to give the primer something to grip.
Step 2 — Prepare the Surface Thoroughly
Good prep is 80% of the job:
- Clean the timber — Remove dust, dirt, mill glaze, and any mould or mildew with a suitable cleaner. For mould, use a diluted bleach solution or a dedicated timber wash, then rinse well and allow to dry fully.
- Sand — Lightly sand smooth surfaces with 80–120 grit sandpaper to open the grain and improve adhesion. Always sand with the grain.
- Fill gaps and cracks — Use a flexible exterior-grade filler or caulk for joints and gaps. Rigid fillers can crack as timber moves with temperature changes.
- Dust off — Wipe down with a dry cloth or brush before priming.
Step 3 — Apply a Quality Primer
Priming is non-negotiable on bare timber. A primer penetrates the wood, seals the surface, and gives topcoats something to bond to. For first-time exterior timber, you have a few options:
| Primer Type | Best For | Notes |
|---|---|---|
| Oil-based wood primer | All bare timber, high-tannin species | Excellent penetration; longer dry time |
| Water-based acrylic primer | Treated pine, low-resin timber | Faster dry time; lower VOCs |
| Stain-blocking primer | Macrocarpa, cedar, knots | Prevents tannin and resin bleed-through |
Resene and Dulux both offer well-regarded exterior timber primer systems with technical data sheets to guide your choice. Wattyl is another trusted NZ option.
Apply primer generously, paying special attention to end grain — this is where moisture enters most readily. Two coats of primer on end grain is good practice.
Step 4 — Apply Undercoat (If Required)
Some paint systems include a separate undercoat between primer and topcoat. Check the paint manufacturer's system recommendations — some modern acrylic systems combine primer and undercoat in one product. Follow the product's recoat times carefully.
Step 5 — Apply Topcoats
For exterior timber, apply at least two topcoats of a quality exterior paint:
- Acrylic waterborne paints are the modern standard — flexible, breathable, and durable in NZ conditions.
- Gloss or semi-gloss finishes are more durable and easier to clean than flat finishes on exterior timber.
- Apply in dry conditions, ideally when temperatures are between 10°C and 30°C, and avoid painting in direct hot sun or when rain is forecast within a few hours.
- Use a quality brush for cutting in and a roller or brush for flat areas. A good brush gives better penetration into the grain than a roller alone.
Painting Tips for NZ Conditions
- UV exposure is intense in NZ — choose a topcoat with good UV resistance, especially for north-facing surfaces.
- Coastal areas require paints with good salt and moisture resistance. Check the product's suitability with your paint supplier.
- Weatherboard profiles (like rusticated or bevel-back) need careful brush work to get paint into the rebates and laps — these spots are where water sits and paint fails first.
When to Call a Professional
While painting is generally a DIY-friendly task, there are times when it pays to bring in a qualified painter:
- Large or complex projects (multi-storey homes, extensive weatherboard replacement)
- Timber that shows signs of rot, structural damage, or significant mould — these may involve Licensed Building Practitioner (LBP) work before painting can begin (see LBP)
- If you're unsure about the correct paint system for your specific timber species or climate zone
- When working at height — always follow WorkSafe NZ guidelines for working safely on ladders and scaffolding
A professional painter will also be able to spot underlying issues like inadequate flashings or gaps that could cause moisture problems down the track. You can find qualified local painters on tradedirectory.co.nz.