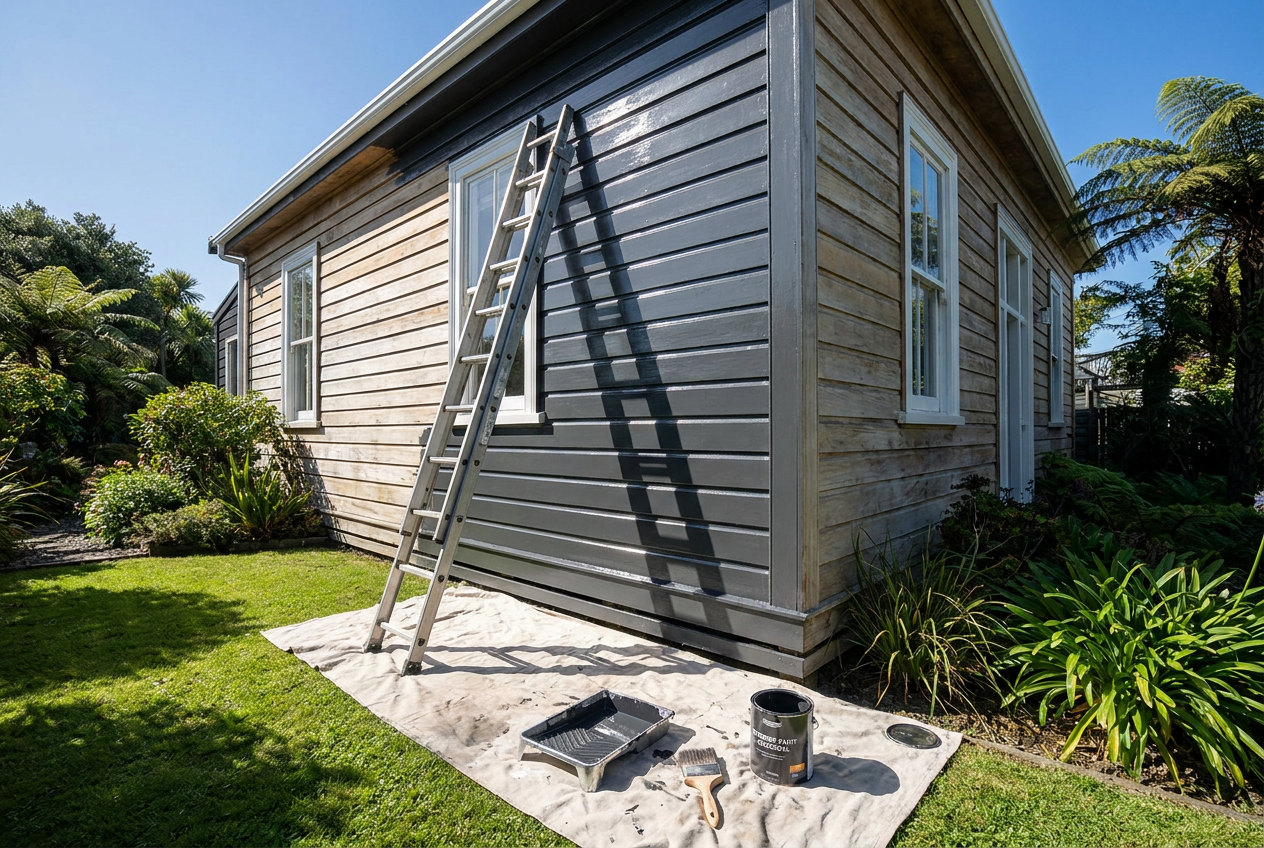
Painting a concrete or garage floor is one of the most satisfying DIY projects you can tackle — it transforms a dull, dusty slab into a clean, hardwearing surface. Done properly, a good floor coating can last many years and make your garage or workshop far easier to keep clean. The key to success is almost entirely in the preparation, so don't rush that stage.
Choosing the Right Paint or Coating
Not all paints are suitable for concrete floors. You need a product specifically formulated to bond with concrete and withstand foot traffic, vehicle tyres, oil drips, and moisture. The main options available in NZ are:
| Type | Durability | Best For | Notes |
|---|---|---|---|
| Acrylic concrete paint | Moderate | Foot traffic, workshops | Easy to apply, water-based, lower cost |
| Epoxy floor coating | High | Garages, heavy use | Two-part mix, very hard-wearing |
| Polyurethane coating | Very high | Commercial, high traffic | Excellent chemical resistance |
For most home garages, a two-part epoxy coating is the gold standard. Resene and Dulux both offer concrete and floor coating systems suitable for residential use. Wattyl also has floor paint options worth considering. Check the product's technical data sheet to confirm it suits your specific use — for example, some coatings are not recommended under vehicle tyres in hot weather.
What You'll Need
- Stiff-bristle broom and vacuum
- Concrete degreaser or sugar soap
- Etching solution (hydrochloric/muriatic acid or phosphoric acid-based) or mechanical grinder/scarifier
- Pressure washer (optional but helpful)
- Concrete filler or patching compound for cracks
- Roller with a medium-nap sleeve (around 12–15 mm), extension pole
- Paintbrush for edges
- Appropriate primer (check your paint system)
- Your chosen floor paint or epoxy kit
- PPE: safety glasses, chemical-resistant gloves, old clothes, and good ventilation
Step 1 — Clean the Surface Thoroughly
This is the most critical step. Any grease, oil, dust, or contamination will prevent the paint from bonding properly.
- Sweep and vacuum the entire floor.
- Treat oil stains with a concrete degreaser — scrub well and rinse thoroughly.
- Fill any cracks or holes with a suitable concrete patching product. Allow to cure fully before proceeding.
- Check for moisture: tape a piece of plastic sheeting (about 500 mm square) to the floor with all edges sealed and leave it for 24 hours. If moisture appears underneath, you have a rising damp issue that needs addressing before painting.
Step 2 — Etch or Profile the Concrete
For paint to bond well, the concrete surface needs to be slightly rough and open-pored — this is called surface profile. New or smooth concrete especially needs this step.
- Acid etching is the most common DIY method. Use a diluted acid etching solution (follow the manufacturer's instructions carefully). Apply, scrub, then rinse very thoroughly with water. The surface should feel like fine sandpaper when dry.
- Mechanical preparation (grinding or scarifying) gives a more consistent result and is preferred by professionals, particularly for epoxy coatings. You can hire floor grinders from most hire centres.
Always wear safety glasses and chemical-resistant gloves when working with etching solutions. Refer to WorkSafe NZ guidance on handling hazardous substances safely.
Allow the floor to dry completely — typically at least 24–48 hours, longer in cooler or humid NZ conditions.
Step 3 — Apply Primer
Many floor coating systems require a dedicated primer or sealer to improve adhesion and seal the concrete. Check your chosen product's instructions — skipping this step is a common cause of peeling and failure. Apply the primer evenly with a roller, cutting in at edges with a brush. Allow to dry as per the manufacturer's directions.
Step 4 — Mix and Apply the Floor Coating
If you're using a two-part epoxy, mix the components carefully according to the instructions. Once mixed, you have a limited working time (called pot life) — typically an hour or two, depending on temperature. Work in manageable sections.
- Apply in thin, even coats rather than one thick coat.
- Use a medium-nap roller and work the paint in one direction, then lightly cross-roll.
- Cut in around edges and corners with a brush first.
- Most systems require two topcoats for full coverage and durability.
- If you want a non-slip finish, broadcast fine anti-slip aggregate into the wet first topcoat before it cures.
Allow each coat to dry fully before applying the next — check the product's recoat window. Don't rush this in cold or damp weather; NZ winters can significantly extend drying times.
Step 5 — Curing and Care
Epoxy and polyurethane coatings need time to fully cure before they can handle vehicle traffic — this can be several days to a week, depending on temperature. Light foot traffic may be possible sooner. Read the product data sheet carefully.
Once cured, your floor is easy to maintain: sweep regularly and mop with a mild detergent. Avoid harsh solvents that could damage the coating.
Tips for a Better Result
- Temperature matters: most coatings should be applied when the concrete and air temperature is between roughly 10°C and 30°C. Avoid painting in direct hot sunlight or on very cold days.
- Don't paint over a freshly laid slab — new concrete typically needs to cure for at least 28 days, and some manufacturers recommend longer.
- If your garage floor has existing paint that is peeling, you'll need to remove it fully before recoating — this usually means mechanical grinding.
- BRANZ has useful technical guidance on concrete coatings and surface preparation if you want to dig deeper.
When to Call a Professional
Painting a concrete floor is generally within reach of a capable DIYer, but there are situations where a professional painter is the better call:
- Large areas where hiring and operating a floor grinder is impractical
- Floors with significant cracking, moisture issues, or contamination
- If you want a high-build epoxy or decorative flake system applied to a professional standard
- Commercial or rental properties where durability and finish quality are critical
A qualified painter will have access to professional-grade equipment and coatings, and can ensure the surface prep is done correctly — which is where most DIY floor paint jobs fail. You can find experienced local painters on tradedirectory.co.nz.