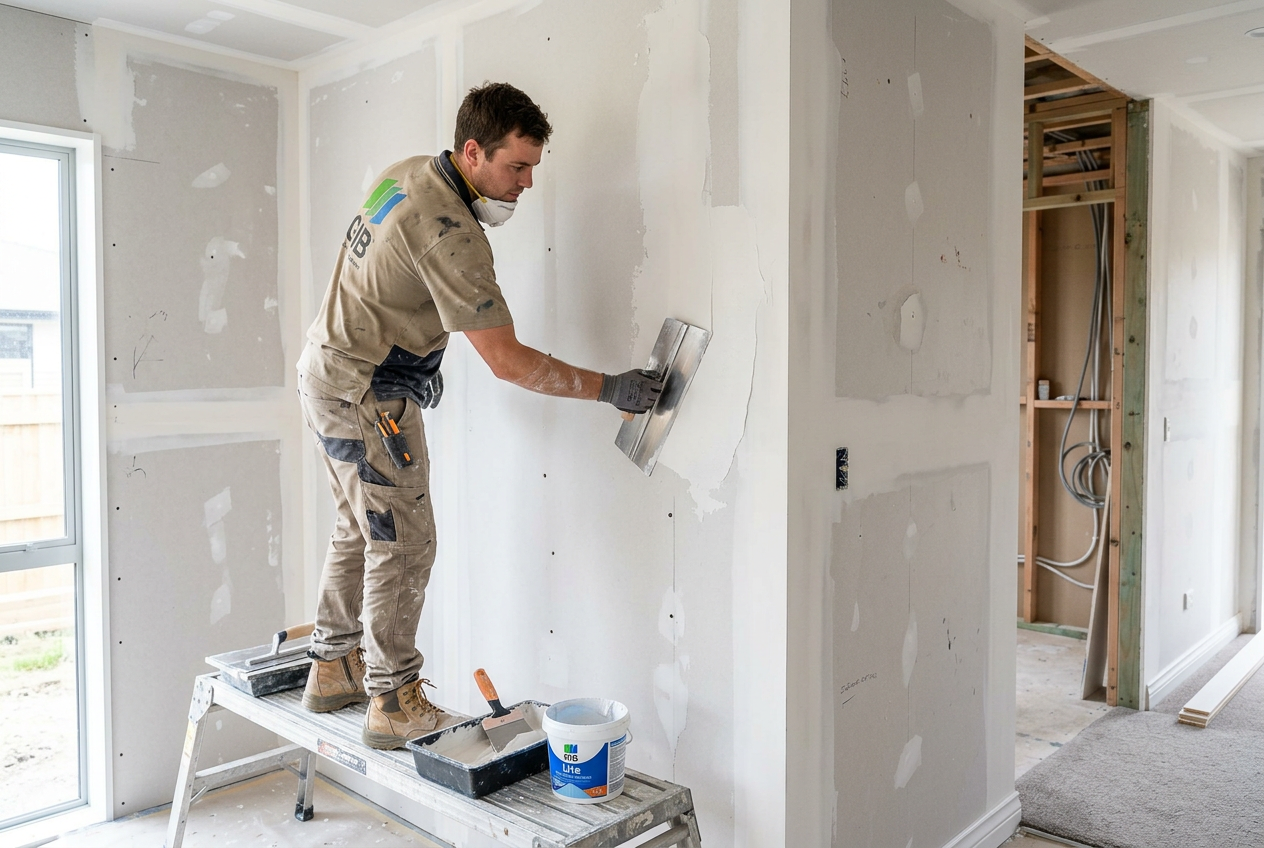
Getting your stopping compound to the right consistency is one of the most important steps in achieving a smooth, professional plasterboard finish. Too thick and it drags and tears; too thin and it sags, shrinks excessively, and takes forever to dry. Aim for a consistency similar to smooth peanut butter or thick yoghurt — it should hold its shape on a knife but spread easily without crumbling.
Understanding Stopping Compound Types
Before you mix anything, it helps to know what you're working with. In New Zealand, stopping compounds generally fall into two categories:
- Premixed (ready-mixed) compound – Comes in a bucket, already at roughly the right consistency. You may only need minor adjustment.
- Powder compound – Requires mixing with water. Gives you more control but demands more care to get right.
Common NZ products include GIB Tradeset and GIB Basecoat, which are powder-based, and various premixed options available from Bunnings and Mitre 10. Always read the manufacturer's data sheet for the specific product you're using, as mixing ratios can vary.
Tools You'll Need
- Clean mixing bucket (5–20 litre, depending on batch size)
- Clean cold water
- Margin trowel or broad knife
- Paddle mixer attached to a drill (strongly recommended for powder compounds)
- Measuring jug
Keep everything clean. Old dried compound in your bucket or on your paddle will introduce lumps and can affect the set time of some products.
Mixing Powder Compound: Step by Step
1. Start with Water First
Always add powder to water, not the other way around. Pour your measured water into the bucket first. A common starting ratio for many powder compounds is roughly 1 part water to 2–2.5 parts powder by volume, but check your product's instructions — this varies.
2. Add Powder Gradually
Sprinkle or scoop the powder into the water steadily while mixing. Dumping it all in at once causes lumps that are difficult to break down.
3. Mix Thoroughly
Use a paddle mixer on a slow-to-medium drill speed. Mix for at least 2–3 minutes until the compound is completely smooth with no dry pockets or lumps. Scrape the sides and bottom of the bucket with a margin trowel and mix again briefly.
4. Check the Consistency
Lift your paddle or trowel out of the mix. The compound should:
- Cling to the trowel without immediately sliding off
- Spread smoothly when pressed against a surface
- Hold a peak briefly when you pull the trowel away
If it's too stiff, add small amounts of water and remix. If it's too sloppy, add a little more powder. Make small adjustments — it's easy to go too far in either direction.
5. Let It Slake (Rest)
After the initial mix, let the compound rest for 2–5 minutes. This allows the powder to fully absorb the water. Give it one final mix before use. You'll often find the consistency improves noticeably after slaking.
Adjusting Premixed Compound
Premixed compound can dry out or stiffen in the bucket, especially if the lid hasn't been sealed properly. To loosen it:
- Add a very small amount of clean water — a tablespoon at a time
- Mix thoroughly with a paddle mixer or margin trowel
- Never add so much water that the compound becomes runny or translucent
Avoid stirring air bubbles into premixed compound, as these can cause pinholes in your finished surface.
Consistency for Different Coats
The ideal consistency can vary slightly depending on which coat you're applying:
| Coat | Consistency | Notes |
|---|---|---|
| Base / fill coat | Slightly stiffer | Needs to fill gaps and hold shape |
| Finishing coat | Slightly looser | Easier to feather out thinly |
| Texture / skim | Varies by product | Follow manufacturer's guidance |
Common Mistakes to Avoid
- Using warm or hot water – This can accelerate set time unpredictably. Always use cold water.
- Mixing too fast – High drill speeds whip air into the compound, causing bubbles and pinholes.
- Reusing old mixed compound – Once powder compound has started to set, don't add water and remix it. Discard it and mix a fresh batch.
- Dirty tools – Contamination from old compound or other materials can cause lumping or affect adhesion.
- Mixing too large a batch – Mix only what you can use within the product's working time (check the data sheet).
Storage and Waste
Premixed compound should be stored with the lid firmly sealed and kept away from frost — freezing ruins it. Powder compound should be kept dry. Check BRANZ guidance for best-practice plastering and finishing advice relevant to NZ conditions.
When to Call a Professional
Mixing compound is a DIY-friendly task, but achieving a truly flat, seamless finish across large areas — particularly on GIB plasterboard walls and ceilings — takes considerable skill and practice. If you're working on a new build or significant renovation, plastering work may need to meet specific standards under the NZ Building Code (particularly Clause E3 for internal moisture and G12 for surfaces in wet areas). For large jobs, complex repairs, or if you're unsure about the substrate, it's well worth engaging a qualified plasterer. You can find experienced local plasterers on tradedirectory.co.nz.
For any work involving plasterboard in a new build or alteration that requires a building consent, check with your local council and visit MBIE Building Performance for guidance on consent requirements and Schedule 1 exemptions.