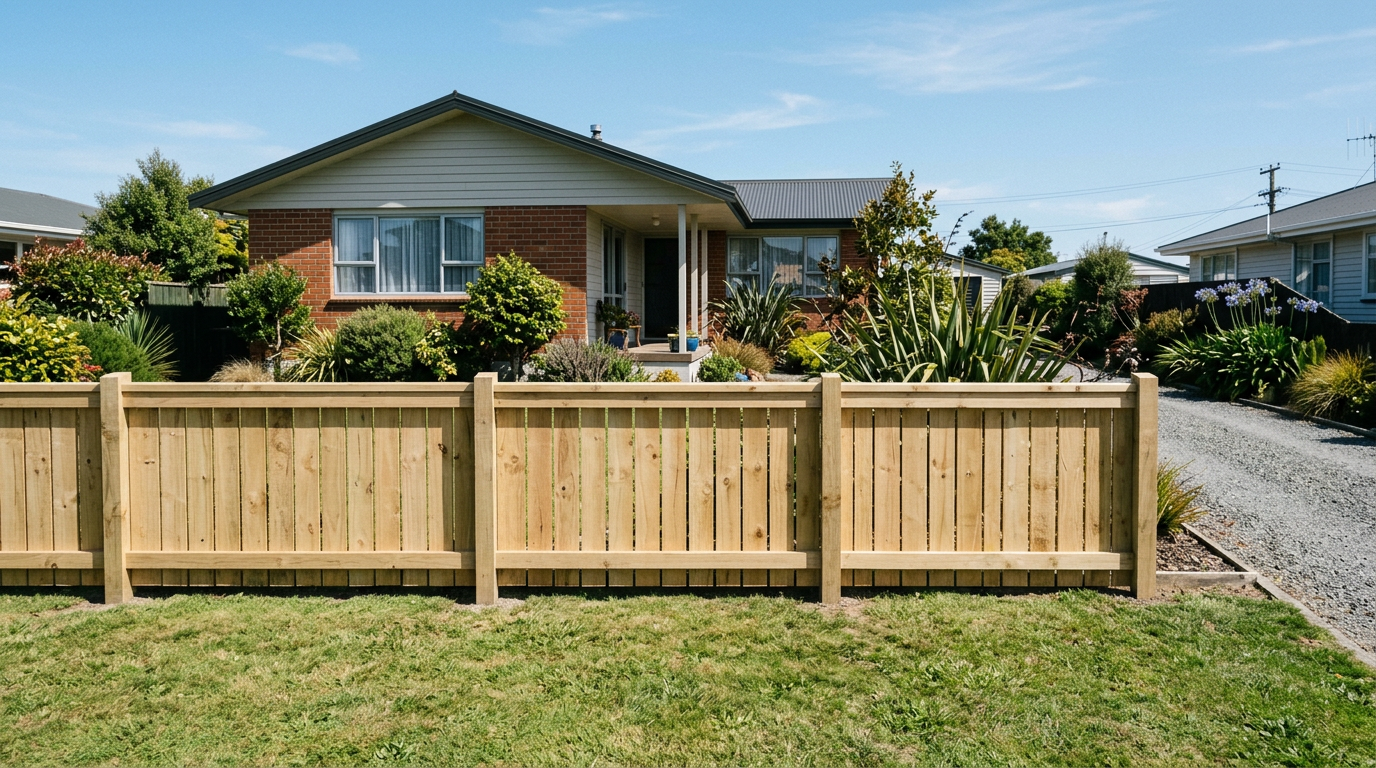
Mixing concrete for fence posts is one of those jobs that looks simple but is easy to get wrong. Too much water, the wrong ratio, or poor technique can leave you with weak, crumbling footings that let posts lean or rot prematurely. Follow these steps and your posts will stay plumb and solid for years to come.
Why Getting the Mix Right Matters
Concrete that is too wet is one of the most common DIY mistakes. Adding extra water makes the mix easier to pour, but it significantly weakens the finished product and increases shrinkage cracking. For fence posts, you want a stiff, workable mix — not a sloppy slurry. A good mix will hold its shape when squeezed in your hand but won't crumble dry.
The strength of your footing also affects whether your fence will comply with NZS 3604:2011 (Timber-framed buildings), which guides standard residential fencing construction in New Zealand. While a simple boundary fence may not always require a building consent, anything over 2 metres high or in certain zones might — always check with your local council before you start.
What You'll Need
The Right Concrete Mix Ratio for Fence Posts
For fence post footings, a 1:2:3 mix is the standard starting point:
| Material | Parts by volume |
|---|---|
| Cement | 1 |
| Sand | 2 |
| Aggregate (20 mm) | 3 |
This produces a general-purpose concrete suitable for most residential fence posts. If you're setting posts in wet or coastal conditions — common in many parts of New Zealand — consider a slightly richer 1:1.5:3 mix for added durability.
Alternatively, pre-mixed bagged concrete (such as products available at PlaceMakers) takes the guesswork out of ratios and is a practical choice for smaller jobs or when you only have a few posts to set.
How Much Water to Add
This is where most people go wrong. As a guide, aim for a water-to-cement ratio of around 0.5 — that means roughly half a litre of water for every kilogram of cement. In practice, add water gradually and stop when the mix is firm and workable.
Test your mix: Scoop some up with your shovel and let it slide off. It should move slowly and hold its shape — not run like soup, and not fall off in dry clumps.
In hot, dry NZ summers (particularly in Canterbury or Hawke's Bay), your mix can dry out faster, so work in the shade where possible and don't mix more than you can use in about 30–45 minutes.
Step-by-Step Mixing Process
Mixing by Hand
- Measure out your dry ingredients into a wheelbarrow or trough using a consistent bucket size.
- Combine the cement, sand, and aggregate thoroughly while dry — mix until the colour is uniform.
- Make a well in the centre and add roughly two-thirds of your water.
- Work from the outside in, folding the dry mix into the water.
- Add remaining water a little at a time until you reach the right consistency.
- Mix for at least 3–5 minutes until smooth and lump-free.
Using a Cement Mixer
- Add half the water to the drum first.
- Add aggregate, then cement, then sand.
- Add remaining water gradually while the drum turns.
- Mix for 3–5 minutes after all ingredients are in.
Placing Concrete Around Posts
- Dig your hole to the correct depth — a general rule is one-third of the post length below ground, plus 100 mm for a gravel drainage layer at the base.
- Set the post, check it's plumb with a spirit level, and brace it before pouring.
- Pour concrete in layers, rodding or tamping with a stick to remove air pockets.
- Mound the top of the concrete slightly above ground level and slope it away from the post — this sheds water and reduces rot.
- Allow at least 24–48 hours before removing braces, and avoid loading the fence for 3–7 days.
NZ Climate Considerations
In colder South Island regions, avoid pouring concrete when temperatures are expected to drop below 5°C overnight, as frost can damage fresh concrete before it cures. In high-rainfall areas, ensure your post holes drain well — a gravel base helps prevent waterlogging, which accelerates timber decay. For guidance on building in NZ conditions, BRANZ is an excellent resource.
When to Call a Professional
Mixing concrete for standard fence posts is well within the scope of a capable DIYer. However, consider hiring a qualified fencer or builder if:
- Your fence is over 2 metres high or requires a building consent
- You're working on a retaining wall combined with fencing (which has its own consent thresholds)
- The ground is unstable, rocky, or has poor drainage
- You're near property boundaries and need to confirm legal boundaries first
You can find experienced, local fencing professionals on tradedirectory.co.nz who can advise on consent requirements and handle larger or more complex jobs.
Safety note: Always wear gloves and eye protection when handling cement — it is caustic and can cause skin and eye irritation with prolonged contact. Check WorkSafe NZ for safe handling guidelines.