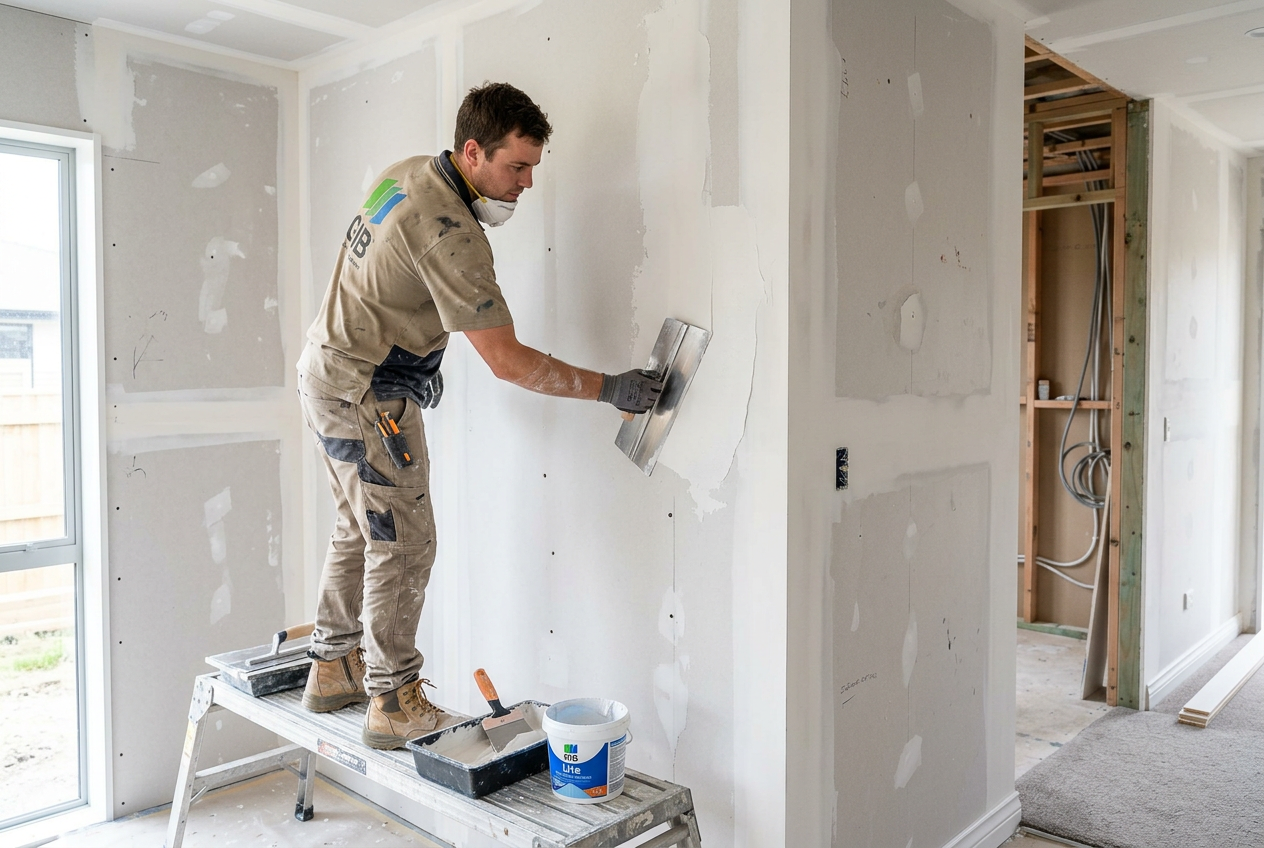
Plaster-clad (monolithic) homes are a common sight across New Zealand, particularly those built during the 1990s and early 2000s. While they can look great and perform well when properly maintained, they have earned a reputation for weathertightness issues when upkeep is neglected. The good news is that with a consistent maintenance routine, you can protect your home and avoid costly repairs down the track.
Understanding Your Plaster Cladding System
Not all plaster cladding is the same. NZ homes typically feature one of two main systems:
- Direct-fixed plaster – applied directly onto a substrate (often untreated timber framing) with no drainage cavity behind it. These are the higher-risk systems common in the "leaky home" era.
- Cavity-based plaster – applied over a drained and ventilated cavity, which gives moisture somewhere to escape. This is the modern standard encouraged by the NZ Building Code.
Knowing which system your home has is important. If you're unsure, a licensed building practitioner or renderer can help you identify it. You can find qualified local renderers on tradedirectory.co.nz.
Inspect Your Home Every Six Months
Regular visual inspections are your first line of defence. Walk around your home twice a year — ideally in autumn before winter rains, and again in spring — and look for:
- Cracks in the plaster surface, especially around windows, doors, corners, and penetrations
- Blistering, bubbling, or peeling paint or coating
- Staining or discolouration, which can indicate moisture tracking through the wall
- Gaps or deterioration in sealants around windows, doors, pipes, and flashings
- Soft or spongy areas when you press gently on the wall (a warning sign of potential framing damage)
BRANZ recommends that monolithic cladding systems receive particular attention during inspections due to their sensitivity to moisture ingress.
Maintain Your Sealants and Flashings
Sealants are arguably the most critical maintenance item on a plaster-clad home. They bridge the gap between the plaster and joinery, pipes, and other penetrations — and they don't last forever.
- Check all sealant joints for cracking, shrinkage, or loss of adhesion
- Most quality sealants have a service life of roughly 10–15 years, though UV exposure and movement can shorten this
- Use a paintable polyurethane or silicone sealant rated for exterior use
- Ensure flashings (the metal or membrane strips above windows and at roof-wall junctions) are intact, correctly lapped, and not lifting
If flashings are damaged or incorrectly installed, this is a job for a professional renderer or builder — poor flashing is one of the leading causes of weathertightness failures in NZ.
Repair Cracks Promptly
Hairline cracks (under about 0.5 mm wide) are often cosmetic and can be addressed with a flexible exterior filler and repaint. Wider or recurring cracks need more attention:
| Crack Type | Likely Cause | Action Required |
|---|---|---|
| Hairline, stable | Thermal movement, shrinkage | Fill, seal, repaint |
| Wide (>1 mm), stable | Settlement or impact | Professional assessment and repair |
| Wide, recurring or growing | Structural movement or moisture | Urgent professional inspection |
| Cracks at corners/junctions | Stress concentration | Seal and monitor; renderer to assess |
Never simply paint over a crack without addressing the underlying cause. Water will find its way in and the problem will worsen.
Keep Your Paint Coating in Good Condition
The paint or textured coating on your plaster is its primary waterproof barrier. Once it fails, moisture can penetrate the system rapidly.
- Repaint your exterior every 8–12 years as a general guide, or sooner if the coating shows signs of failure
- Use a quality exterior masonry paint from a reputable supplier — Resene and Dulux both offer suitable product ranges for plaster cladding
- Always prepare the surface properly: clean off mould and algae, repair cracks, and apply a suitable primer or sealer before topcoating
- In high-humidity or shaded areas, consider a paint with added mould resistance
Manage Moisture Around the Building
Keeping water away from your walls reduces the risk of ingress:
- Keep gutters and downpipes clear and in good repair so water doesn't overflow onto walls
- Ensure ground clearance — plaster cladding should not be in contact with soil, concrete, or decking. The NZ Building Code generally requires a minimum clearance above finished ground level
- Trim back vegetation growing against walls; plants trap moisture and can physically damage the coating
- Check that subfloor ventilation is adequate to reduce moisture build-up from below
Dealing with Mould and Algae
NZ's damp climate means mould and algae growth on exterior plaster is common, especially on south-facing walls.
- Clean affected areas with a diluted bleach solution or a proprietary exterior mould wash, following the product instructions carefully
- Rinse thoroughly and allow to dry before repainting
- Wear gloves and eye protection when working with cleaning chemicals — refer to WorkSafe NZ guidance on safe chemical handling
When to Call a Professional
Some maintenance tasks are well within a capable homeowner's reach, but others require expert assessment and repair:
- Any suspected moisture ingress into the wall cavity or framing — a renderer or building surveyor can carry out moisture testing
- Significant cracking, especially if it's recurring or associated with structural movement
- Flashing replacement or installation
- Full re-coating or re-rendering of the exterior
- Weathertightness assessments if you're buying or selling a monolithic home
A Licensed Building Practitioner (LBP) is required to carry out or supervise restricted building work on your home. For rendering and plastering work, look for an experienced renderer with a solid track record — you can search for qualified local tradespeople on tradedirectory.co.nz.