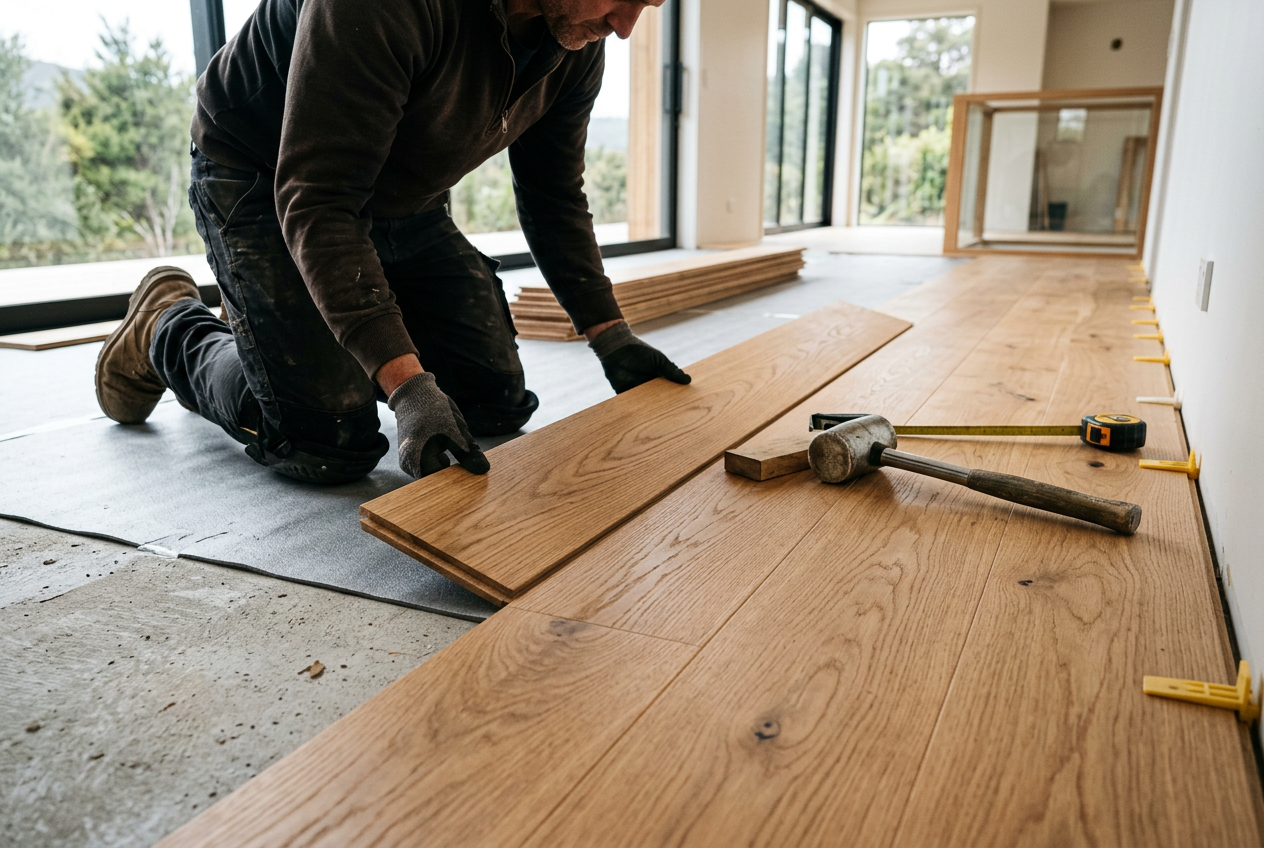
Getting your subfloor flat and level before laying new flooring is one of the most important steps in any flooring project. Skip it, and you risk tiles cracking, timber boards squeaking, or vinyl lifting at the edges. Whether you're working with a concrete slab or a timber subfloor, this guide walks you through the process from assessment to finishing.
Why Floor Levelling Matters
Most flooring products — including rigid LVP (luxury vinyl plank), ceramic tiles, and engineered timber — have strict tolerances for subfloor flatness. A common industry benchmark is no more than 3 mm variation over a 1.8 m straightedge, though always check your specific product's installation instructions as requirements vary. Laying flooring over an uneven surface can cause:
- Hollow spots and cracked tiles
- Boards that rock, squeak, or separate at the joints
- Premature wear and voided product warranties
- Trip hazards
Step 1 – Assess Your Subfloor
Before you buy any products, spend time understanding what you're working with.
Tools you'll need:
- A long straightedge or spirit level (1.8–2.4 m)
- A pencil or chalk
- A tape measure
Slide the straightedge across the floor in multiple directions and mark any high or low spots. Note whether you have a concrete slab or a timber subfloor — the levelling approach differs for each.
Also check for:
- Moisture (use a moisture meter or tape down plastic sheeting for 24–48 hours and check for condensation)
- Loose, squeaky, or damaged boards
- Cracks or crumbling concrete
For guidance on acceptable moisture levels and subfloor preparation, BRANZ publishes detailed technical information relevant to NZ conditions.
Step 2 – Fix Structural Issues First
Levelling compounds are not structural products — they fill and smooth, they don't fix underlying problems.
Timber subfloors
- Screw down any loose boards or sheets (use appropriate screws so heads sit flush or just below the surface)
- Replace any rotted or badly damaged sections
- Sand down high spots with a belt sander or hand plane
- Fill low spots and gaps with a flexible floor-levelling compound suitable for timber
Concrete slabs
- Grind down any high spots or ridges with an angle grinder fitted with a diamond cup wheel (wear appropriate PPE — dust mask, eye protection, and hearing protection as required by WorkSafe NZ)
- Repair cracks with a suitable crack filler or epoxy repair mortar before applying levelling compound
- Remove any old adhesive, paint, or contamination that could prevent bonding
Step 3 – Choose the Right Levelling Product
For most NZ homeowners, a self-levelling compound (SLC) is the go-to solution for filling low spots on concrete. These are polymer-modified cementitious products that flow out flat under gravity.
| Situation | Recommended Product Type |
|---|---|
| Low spots on concrete (up to ~10 mm) | Self-levelling compound |
| Deeper fills on concrete | Screed or floor-levelling topping |
| Timber subfloor low spots | Flexible floor-levelling compound |
| Feather-edge finishing | Smoothing/finishing compound |
Well-regarded products available in NZ include ranges from Ardex and Mapei, both of which offer products suited to different depths and subfloor types. Always read the technical data sheet for the product you choose — mixing ratios, coverage, and drying times vary.
You can source these products from Mitre 10, Bunnings, or PlaceMakers.
Step 4 – Apply Self-Levelling Compound
- Prime the surface – Most SLCs require a primer coat to improve adhesion and control absorption. Apply as directed and allow to dry fully.
- Set up perimeter foam strip – Use expansion foam or tape around the edges to contain the compound.
- Mix the compound – Use a drill with a paddle mixer. Follow the manufacturer's water ratio precisely — too much water weakens the finished surface.
- Pour and spread – Pour the mixed compound into the low areas and use a gauge rake or spreader to guide it. The product will self-level, but you may need to help it into corners.
- Pop air bubbles – Run a spiked roller over the surface immediately after pouring.
- Allow to cure – Drying times vary by product and NZ ambient conditions. Cooler, humid weather (common in many parts of NZ) will extend drying time. Don't rush this step.
Step 5 – Check Flatness Again
Once the compound has fully cured, run your straightedge over the surface again. Lightly sand any ridges or trowel marks. If you still have low spots, a second thin application may be needed.
Moisture Considerations in NZ
New Zealand's climate — particularly in wetter regions like the West Coast, Northland, and parts of the South Island — means moisture in slabs is a real concern. Many flooring warranties require moisture readings to be within specified limits before installation. If moisture is an issue, a moisture barrier or DPM (damp-proof membrane) may be needed before levelling. Check the requirements under the NZ Building Code and your flooring product's installation guide.
When to Call a Professional
Floor levelling is manageable as a DIY project for minor imperfections, but there are situations where you should bring in a qualified flooring installer or builder:
- Large areas or significant height variation – Getting consistent depth across a large pour is tricky without experience
- Structural subfloor issues – Sagging joists, rotted bearers, or significant movement need a licensed builder
- Underfloor heating systems – These require careful planning and may involve restricted electrical work; always use a registered electrician (see EWRB)
- Wet areas – Bathrooms and laundries must comply with NZ Building Code clause E3; waterproofing in these areas is best left to experienced tradespeople
You can find qualified local flooring installers and builders on tradedirectory.co.nz.