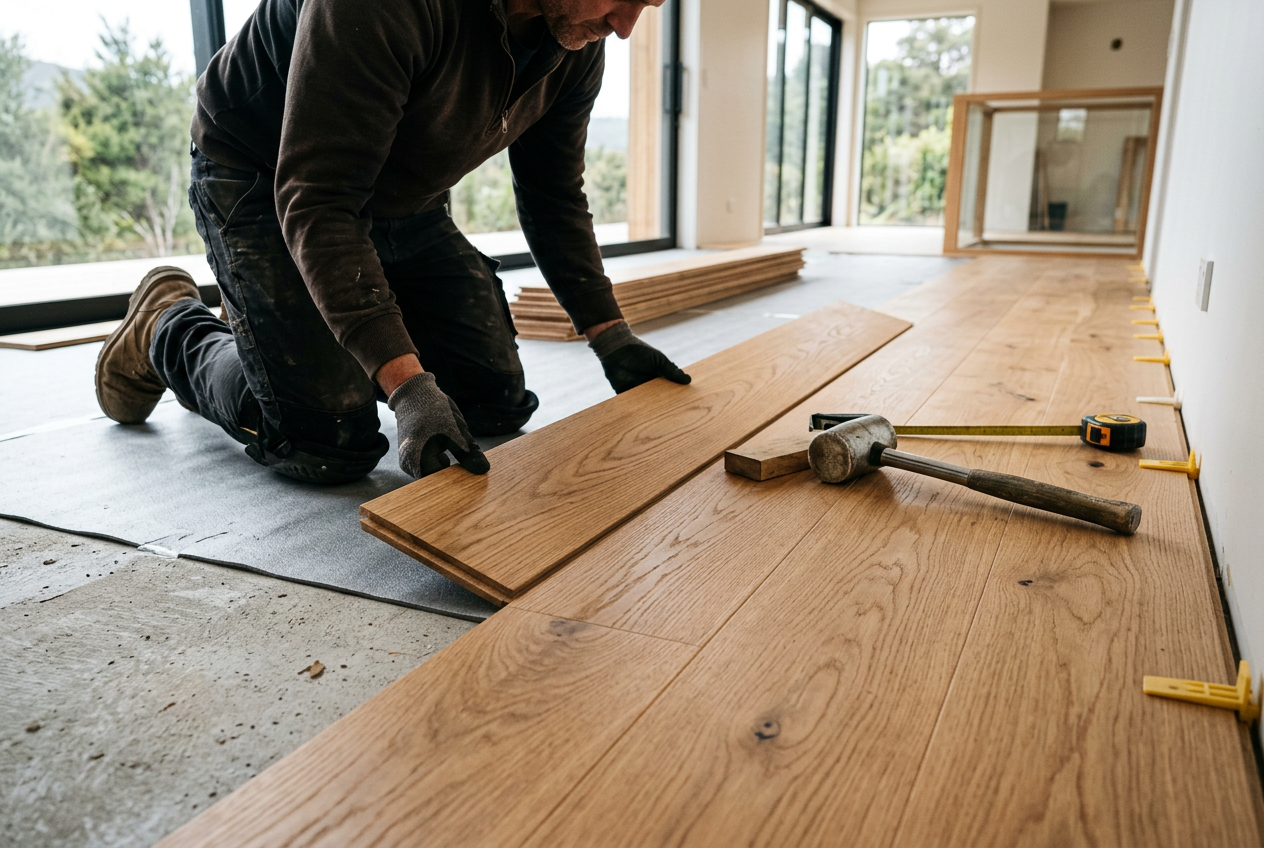
Laying flooring over a concrete slab that hasn't fully dried is one of the most common — and costly — mistakes in home renovation. Moisture trapped beneath vinyl, timber, or carpet can cause adhesive failure, warping, mould, and voided product warranties. Here's how to check your slab is genuinely ready before you commit to a new floor.
Why Moisture in Concrete Matters
Concrete is porous and holds a surprising amount of water during the curing process. Even after it looks and feels dry on the surface, moisture can still be migrating upward from within the slab or from the ground below. In New Zealand's varied climate — from the damp winters of the West Coast to Auckland's humid summers — this is a real and ongoing concern. Most flooring adhesives, underlays, and engineered timber products have strict maximum moisture limits, and exceeding them will void the manufacturer's warranty.
BRANZ research consistently highlights moisture as a leading cause of flooring failures in NZ buildings. Getting this step right protects your investment.
How Long Does Concrete Take to Dry?
As a general rule of thumb, concrete needs roughly one month of drying time per 25 mm of slab thickness under good conditions — meaning adequate ventilation, low humidity, and no moisture source from below. A standard 100 mm residential slab could therefore take four months or more to reach acceptable moisture levels.
However, drying time is affected by many factors:
- Slab thickness — thicker slabs hold more water
- Subfloor ventilation — poor airflow slows drying significantly
- Ground moisture — slabs without an effective vapour barrier may never fully dry
- Season and humidity — NZ winters slow drying considerably
- Heating — underfloor heating or dehumidifiers can accelerate drying
Never rely on appearance or touch alone. A slab can look perfectly dry while still holding unacceptable moisture levels.
Moisture Testing Methods
There are several recognised methods for testing concrete moisture. Using more than one gives you greater confidence.
1. Plastic Sheet Test (AS/NZS 1884 Indicator Test)
Tape a 450 mm × 450 mm sheet of clear plastic film firmly to the slab, sealing all edges with tape. Leave it for at least 16–24 hours. If condensation or darkening appears on the underside of the plastic or on the slab surface, moisture levels are too high. This is a quick screening test only — it won't give you a precise reading.
2. Calcium Chloride Test
A small dish of calcium chloride is sealed under a dome on the slab surface for a set period, then weighed to calculate the moisture vapour emission rate (MVER). This gives a measurable result and is widely used by professional flooring installers. Check your flooring product's technical data sheet for the maximum acceptable MVER.
3. In-Situ Relative Humidity (RH) Probe
Considered the most accurate method, RH probes are inserted into drilled holes in the slab to measure humidity at depth. This is the method most commonly specified by flooring manufacturers and referenced in standards. Hire or purchase a calibrated RH meter, or have a professional conduct the test. Many flooring products require RH readings below 75–80% — always check the specific product requirements.
Comparison of Testing Methods
| Method | Cost | Accuracy | DIY Friendly? |
|---|---|---|---|
| Plastic sheet test | Very low | Indicative only | Yes |
| Calcium chloride test | Low–moderate | Good | With care |
| RH probe (in-situ) | Moderate | Best | Possible with hired equipment |
What Moisture Level Is Acceptable?
Acceptable moisture levels vary by flooring type. Always check the technical data sheet for your specific product — these are the figures that matter for warranty purposes.
- Vinyl/LVT: Typically requires low MVER or RH below around 80%, but check the manufacturer's spec
- Engineered timber: Often more sensitive; many products specify RH below 75%
- Ceramic/porcelain tile: Generally more tolerant, but adhesive manufacturers (such as Ardex or Mapei) still specify moisture limits for their products
- Carpet with underlay: Less sensitive but mould risk remains if moisture is high
What If the Slab Is Too Wet?
If testing shows moisture levels are too high, you have a few options:
- Wait longer and retest, improving ventilation where possible
- Use a dehumidifier or underfloor heating to accelerate drying
- Apply a moisture barrier or epoxy moisture suppressant — products from Sika, Ardex, and Mapei are commonly used in NZ for this purpose. These can allow installation to proceed over slabs with elevated moisture, but must be applied correctly and are not a substitute for addressing the root cause
- Investigate the source — if moisture is rising from the ground, a proper vapour barrier or drainage solution may be needed
NZ Building Code Considerations
Under the NZ Building Code, clause E3 (Internal Moisture) requires that buildings are constructed to prevent moisture from causing damage. If your slab lacks an adequate vapour barrier — common in older NZ homes — you may have an ongoing moisture problem that no amount of waiting will fully resolve. In these cases, a remediation approach is needed before any flooring is installed.
When to Call a Professional
If you're unsure about your test results, dealing with a slab that has a history of moisture issues, or installing an expensive flooring product, it's well worth having a qualified flooring installer assess the slab for you. A professional will have calibrated testing equipment, experience reading results, and knowledge of the right moisture mitigation products for your situation.
Installing flooring over a wet slab and having it fail is far more expensive than getting the prep right the first time. You can find experienced local flooring installers on tradedirectory.co.nz who can test your slab and advise on the best path forward.