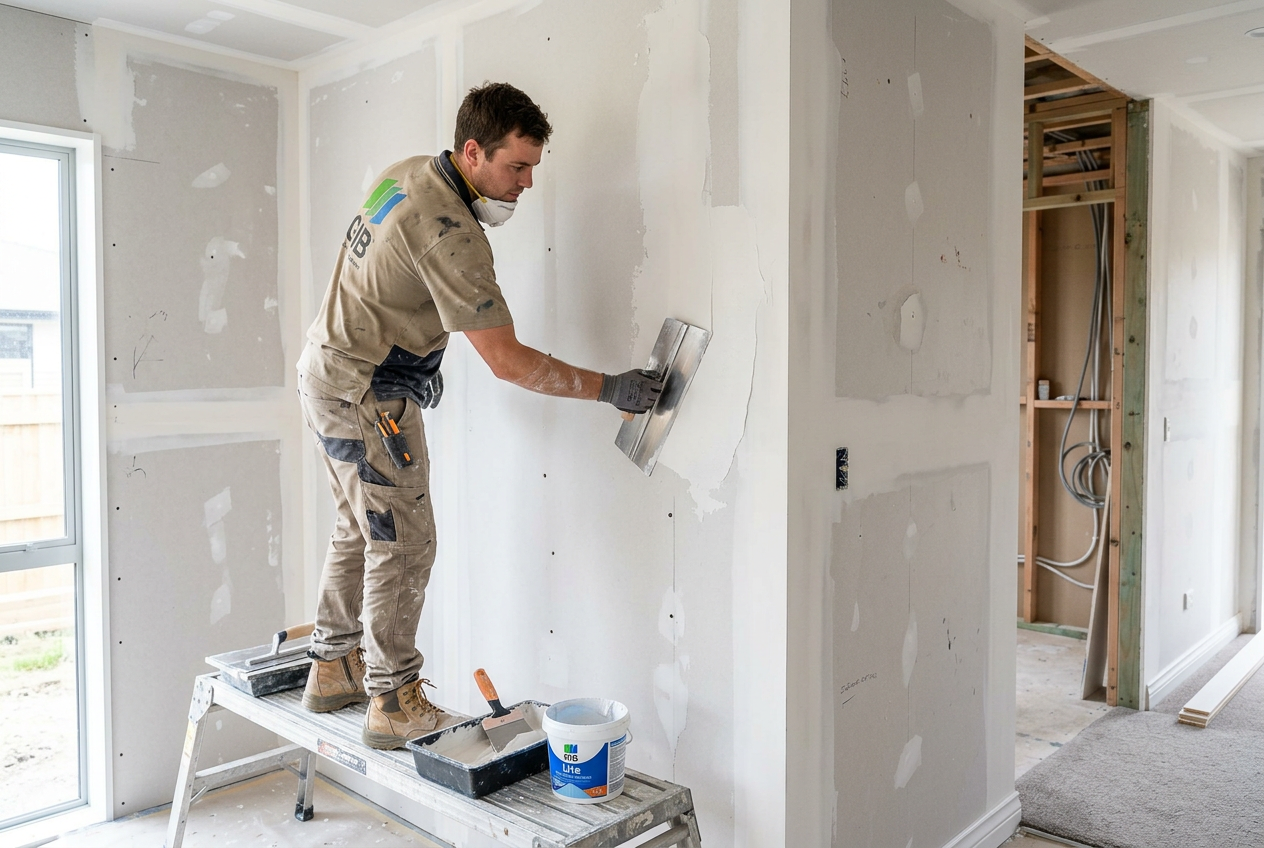
Getting a smooth, blemish-free finish when stopping GIB plasterboard is one of those skills that looks deceptively simple — until you try it yourself. The good news is that with the right products, tools, and a bit of patience between coats, a homeowner can achieve a result that's genuinely paint-ready. Here's how the pros approach it.
Understand the Stopping Process
Stopping (also called jointing or plastering) is the process of filling and feathering the joints, fastener holes, and any damaged areas in plasterboard so the surface looks seamless once painted. GIB recommends a minimum of three coats for most interior applications — a base coat, a fill coat, and a finish coat — with proper drying time between each. Rushing this process is the number-one reason DIY stopping jobs end up with visible ridges and shadows.
Gather the Right Tools
Having the correct tools makes an enormous difference:
- 150 mm broad knife – for applying base and fill coats to joints
- 250–300 mm finishing knife – for feathering out the finish coat wide and flat
- Corner trowel – for internal angles
- Mud pan – keeps your compound clean and workable
- Sanding pole with fine-grit sanding sheets – for flatting between coats
- Bright work light or LED trouble light – raking light reveals every imperfection
You'll find a solid range of plastering tools at Mitre 10 or Bunnings.
Choose the Right Stopping Compound
Not all stopping compounds are equal. For GIB board, you have two main options:
| Type | Best Use | Drying Method |
|---|---|---|
| Air-dry (latex-based) compound | All three coats, general stopping | Dries by evaporation |
| Setting-type compound | Base coat, repairs, faster turnaround | Chemical set (hardens) |
GIB's own GIB Tradeset and GIB Basecoat products are formulated specifically for their boards and are widely available. Air-dry compounds shrink slightly as they dry, which is why multiple thin coats outperform one thick coat every time.
Apply the Base Coat
Embed your paper tape or fibreglass mesh tape into the first coat of compound over recessed joints. Press the tape firmly into wet compound using your broad knife, then skim a thin layer over the top. For butt joints (the non-tapered ends of sheets), you'll need to feather the compound out wider — at least 300 mm each side — to disguise the raised area.
Fill all screw holes flush. Don't overfill — a slightly concave fill is easier to top up than sanding back a proud one.
Allow to dry completely before the next coat. In a typical NZ home this might take 12–24 hours depending on humidity and ventilation. In damp conditions (common in many parts of New Zealand), use a dehumidifier or fan to assist drying.
Apply the Fill and Finish Coats
Once the base coat is dry, lightly sand any ridges or tool marks with 120-grit paper, then wipe away dust with a damp cloth.
- Fill coat: Apply a wider, thinner coat extending well beyond the base coat edges. Feather the edges as flat as possible.
- Finish coat: This is your thinnest coat. Use your largest knife and work in long, confident strokes. The goal is to leave the surface almost flat — just enough compound to fill any remaining imperfections.
Keep your tools scrupulously clean. Dried lumps of old compound dragged through fresh material will leave streaks and ridges.
Sand and Check Under Raking Light
Once the finish coat is fully dry, sand lightly with 180–220 grit paper. Don't over-sand — you can cut through the paper tape if you're too aggressive over joints.
The most important trick: hold a bright LED light at a low angle (raking light) across the wall surface. This will reveal any hollows, ridges, or tool marks that flat overhead lighting hides completely. Touch up any problem areas with a skim of finish compound, allow to dry, and re-sand.
Finish by wiping the surface with a barely damp cloth to remove all dust before priming.
Prime Before Painting
Always apply a stopping sealer or plasterboard primer before your topcoats. Bare stopping compound is porous and will cause uneven paint absorption — known as flashing — which shows up as dull patches, especially in low-sheen or flat paints. Resene and Dulux both offer suitable primers for new plasterboard and stopping.
Common Mistakes to Avoid
- Applying coats that are too thick (causes cracking and shrinkage)
- Not allowing full drying time between coats
- Using dirty tools or contaminated compound
- Skipping the primer coat before painting
- Not taping butt joints (they will crack without tape)
When to Call a Professional
Stopping is not restricted work under the NZ Building Code, so homeowners can legally do it themselves. However, if you're working on a new build or significant renovation, the GIB fixing and stopping may need to meet specific levels (Level 4 or Level 5 finish) for certain paint sheens or feature walls. A qualified plasterer will achieve these results faster and with less material waste.
If your project involves cutting or moving plasterboard around electrical cables or plumbing, remember that any electrical work is restricted work under the Electrical Workers Registration Board (EWRB) rules and must be carried out by a registered electrician. Similarly, plumbing work must be done by a licensed tradesperson registered with the Plumbers, Gasfitters and Drainlayers Board (PGDB).
For a large area, a tricky ceiling, or a Level 5 finish, it's well worth getting a professional plasterer. You can find qualified local plasterers on tradedirectory.co.nz.