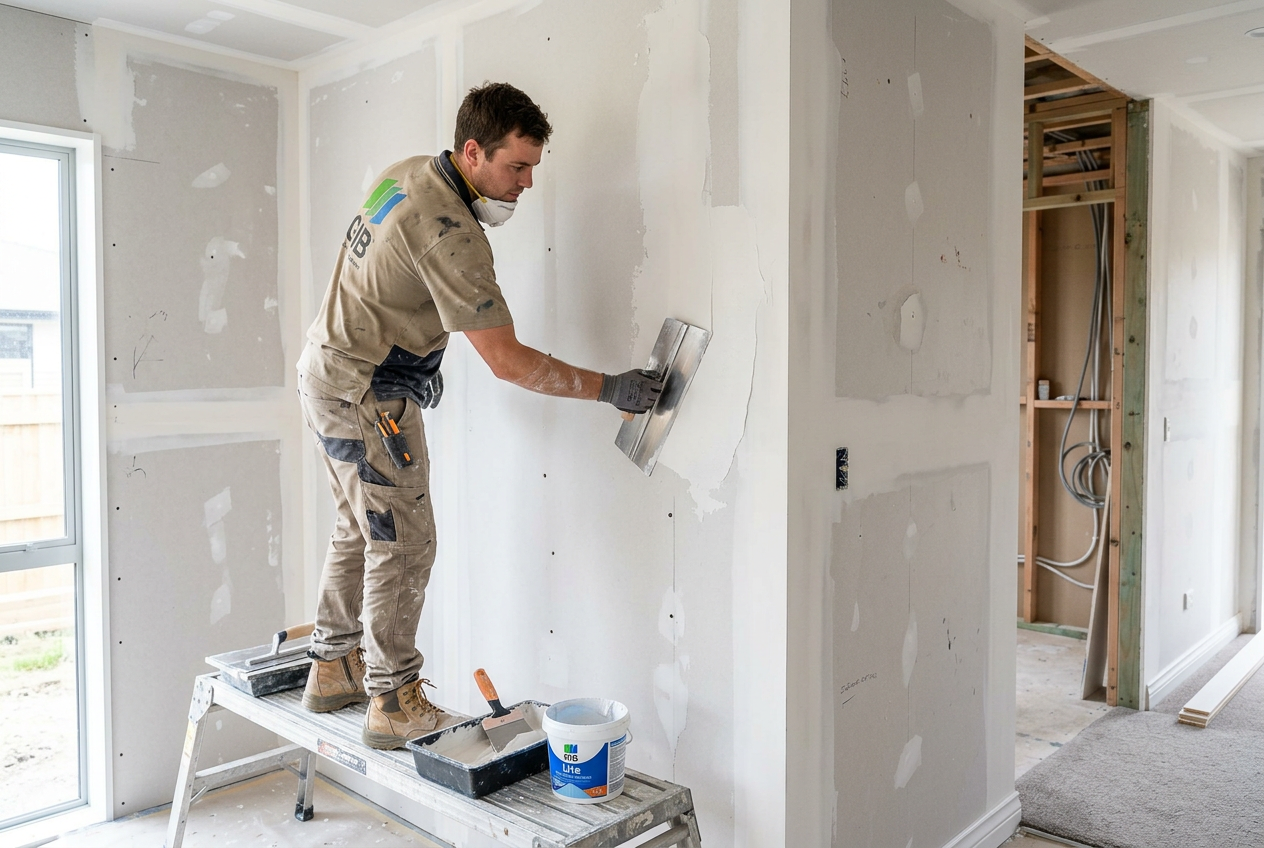
Cracks in interior plaster walls are one of the most common issues NZ homeowners face, whether you're in an older villa with traditional lime plaster or a modern home with GIB plasterboard. Most cracks are cosmetic and straightforward to fix yourself, but some can signal more serious structural problems. This guide walks you through how to assess, prepare, and repair interior plaster cracks — and when to call in a professional plasterer.
Understanding What Type of Crack You Have
Before reaching for the filler, it pays to understand what you're dealing with. Not all cracks are equal.
- Hairline cracks – Very fine surface cracks, often caused by seasonal movement, paint build-up, or minor settlement. Common in older NZ homes and generally easy to fix.
- Shrinkage cracks – Typically appear in a map or spider-web pattern, often from plaster drying too quickly or temperature fluctuations.
- Structural cracks – Wider than about 3–5 mm, diagonal, or running from corners of windows and doors. These may indicate foundation movement or structural issues and need professional assessment.
- Recurring cracks – If you've filled a crack before and it keeps coming back, there's likely an underlying cause that needs addressing first.
If you're unsure whether a crack is structural, consult a licensed building practitioner or plasterer before proceeding. You can find qualified tradespeople on tradedirectory.co.nz.
Tools and Materials You'll Need
For most DIY plaster crack repairs, you'll need:
- Flexible filling knife (broad knife) and a narrow putty knife
- Fine-grit sandpaper (120–180 grit) and a sanding block
- Plaster or jointing compound (e.g. a pre-mixed interior filler)
- Fibreglass mesh tape (for cracks wider than a couple of millimetres)
- Primer and interior paint to match your wall
- A damp cloth or sponge
- Safety glasses and a dust mask
For traditional lime plaster walls (common in pre-1960s NZ homes), use a lime-compatible filler rather than a standard gypsum-based product, as incompatible materials can cause adhesion problems.
Step-by-Step: Repairing Hairline and Small Cracks
1. Prepare the crack
Using a putty knife or the corner of a scraper, gently rake out any loose material from the crack. Widen it very slightly into a shallow "V" shape — this gives the filler something to grip. Remove dust with a damp cloth and allow to dry.
2. Apply filler
Press a flexible interior filler firmly into the crack using your filling knife, working it in at an angle to ensure full penetration. Smooth off excess, leaving the surface very slightly proud of the wall.
3. Allow to dry and sand
Drying time varies by product and humidity — check the manufacturer's instructions. Once fully dry, sand smooth with fine-grit sandpaper. Feather the edges so the repair blends into the surrounding wall.
4. Apply a second coat if needed
Fillers shrink slightly as they dry. For deeper cracks, a second thin coat after the first has dried will give a better finish.
5. Prime and paint
Always prime the repaired area before painting — bare filler is porous and will show through paint as a dull patch. Use a quality interior primer, then finish with your chosen paint. Resene and Dulux both offer good interior primers and a wide range of wall colours.
Repairing Wider or Recurring Cracks
For cracks wider than a couple of millimetres, use fibreglass mesh tape to bridge the gap and prevent the crack from re-opening.
- Clean and prepare the crack as above.
- Apply a thin base coat of jointing compound over the crack.
- Embed the mesh tape into the wet compound, pressing it flat.
- Apply further coats of compound over the tape, feathering out each coat wider than the last (typically 150–200 mm either side for a smooth finish).
- Sand, prime, and paint once fully cured.
This technique is similar to standard GIB stopping and is well-suited to plasterboard walls.
Crack Repair at a Glance
| Crack Type | Width | DIY Suitable? | Recommended Fix |
|---|---|---|---|
| Hairline | < 1 mm | Yes | Flexible filler, sand, paint |
| Small shrinkage | 1–3 mm | Yes | Filler + mesh tape |
| Moderate | 3–5 mm | Possibly | Mesh tape + compound, monitor |
| Wide / structural | > 5 mm | No | Call a professional |
| Recurring | Any | Investigate first | Find root cause |
Common Mistakes to Avoid
- Skipping the primer – Unprimed filler absorbs paint unevenly and the patch will show.
- Filling over damp walls – Moisture behind the plaster will cause filler to fail. Fix any leaks first.
- Using the wrong product – Exterior fillers, silicone sealants, or mismatched compounds can cause adhesion failures or cracking.
- Rushing drying time – Especially in humid NZ conditions, allow adequate drying time between coats.
When to Call a Professional
Some situations are best left to a qualified plasterer or builder:
- Cracks wider than about 5 mm, diagonal cracks, or cracks near structural elements
- Cracks that keep returning after repair
- Large areas of plaster that are hollow-sounding, bulging, or delaminating
- Damage caused by water — the source must be identified and fixed first
- Heritage or character homes with traditional lime plaster requiring specialist knowledge
BRANZ is a great resource for understanding building performance issues, and MBIE Building Performance can advise on when building consent may be required for significant repair work. A licensed building practitioner (LBP) should carry out any restricted building work.
For straightforward cosmetic repairs, a skilled plasterer can achieve a far smoother, more invisible finish than most DIYers — particularly on older textured or sand-finished walls. Search for a local plasterer on tradedirectory.co.nz.
Sources & Further Reading
- GIB – Plasterboard installation and stopping guides
- BRANZ – Build magazine and homeowner resources
- MBIE Building Performance – NZ Building Code guidance
- Resene – Interior paint and primer advice
- Licensed Building Practitioners – Find or verify an LBP
- WorkSafe NZ – Safe use of tools and dust management