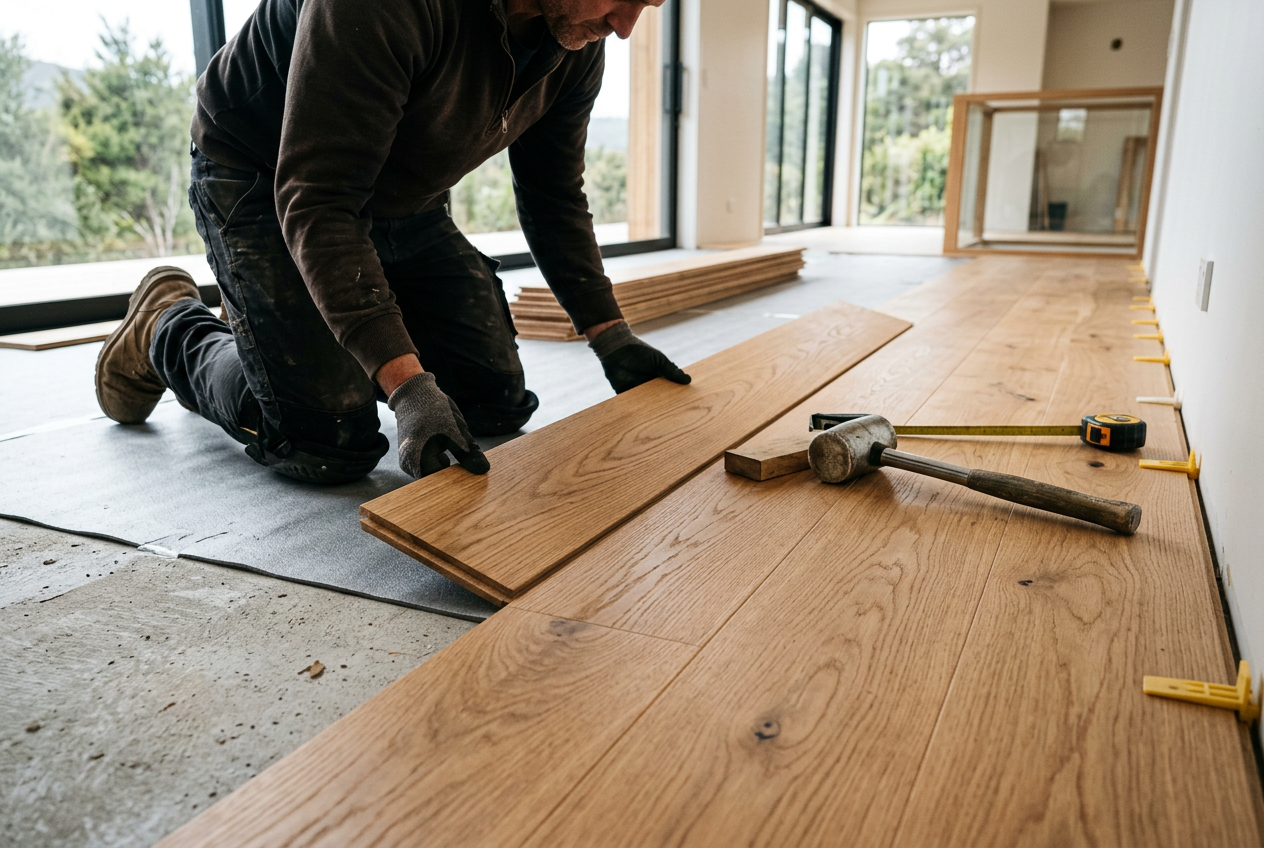
Squeaky timber floorboards are one of the most common complaints in New Zealand homes, particularly in older villas and bungalows with suspended timber floors. The good news is that many squeaks can be fixed with basic tools and a bit of patience — no specialist licence required. Here's how to diagnose the problem and sort it out yourself.
Why Do Floorboards Squeak?
Before you grab a hammer, it helps to understand what's causing the noise. Squeaks happen when timber rubs against something — usually another board, a nail, or a joist. Common causes include:
- Loose nails that have worked free over time, allowing the board to move up and down
- Dry or shrinking timber that has pulled away from neighbouring boards or joists
- Boards rubbing against each other at the tongue-and-groove joint
- Subfloor movement where the structural framing has shifted or dried out
- Inadequate fixing during original installation
NZ's variable climate — humid summers and dry winters — accelerates timber movement, so seasonal squeaks are particularly common here.
Step 1: Locate the Squeak Precisely
Walk slowly over the area and mark the squeaky spot with a piece of painter's tape. Have someone else walk the floor while you watch from below (if you have underfloor access) to see exactly which board or joist is moving. Knowing whether the squeak comes from board-to-board rubbing or board-to-joist movement will determine your fix.
Step 2: Choose the Right Fix
Fix 1 — Lubricate the Joint (Easiest)
If boards are rubbing at the joint, a dry lubricant can silence the squeak without any structural work:
- Sprinkle talcum powder, powdered graphite, or dry PTFE lubricant along the joint between the squeaky boards.
- Work it into the gap with a soft brush.
- Walk over the area repeatedly to work the lubricant in.
- Wipe away any excess.
This is a temporary fix but works well for minor seasonal squeaks.
Fix 2 — Re-nail or Screw the Board Down
If the board is lifting off the joist, securing it is the most reliable long-term fix:
- Locate the joist beneath the board (use a stud finder or look for the existing nail line).
- Pre-drill a pilot hole at a slight angle through the floorboard into the joist to avoid splitting.
- Drive a 50–65 mm decking screw or lost-head nail through the board and into the joist.
- Countersink the screw head just below the surface.
- Fill the hole with a matching timber filler (available at Bunnings or Mitre 10) and sand flush once dry.
Tip: Use screws rather than nails where possible — they grip better and won't work loose as easily.
Fix 3 — From Below (If You Have Underfloor Access)
If your home has a suspended floor with crawl space access, this is often the cleanest fix:
- Have someone walk the floor above while you watch from below to pinpoint movement.
- Where a board has pulled away from a joist, apply a bead of construction adhesive (such as a product from Sika) to the top of the joist.
- Alternatively, drive a short screw up through the joist into the floorboard — be very careful to measure the board thickness first so you don't break through the top surface.
- Hold the board down from above while the adhesive sets.
Fix 4 — Inject Construction Adhesive Into the Joint
For boards that are rubbing at the tongue-and-groove but can't easily be screwed, use a syringe or nozzle to inject a flexible construction adhesive into the joint. This bonds the boards together and eliminates movement. Allow full cure time before walking on the area.
Tools and Materials You'll Need
| Item | Purpose |
|---|---|
| Stud finder | Locate joists beneath the floor |
| Drill and bits | Pilot holes to prevent splitting |
| 50–65 mm screws | Secure board to joist |
| Timber filler | Fill and conceal screw holes |
| Sandpaper (120–180 grit) | Smooth filled holes |
| Talcum powder or graphite | Lubricate joints |
| Construction adhesive | Bond boards or board to joist |
| Painter's tape | Mark squeak location |
A Note on NZ Building Code and Timber Floors
General maintenance and minor repairs to existing floorboards are not restricted work and don't require a building consent. However, if you're replacing a significant area of flooring or making structural changes to the subfloor framing, you may need to check with your local council — some work falls under Schedule 1 exemptions and some does not. When in doubt, always confirm with your council before starting.
For homes built before the 1980s, be aware that some older floor finishes and adhesives may contain asbestos. If you're cutting, sanding, or disturbing old materials and are unsure, stop and get the material tested before continuing. WorkSafe NZ has guidance on managing asbestos safely.
When to Call a Professional
Some squeak situations are better left to a qualified flooring installer or builder:
- Widespread squeaking across multiple boards, which may indicate subfloor structural issues
- Bouncy or soft spots in the floor, suggesting joist damage or rot
- Water damage or signs of moisture under the floor — this needs proper investigation
- Heritage or high-value timber floors where incorrect repairs could cause permanent damage
- Engineered or floating floors that have specific manufacturer repair requirements
A qualified flooring installer can assess the full picture and carry out repairs correctly. You can find experienced local flooring professionals on tradedirectory.co.nz.