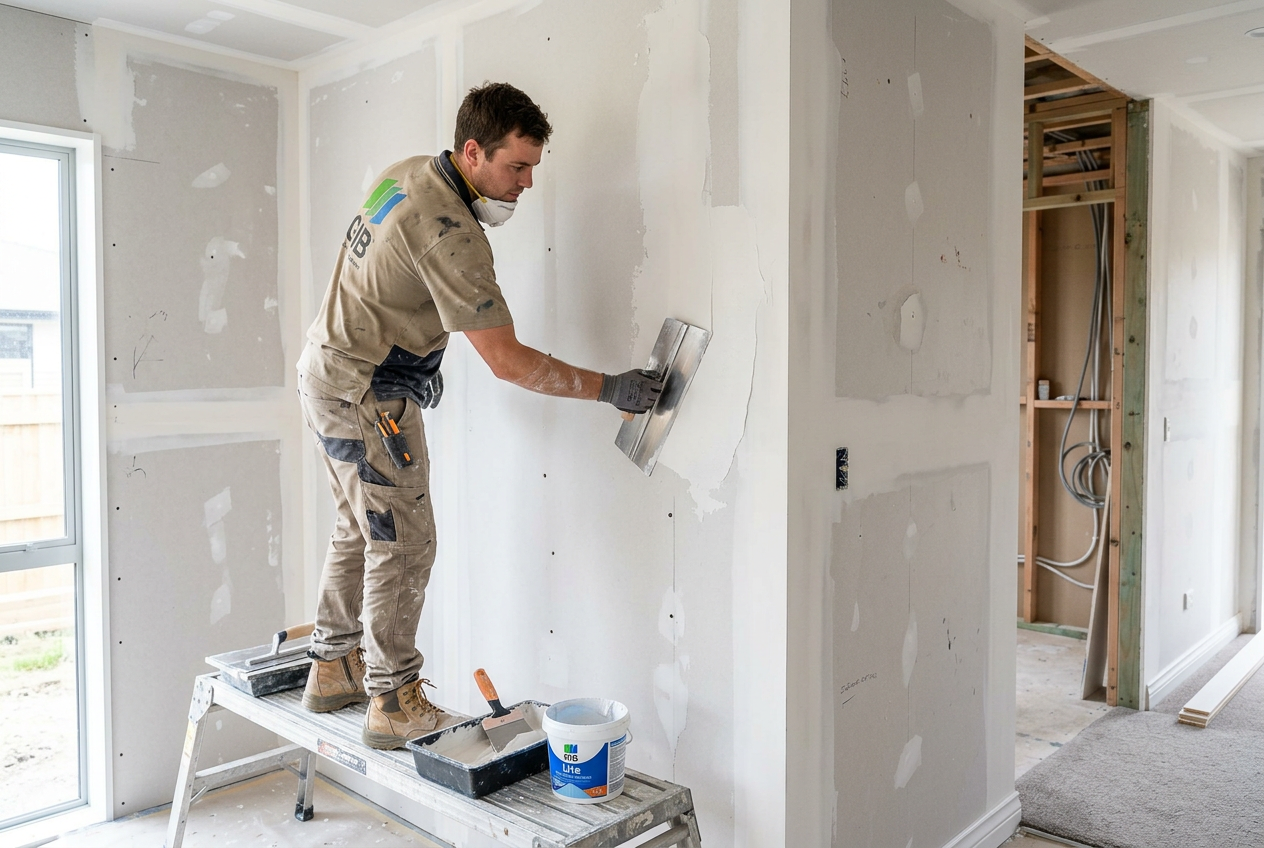
A bulging or sagging plaster ceiling is more than an eyesore — it can be a genuine safety hazard. Whether you have traditional lime-and-sand plaster over timber laths or a gib-based system, understanding the cause and extent of the problem is the essential first step before picking up a trowel.
Why Do Plaster Ceilings Bulge or Sag?
New Zealand homes built before the 1970s commonly feature multi-coat wet plaster applied over timber laths. Over time, several things can cause the plaster to lose its grip:
- Water damage from a leaking roof, burst pipe, or condensation — by far the most common culprit in NZ's varied climate
- Key failure — the plaster "keys" (the bits that squeeze through the lath gaps and harden) break off, leaving the plaster unsupported
- Structural movement from earthquakes, settlement, or timber shrinkage
- Age and vibration gradually loosening the bond
- Poor original workmanship or incompatible repair materials applied over the years
In newer homes with GIB plasterboard ceilings, sagging is usually caused by water damage, inadequate fixing, or the wrong sheet thickness for the joist spacing.
Assessing the Damage — Is It Safe?
Before anything else, assess the risk. A large section of falling plaster can cause serious injury.
- Clear the area beneath the sag and keep family and pets out.
- Gently press the bulge with a gloved hand — if it feels soft, spongy, or moves freely, the plaster is close to falling.
- Check for moisture — a wet or stained ceiling means the water source must be fixed before any repair.
- Tap the surrounding area — a hollow sound indicates the plaster has lost its key over a wider area than is visible.
If the sagging section is larger than roughly 300 mm across, feels very loose, or you suspect structural damage, stop and call a professional. Do not stand directly underneath it.
Fixing a Small Bulge — DIY Repair Steps
Small areas of loose plaster (up to about 200–300 mm) where the lath beneath is still sound can sometimes be re-secured by a confident DIYer.
What You'll Need
- Safety glasses and dust mask (P2 rated)
- Plaster washers and appropriate screws
- Bonding plaster or a pre-mixed patching compound
- Plasterer's trowel and hawk
- Fine-grit sandpaper
- Primer and paint to finish
Step-by-Step
- Protect yourself — wear safety glasses and a P2 dust mask. Old plaster may contain materials that are harmful if inhaled.
- Secure loose plaster using plaster washers (large-headed metal discs) and screws driven into the lath or ceiling joists. Space them around the perimeter of the loose area to clamp the plaster back.
- Remove any plaster that is beyond saving — if it crumbles or falls away easily, it needs to come out. Feather the edges of the hole so the patch can bond properly.
- Dampen the lath and edges of the existing plaster lightly — this slows suction and helps the new plaster bond.
- Apply bonding plaster in thin coats, allowing each coat to firm up before applying the next. Two or three coats are typical for deeper holes.
- Finish with a skim coat and sand smooth once fully cured.
- Prime and paint to match the surrounding ceiling.
Plasterboard Patch (GIB Ceilings)
For sagging plasterboard, cut out the damaged section back to the nearest joists, install nogging timber supports if needed, fix new GIB sheet, tape and stop the joints using GIB's stopping system, then sand, prime, and paint.
Dealing with Water Damage First
This cannot be stressed enough: fix the leak before you fix the ceiling. Repairing plaster over an active leak is a waste of time and money. Have a plumber or roofer identify and fix the source, then allow the ceiling to dry out fully — this can take several weeks in cooler, damper parts of New Zealand. BRANZ recommends ensuring moisture content is within acceptable limits before applying new plaster or stopping compounds.
Comparison: DIY Patch vs. Full Ceiling Replacement
| Situation | Recommended Approach |
|---|---|
| Small isolated bulge, lath intact | DIY plaster washer repair + patch |
| Multiple bulging areas across ceiling | Professional re-skim or replacement |
| Widespread key failure | Full ceiling replacement (pro) |
| Water-damaged plasterboard | Cut out and replace affected sheets |
| Suspected structural movement | Engineer assessment first |
When to Call a Professional
Call a licensed plasterer if:
- The sagging area is large (more than roughly 300–400 mm across)
- Multiple areas of the ceiling are affected
- The ceiling has failed after a previous repair
- You suspect the timber laths themselves are rotten or damaged
- The ceiling is in a rental property — under the Healthy Homes Standards, landlords must maintain ceilings in a safe and weathertight condition
- You simply aren't comfortable working overhead with heavy materials
A professional plasterer will assess whether a patch, re-skim, or full replacement is the most cost-effective solution. For heritage homes with ornate plaster ceilings, always use a plasterer experienced in traditional lime work.
You can find qualified local plasterers on tradedirectory.co.nz.
Safety Note
Old plaster in homes built before the 1980s may contain asbestos in textured coatings or backing materials. If you are unsure, do not sand or disturb the material — arrange testing through a licensed asbestos assessor first. WorkSafe NZ has guidance on managing asbestos in residential settings.