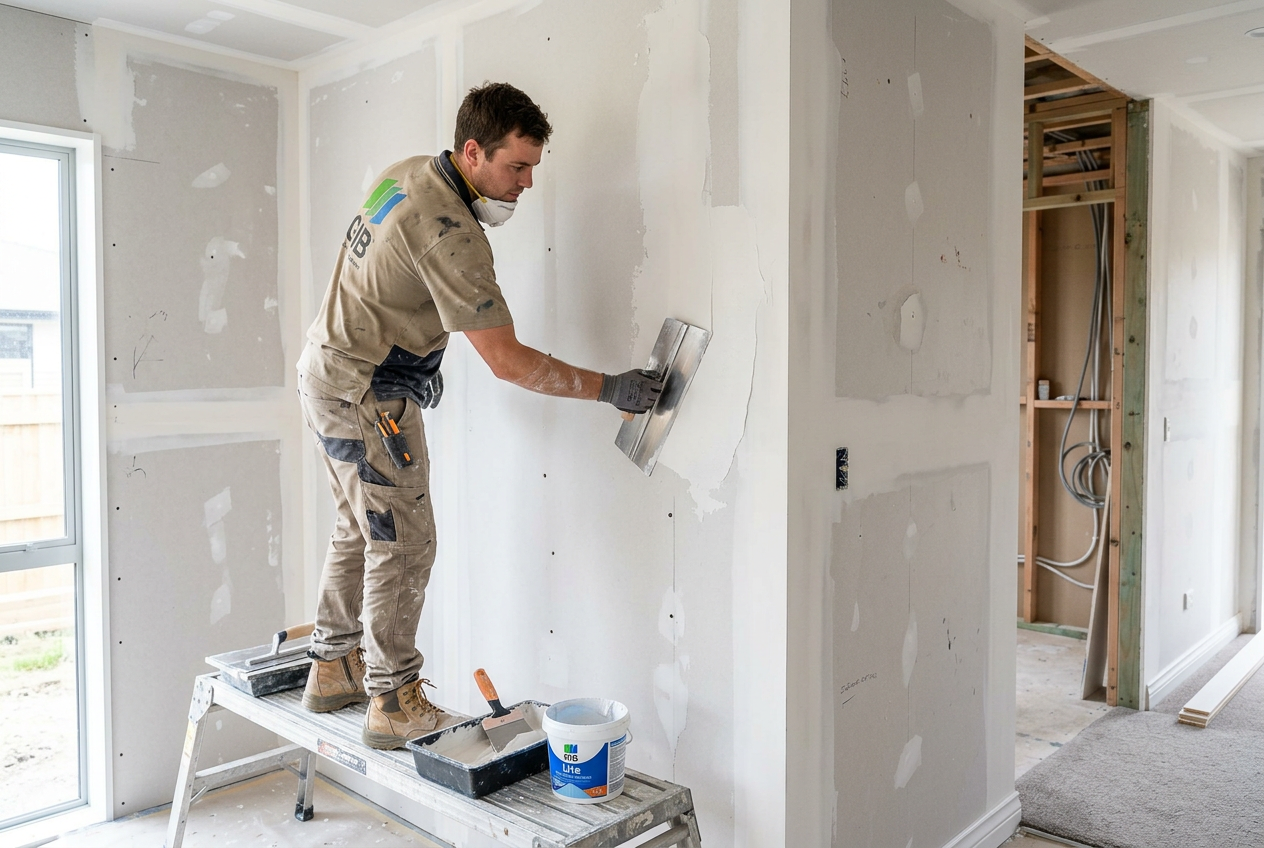
Getting a seamless, invisible plaster join is one of those skills that looks deceptively simple but takes a bit of practice to master. Whether you're patching a hole in a GIB plasterboard wall, repairing a crack, or stopping a new section of plaster, feathering is the technique that makes the difference between a patch that's obvious and one that disappears completely under paint.
What Does "Feathering" Actually Mean?
Feathering is the process of gradually thinning the edges of a plaster or stopping compound coat so it blends imperceptibly into the surrounding surface. Instead of a hard, raised edge, you create a long, gentle taper — sometimes extending 200–300 mm or more out from the repair — so there's no ridge for light to catch. The thinner and wider you spread the taper, the more invisible the join.
Tools You'll Need
Having the right tools makes feathering far easier:
- Broad finishing knife or taping knife – a wider blade (200–300 mm) gives you a longer, smoother taper. Narrower knives tend to leave ridges.
- Plasterer's hawk – holds your compound while you work.
- Sanding block and fine-grit sandpaper – 120–180 grit for final smoothing.
- Corner bead or fibreglass tape – for cracks or joins before you apply compound.
- Spray bottle – to lightly mist the surface and keep compound workable.
- Good lighting – a work light held at a raking angle is essential for spotting ridges and hollows.
Choosing the Right Compound
For most interior GIB plasterboard repairs, use a pre-mixed stopping compound (sometimes called jointing compound or cornice cement). Brands like Ardex and GIB's own stopping products are widely available at Mitre 10 and Bunnings. For hairline cracks in solid plaster walls, a fine-finish filler or acrylic gap filler may be more appropriate. Avoid using base-coat plaster for finishing — it's too coarse to feather finely.
Step-by-Step: How to Feather a Plaster Join
1. Prepare the Surface
Clean away any loose material, dust, or flaking paint. For cracks, open them slightly with a scraper, apply fibreglass mesh tape, and bed it in with a thin layer of compound. Let this dry fully before proceeding.
2. Apply the First Coat
Load your knife with a modest amount of compound and apply it over the repair, pressing firmly so it keys into the surface. Don't worry about perfection at this stage — just fill the void and extend the compound a little beyond the repair area. Allow to dry completely (this can take several hours depending on humidity and temperature — NZ's coastal humidity can slow drying significantly).
3. Sand Lightly and Apply the Second Coat
Once dry, sand back any ridges with 120-grit paper. Now apply a second, thinner coat, this time deliberately spreading it wider than the first — extending the taper further out. Use long, confident strokes, lifting the back of the knife slightly as you reach the outer edge so the compound thins to almost nothing. This is the core feathering motion.
4. The Final Feather Coat
After the second coat dries and is lightly sanded, apply a very thin finish coat, spreading it even wider again. At the outer edges, the compound should be so thin it's almost translucent. Use a clean, slightly damp knife for this coat — it helps achieve a smoother finish. Feather the edges with long, sweeping strokes.
5. Sand to a Smooth Finish
Once fully dry, sand the entire area with 150–180 grit paper using a sanding block (not just your hand — a block keeps the surface flat). Use a raking light to check for ridges or low spots. Fill any imperfections and re-sand as needed.
6. Prime Before Painting
Always apply a plaster primer or sealer before painting. Stopping compound is porous and will flash differently to the surrounding wall if you paint directly over it — even with the best feathering, the join can show through. Resene and Dulux both offer suitable interior primers. Once primed, the feathered area should be virtually undetectable.
Common Mistakes to Avoid
| Mistake | Why It's a Problem | Fix |
|---|---|---|
| Feathering too narrow | Creates a visible ridge | Extend each coat wider |
| Rushing between coats | Compound shrinks as it dries, causing cracks | Allow full drying time |
| Skipping primer | Patchy sheen under paint | Always prime before topcoat |
| Using too much compound at once | Thick coats crack and shrink | Build up in thin layers |
| Poor lighting during sanding | Misses ridges and hollows | Use a raking work light |
Tips for NZ Conditions
New Zealand's variable climate — particularly in humid regions like Auckland or the West Coast — means drying times can be longer than product labels suggest. In winter or damp conditions, use a dehumidifier or fan heater (not directly on the surface) to assist drying. In hot, dry Central Otago summers, mist the surface lightly to prevent the compound drying too fast and cracking. BRANZ has useful guidance on interior finishing in NZ conditions.
When to Call a Professional
Feathering small patches is well within most homeowners' abilities, but there are situations where a qualified plasterer will get a far better result:
- Large areas of damage – extensive repairs or full wall re-stopping require professional skill and equipment.
- Textured or specialty finishes – matching existing texture (sand finish, roughcast, Venetian plaster) is very difficult without experience.
- Solid plaster walls – older NZ homes with solid lime or cement plaster behave differently to plasterboard and repairs can be tricky.
- Structural cracking – recurring or wide cracks may indicate a building issue that needs investigation before cosmetic repair.
If you're not confident or the job is larger than a few patches, it's worth getting a qualified plasterer involved. You can find licensed local plasterers on tradedirectory.co.nz.