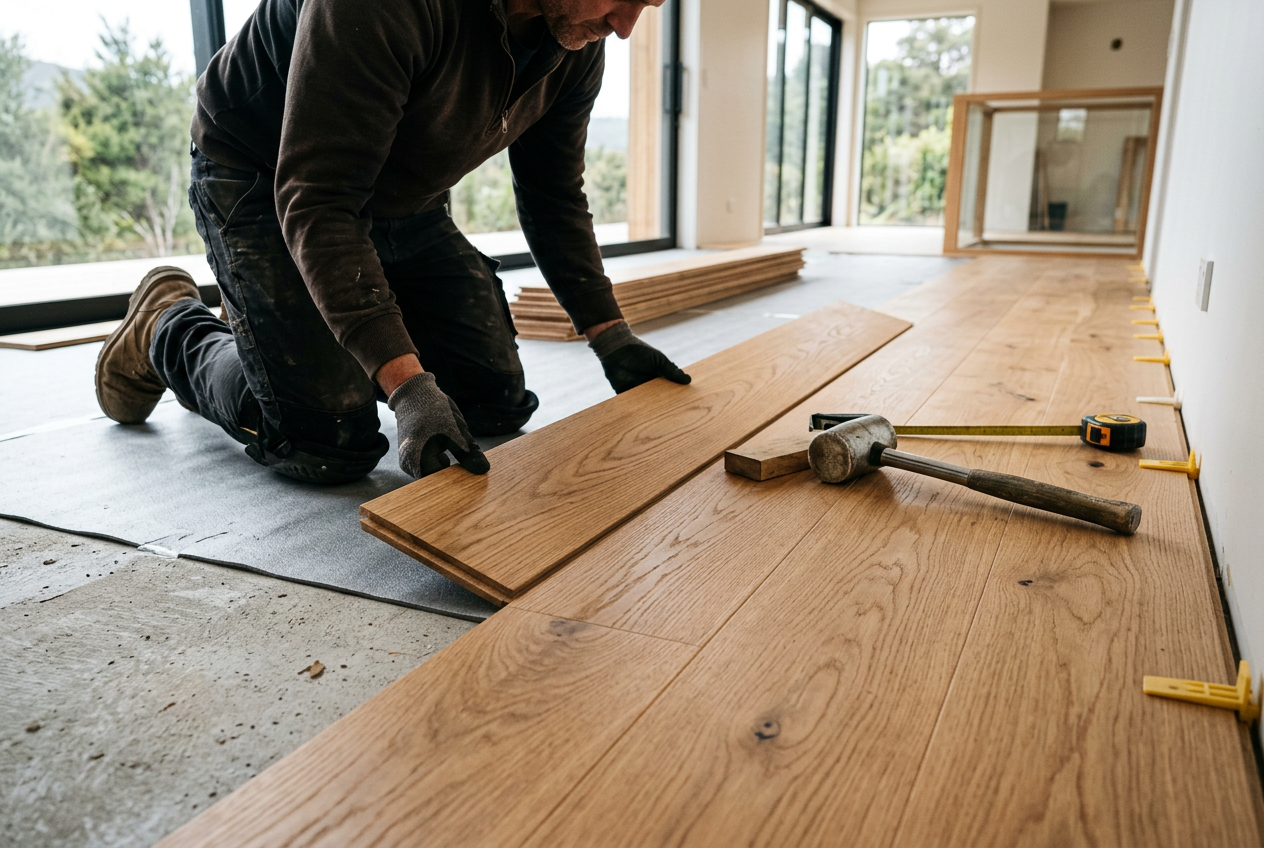
Cutting vinyl planks around door frames and architraves is one of the trickier parts of a DIY flooring install, but with the right tools and a bit of patience you can achieve a clean, professional-looking result. The key is to undercut the architrave so the plank slides neatly underneath, rather than trying to scribe a complex profile around it.
Tools You'll Need
Before you start, gather the following:
- Oscillating multi-tool or jamb saw (the easiest way to undercut architraves)
- Jigsaw with a fine-tooth blade (for curved or complex cuts)
- Utility knife and straight edge (for straight cuts on thinner LVP)
- Pencil and tape measure
- Scrap piece of vinyl plank (used as a depth guide when undercutting)
- Safety glasses and hearing protection
Most of these tools are available at Bunnings or Mitre 10.
Step 1 – Undercut the Architrave
Undercutting means removing a thin slice from the bottom of the door architrave and frame so your plank can slide cleanly underneath. This gives a far neater finish than trying to cut the plank to match the profile of the moulding.
- Place a scrap piece of vinyl plank flat on the subfloor next to the architrave. If you're installing over underlay, stack the plank on top of the underlay too.
- Rest your jamb saw or oscillating multi-tool on top of the scrap plank and carefully cut horizontally through the bottom of the architrave. The plank acts as a depth guide so you cut at exactly the right height.
- Remove the offcut and test that a plank slides smoothly into the gap. There should be a small amount of clearance — not a tight squeeze.
Safety note: Always wear safety glasses when cutting. If you're using a power tool near a door frame, check there are no hidden electrical cables in the wall before cutting. If in doubt, consult a licensed electrician — see the Electrical Workers Registration Board for guidance on restricted electrical work.
Step 2 – Template the Door Frame Profile
For the section of plank that slides under the architrave and wraps around the door stop or jamb, you'll need to make a notch cut:
- Slide a full plank into position until it meets the door frame.
- Use a pencil to mark the width of the door stop/jamb on the plank.
- Mark the depth of the notch — measure from the wall to where the plank needs to end (remembering to allow a 10–12 mm expansion gap at the wall, hidden under the skirting or threshold bar).
- Use a jigsaw to cut the notch. For straight-sided door frames this is usually a simple rectangular cut.
Dealing with Curved or Ornate Architraves
Older NZ homes — especially villas and bungalows — often have ornate, curved architraves. In these cases:
- Use a profile gauge (contour gauge) to copy the exact shape of the moulding onto the plank.
- Transfer the profile to the plank with a pencil, then cut carefully with a jigsaw.
- Alternatively, undercut as much of the architrave as possible and use a flexible silicone sealant to fill any small gaps (choose a colour to match your floor).
Step 3 – Test Fit Before Locking
Always do a dry fit before clicking or gluing the plank into place. Vinyl planks — whether click-lock LVP or glue-down — are difficult to adjust once set. Check that:
- The plank slides fully under the undercut architrave
- The notch fits snugly around the door frame without forcing
- Your expansion gap is maintained at all fixed surfaces
Step 4 – Finishing the Doorway
Once your planks are laid through the doorway, you'll need to cover the transition between rooms or between different floor surfaces. Use a threshold bar or T-moulding strip, available in a range of finishes. These are typically surface-fixed with a track that clicks or screws down, then a cover cap snaps on top.
If the door swings over the new floor, check the clearance — you may need to trim the bottom of the door by the thickness of the new flooring. A hand plane or circular saw with a guide works well for this.
Common Mistakes to Avoid
| Mistake | Why It's a Problem | Fix |
|---|---|---|
| Skipping the undercut | Leaves an ugly gap or forces a complex scribe cut | Always undercut first |
| Forgetting the expansion gap | Floor can buckle in NZ's humidity swings | Allow 10–12 mm at all fixed points |
| Rushing the notch cut | Plank cracks or fits poorly | Measure twice, cut once |
| Not supporting the plank while cutting | Blade wanders, cut is inaccurate | Clamp or support on a workbench |
When to Call a Professional
While cutting vinyl planks around architraves is a manageable DIY task, there are times when it's worth bringing in a qualified flooring installer:
- Large or complex floor areas with many doorways and irregular frames
- Glue-down vinyl in wet areas — installation near floor wastes or floor drains may interact with NZ Building Code requirements around waterproofing (clauses E3 and G12)
- Subfloor prep issues — if your subfloor is uneven, damaged, or has moisture problems, a professional assessment is wise before laying any flooring
- Heritage or ornate mouldings you don't want to risk damaging
You can find experienced local flooring installers on tradedirectory.co.nz.