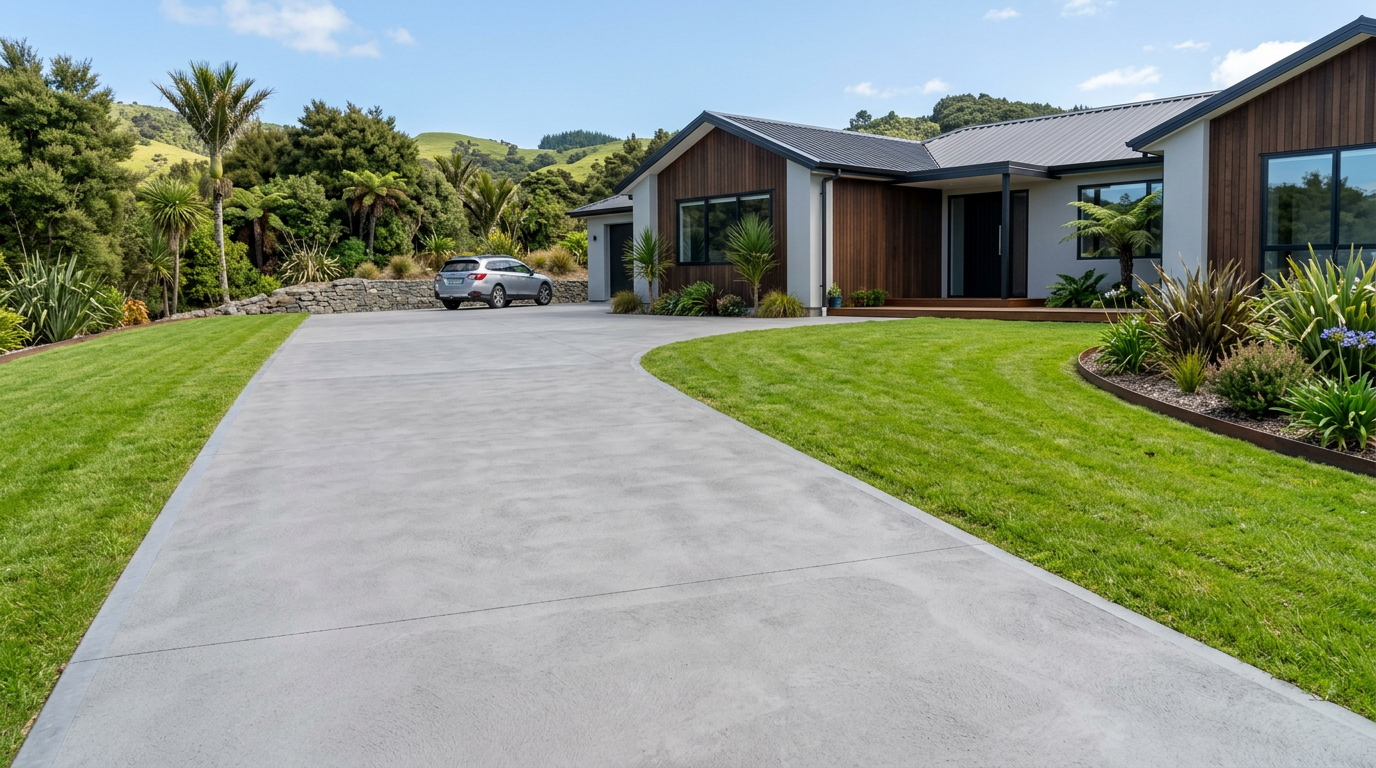
Compacting a gravel driveway base properly is the single most important step in building a driveway that won't sink, rut, or wash away. Done right, a well-compacted base can last decades with minimal maintenance. Here's how to approach it like a tradesperson, from the ground up.
Why Compaction Matters
Loose, uncompacted fill settles unevenly under vehicle loads and NZ's wet winters. This leads to potholes, soft spots, and surface gravel migrating off the driveway. Compaction forces air and water out of the material, locking particles together so the base behaves almost like a solid mass. The BRANZ guidelines on ground preparation emphasise that poor subgrade and base compaction is one of the leading causes of driveway failure.
Check If You Need a Building Consent
Before you start digging, check with your local council. In many cases, a new residential driveway crossing a footpath or kerb requires a vehicle crossing permit from the council, even if the driveway itself doesn't need a full building consent. Schedule 1 of the Building Act lists certain exemptions, but rules vary by council and site. Always confirm with your local council before starting work. You can find general guidance at MBIE Building Performance.
Tools and Materials You'll Need
- Plate compactor (wacker plate): Available to hire from most tool hire shops. This is the right tool for the job — a hand tamper is only suitable for very small or tight areas.
- Vibrating roller (optional): Better for larger driveways; also available for hire.
- AP65 or AP40 aggregate: These are the standard NZ crushed aggregate grades used for driveway sub-base. AP65 (65 mm minus) is used for the lower base layers; AP40 (40 mm minus) for the upper layers.
- AP20 or AP17 aggregate: Used as the final wearing course or top layer.
- Geotextile fabric: Laid on the subgrade before base material to prevent mixing and improve drainage.
- String lines and pegs: For checking levels and falls.
- Laser level or spirit level: To ensure correct crossfall (typically 2–3% to shed water).
You can find plate compactors and aggregate supplies through Bunnings, Mitre 10, or PlaceMakers, or through local quarries and hire companies.
Step-by-Step: Compacting Your Driveway Base
1. Prepare the Subgrade
Excavate to a depth of at least 200–300 mm below your finished surface level (more if the soil is soft or clay-heavy). Remove all topsoil, organic matter, and vegetation — these compress and rot over time. If the native soil is soft or wet, you may need to over-excavate and bring in compactable fill.
Compact the exposed subgrade first with your plate compactor before adding any base material. Make two to three passes in different directions.
2. Lay Geotextile Fabric
Roll out geotextile fabric over the compacted subgrade, overlapping joins by at least 300 mm. This separates the base aggregate from the soil below, preventing fines from migrating up and weakening your base.
3. Add and Compact Base Layers — The Golden Rule
This is the most critical step: never compact more than 100–150 mm of loose material at a time. Plate compactors can only effectively compact to a limited depth. Dumping 300 mm of aggregate and running a plate over the top will leave the bottom layers loose.
- Spread your first layer of AP65 to approximately 100–150 mm loose depth.
- Make three to four overlapping passes with the plate compactor, working in a systematic pattern (up and down, then across).
- Check for any soft or springy spots — these need extra passes or additional material.
- Add the next layer and repeat until you reach your desired base depth (typically 150–200 mm of compacted AP65 for a standard residential driveway).
4. Add the Upper Base Layer
Once the lower base is compacted, add a layer of AP40 (approximately 75–100 mm compacted depth) and compact in the same way. This finer material fills voids left by the larger aggregate and creates a more stable platform.
5. Apply the Wearing Course
Finish with 50–75 mm of AP20 or AP17 compacted gravel as your surface layer. This is what vehicles will drive on. Compact thoroughly and check your crossfall — aim for 2–3% slope away from any buildings to direct water clear of foundations, in line with the NZ Building Code's drainage requirements (Clause E1).
6. Final Check
Walk the entire surface. There should be no soft or bouncy areas. Drive over it slowly in a vehicle — there should be minimal movement or rutting.
Tips for NZ Conditions
- Avoid compacting in very wet conditions. Saturated aggregate won't compact properly and can pump under the plate. Wait for drier weather if possible.
- Clay subgrades are common in many NZ regions and are particularly problematic when wet. Consider lime stabilisation or a deeper excavation if you have heavy clay.
- Steep driveways (common on hilly NZ sections) need careful attention to drainage channels and may require a sealed surface rather than loose gravel to prevent washout.
When to Call a Professional
If your driveway is longer than about 20 metres, on a steep slope, or the subgrade is very soft or waterlogged, it's worth getting a professional driveway layer or civil contractor involved. They have access to larger compaction equipment, can arrange proper aggregate delivery, and will get the levels and drainage right first time. A poorly compacted base is expensive to fix after the fact. You can find qualified local driveway layers on tradedirectory.co.nz.
If your driveway project involves any changes to stormwater drainage connections, that work must be carried out by a licensed drainlayer — check the Plumbers Gasfitters & Drainlayers Board for licensed practitioners in your area.