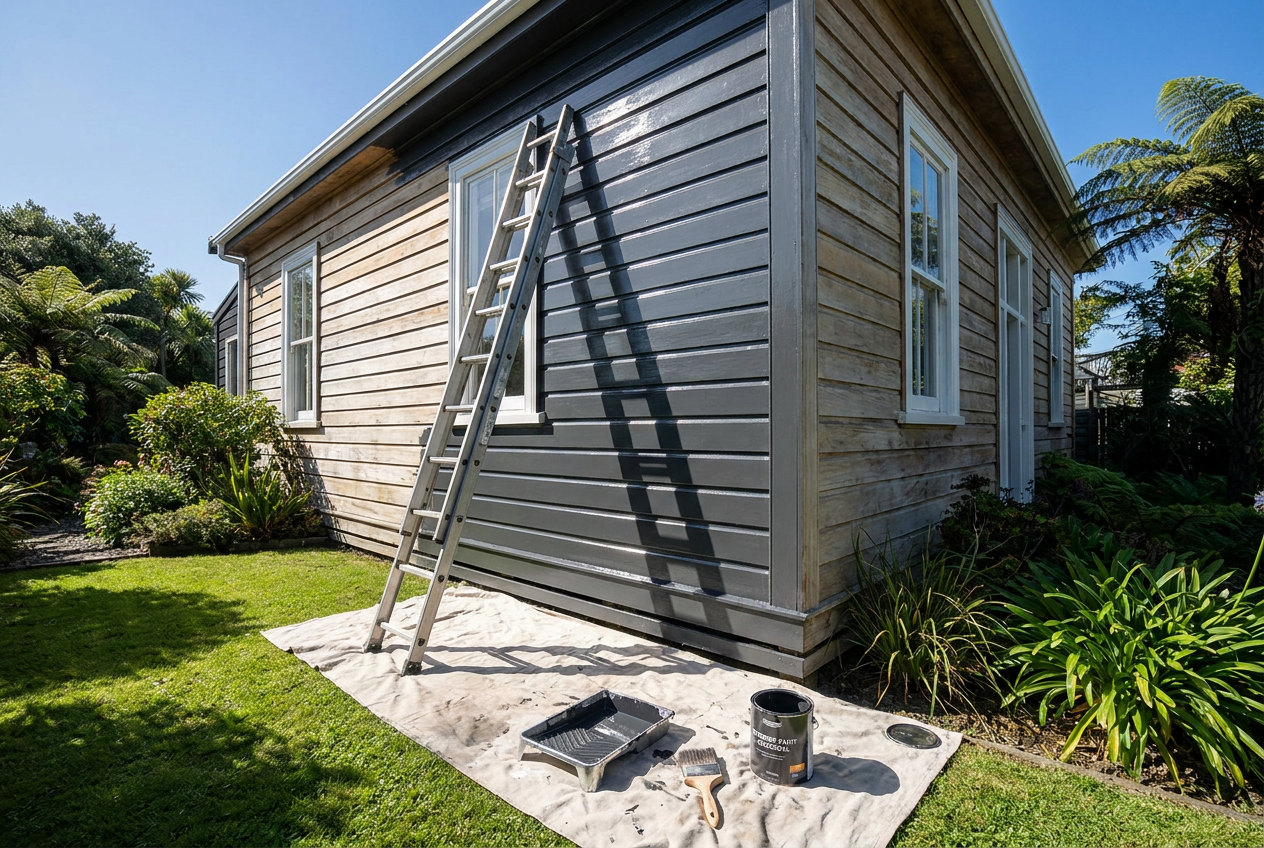
A fresh coat of exterior paint can transform your home and protect it from New Zealand's harsh UV, wind, and rain. But even the best paint will fail prematurely if the surface underneath isn't properly cleaned and prepared. Follow these steps to get a finish that lasts.
Why Preparation Matters
Professional painters often say that preparation is 80% of the job — and they're right. Paint applied over dirty, flaking, or damp surfaces will bubble, peel, and crack within a season or two. Taking the time to prepare properly means your topcoats bond correctly and you get the full life expectancy from your chosen paint system. BRANZ research consistently shows that surface preparation is the single biggest factor in exterior coating durability.
Step 1: Inspect the Exterior Thoroughly
Before you pick up a brush or hose, walk around the entire house and note:
- Peeling or flaking paint — areas where adhesion has already failed
- Cracks, gaps, or holes in cladding, weatherboards, or joinery
- Mould, lichen, or algae — common in shaded or damp areas of NZ homes
- Rust stains from nails or fixings
- Rotted timber that needs replacing before painting
- Failed caulking around windows, doors, and penetrations
Take photos as you go. This gives you a clear repair list and helps you estimate materials.
Step 2: Test for Lead Paint
If your home was built before the mid-1980s, there is a real chance it contains lead-based paint. Lead paint is a serious health hazard, particularly when sanded or disturbed. Purchase an inexpensive lead test kit from Bunnings or Mitre 10, or have a professional assess it. If lead is present, follow WorkSafe NZ guidelines for safe removal and disposal — this may mean hiring a specialist.
Step 3: Wash the Exterior
Thorough washing removes dirt, salt, mould, and chalky residue from old paint (called chalking). This is one of the most important steps.
Mould and Mildew Treatment
Mix a solution of water and a purpose-made fungicidal wash (available from paint retailers) or a diluted household bleach solution. Apply it to affected areas, leave it to dwell as directed, then scrub with a stiff brush. Rinse thoroughly. Skipping this step means mould will grow straight through your new paint.
Pressure Washing
A water blaster (pressure washer) is the most efficient way to clean a whole house exterior. Work from the top down, keeping the nozzle at an angle to avoid forcing water behind cladding. Be careful around:
- Older weatherboards that may have gaps
- Soffit vents and window frames
- Any areas with loose paint (the pressure will lift it — which is actually useful for revealing problem spots)
Allow the surface to dry completely — typically at least 24–48 hours in good weather — before moving on.
Step 4: Strip and Sand Failing Paint
Any paint that is flaking, bubbling, or poorly adhered must come off. Options include:
- Hand scraping with a good-quality scraper for small areas
- Electric sanders or orbital sanders for larger flat surfaces
- Heat guns to soften stubborn paint (use with caution near lead paint)
After stripping, sand all bare and feathered edges smooth so there are no ridges for the new paint to bridge. Finish with a light sand of the entire surface to improve adhesion. Wipe down or blow off all dust.
Step 5: Make Repairs
Now is the time to fix everything you noted in your inspection:
- Fill cracks and holes in timber with a flexible exterior filler or epoxy wood filler for deeper repairs
- Replace rotted sections of weatherboard or trim — paint will not save rotten timber
- Re-caulk all joints, gaps around windows, doors, and where different materials meet, using a paintable exterior-grade polyurethane or acrylic sealant (products from Sika are widely used in NZ)
- Treat rust on nail heads by sanding back and applying a rust-inhibiting primer before filling
Allow all fillers and sealants to cure fully per the manufacturer's instructions.
Step 6: Prime Bare Surfaces
Primer is not optional on bare timber, repaired areas, or where you've stripped back to raw substrate. Primer seals the surface, improves adhesion, and prevents tannin bleed from timber species like cedar or macrocarpa.
Choose a primer compatible with your topcoat system. Resene and Dulux both offer excellent exterior primer ranges suited to NZ conditions, and their technical staff can advise on the right product for your cladding type — whether it's timber weatherboard, James Hardie fibre cement, or masonry.
Step 7: Mask and Protect
Before you open a paint tin, mask off:
- Glass, window frames (if not being painted), and door hardware
- Paths, decking, and garden beds below working areas
- Downpipes and gutters if not being painted
Use quality masking tape and plastic sheeting. Remove tape while the paint is still slightly tacky to get a clean edge.
Comparison: DIY vs Hiring a Painter
| Factor | DIY | Professional Painter |
|---|---|---|
| Cost | Lower material cost | Higher upfront, better long-term value |
| Time | Significant — weekends or weeks | Faster with a crew |
| Equipment | Hire or buy water blaster, scaffolding | Supplied by tradesperson |
| Quality | Variable | Consistent, guaranteed |
| Height/access | Safety risk on two-storey+ homes | Scaffolding and harness as standard |
| Warranty | None | Often backed by painter and paint brand |
When to Call a Professional
Some situations are best left to a qualified painter:
- Two-storey or high homes where working at height creates a serious fall risk — WorkSafe NZ has strict requirements around working at height
- Extensive lead paint that needs safe removal
- Large areas of rot or structural damage that may involve restricted building work under the NZ Building Code
- Fibre cement cladding with specific coating requirements from the manufacturer
- When you simply want the job done right, on time, and with a warranty
You can find qualified, local painters on tradedirectory.co.nz — look for members who can show you their experience with your cladding type.