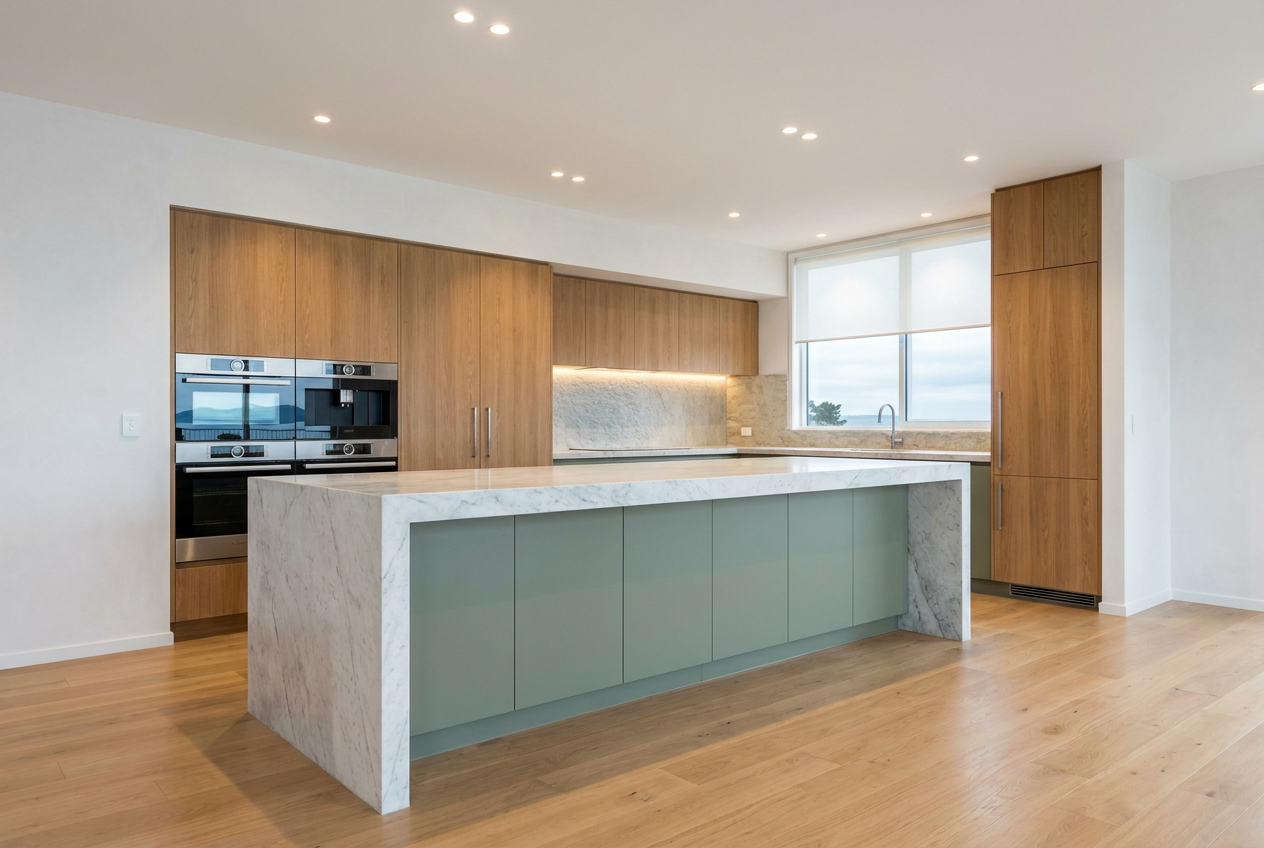
A kitchen splashback does two important jobs: it protects your walls from moisture, grease, and food splatter, and it's one of the most visible design features in your kitchen. With so many materials and styles available at NZ suppliers, the choice can feel overwhelming — but breaking it down into a few key decisions makes it much more manageable.
Why Your Splashback Choice Really Matters
In New Zealand, kitchens are subject to the NZ Building Code clause E3, which covers internal moisture. Your splashback must form a durable, waterproof barrier behind the sink and cooktop. Getting this wrong can lead to mould, rot, and costly repairs down the track. BRANZ is a great resource if you want to dig into the technical requirements around moisture management in kitchens.
The Most Popular Splashback Materials
Here's a quick comparison of the most common options available in NZ:
| Material | Durability | Ease of Cleaning | DIY Friendly | Relative Cost |
|---|---|---|---|---|
| Ceramic / Porcelain Tile | High | Easy | Moderate | Low–Mid |
| Glass (toughened) | Very High | Very Easy | No (usually) | Mid–High |
| Stainless Steel | High | Moderate | Moderate | Mid |
| Acrylic / PVC Panel | Moderate | Easy | Yes | Low |
| Stone / Engineered Stone | Very High | Moderate | No | High |
| Painted Plasterboard (with splashback paint) | Low | Moderate | Yes | Very Low |
Ceramic and Porcelain Tiles
Tiles are the classic choice and remain hugely popular in NZ kitchens. They're available at Mitre 10 and Bunnings in a huge range of styles, from subway tiles to large-format porcelain. Grout lines do require regular cleaning to prevent mould, so choose a quality grout and consider a grout sealer.
Toughened Glass
Glass splashbacks give a seamless, modern look and are incredibly easy to wipe down. They're typically custom-made to fit your kitchen and can be back-painted in virtually any colour — including colours matched to Resene or Dulux paint ranges. Because they're custom and require professional templating and installation, they sit at the higher end of the budget.
Stainless Steel
A favourite in commercial kitchens, stainless steel is heat-resistant and hygienic. It can show fingerprints and scratches over time, but brushed finishes hide marks better than polished ones.
Acrylic and PVC Panels
These are the most budget-friendly option and are genuinely DIY-friendly. Brands like Aquaclad and similar products are available at hardware stores. They're lightweight and easy to cut, but they're less heat-resistant than tile or glass, so keep them away from directly behind a gas or electric cooktop unless the product is rated for that use.
Engineered Stone
If you're having a stone benchtop installed, extending the same material up the wall as a splashback creates a stunning, cohesive look. This is a job for a professional stonemason.
Key Factors to Consider Before You Decide
- Heat exposure: Behind a cooktop, your splashback must handle high temperatures. Toughened glass, tile, and stainless steel are all suitable. Check manufacturer specs for acrylic panels.
- Budget: As a rough guide, acrylic panels are the most affordable, tiles sit in the mid-range, and custom glass or stone are premium options. Get quotes before committing.
- Kitchen style: A Shaker-style kitchen suits classic subway tiles; a contemporary flat-panel kitchen often looks best with glass or large-format stone.
- Maintenance: Be honest about how much cleaning you're willing to do. Grout lines need attention; glass and steel are simpler.
- Colour and light: Light-coloured or reflective splashbacks can make a small kitchen feel larger and brighter — worth considering in many NZ homes with compact kitchens.
Sizing and Planning Your Splashback
Measure the area carefully before ordering materials. Standard splashback height is typically from the benchtop to the underside of the overhead cabinets, but you can run it higher for a dramatic effect. Allow for any power outlets, windows, or rangehood cutouts — these all need to be factored into your template or tile layout.
If you're tiling, plan your layout so cut tiles fall in less visible spots. Use a waterproof tile adhesive and waterproof grout — products from Ardex or Mapei are well regarded in the NZ trade.
When to Call a Professional
Some splashback work is straightforward DIY; other parts are legally restricted:
- Electrical work: If your splashback installation involves moving, adding, or altering power outlets or switches, this is restricted electrical work under NZ law and must be carried out by a registered electrician. Check the Electrical Workers Registration Board (EWRB) to verify a sparky's registration.
- Gas connections: Any work on gas cooktop connections must be done by a licensed gasfitter registered with the Plumbers, Gasfitters and Drainlayers Board (PGDB).
- Custom glass and stone: These materials require professional templating, fabrication, and installation to get right and to avoid breakage.
- Cabinetry integration: If your splashback installation involves modifying existing cabinetry or benchtops, a qualified cabinet maker will ensure a clean, professional result.
For any of the above, you can find qualified local tradespeople on tradedirectory.co.nz.
A Quick Safety Note
When cutting tiles or acrylic panels, always wear safety glasses and a dust mask. Tile dust can contain silica, which is harmful to lungs. Work in a well-ventilated area and follow WorkSafe NZ guidelines for working safely with construction materials.