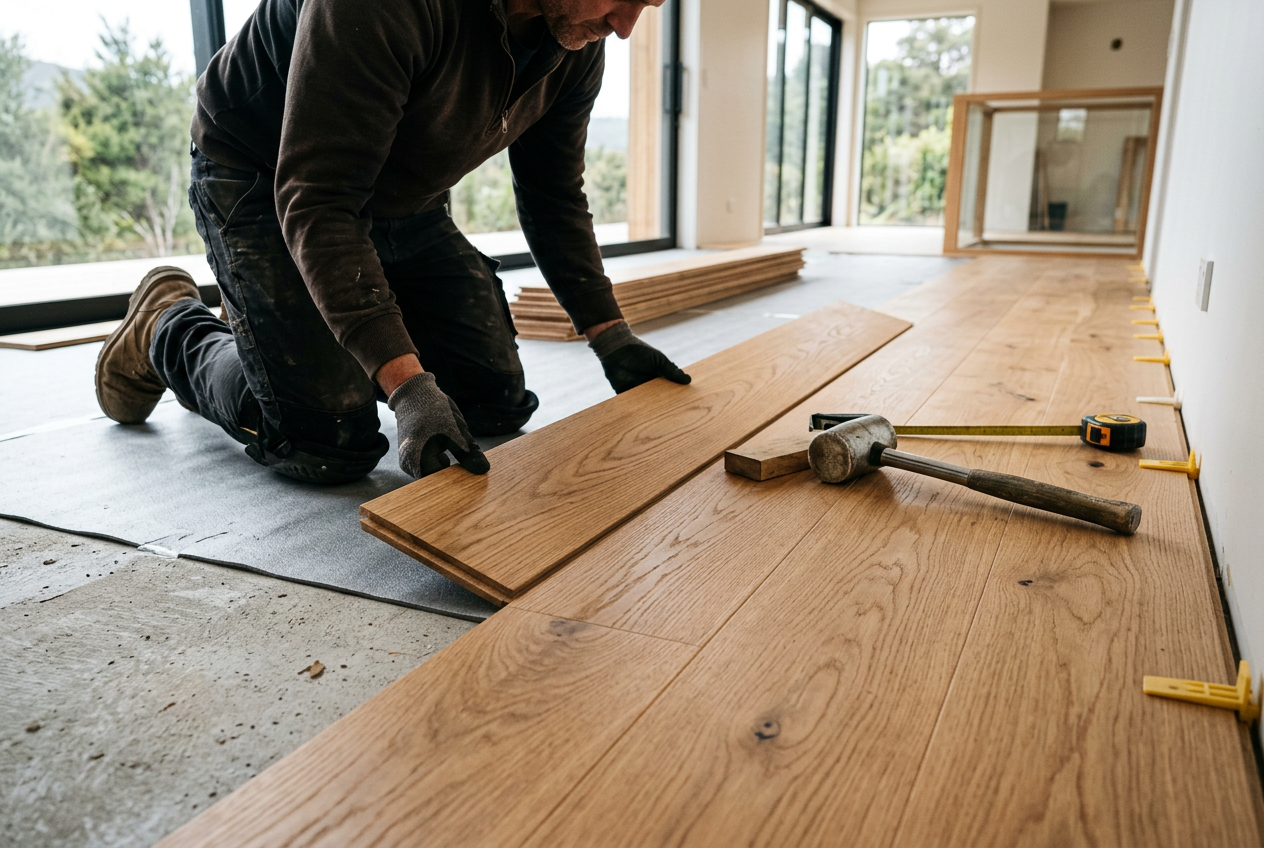
Vinyl plank flooring (also called LVP – Luxury Vinyl Plank) has become one of the most popular flooring choices in New Zealand homes, thanks to its durability, water resistance, and realistic timber look. With the right care routine, it can stay looking sharp for many years. Here's everything you need to know about keeping it clean and well-maintained.
Understanding Your Vinyl Plank Floor
Most vinyl plank flooring consists of several layers: a rigid or flexible core, a printed design layer, and a wear layer on top. The wear layer is your floor's main defence against scratches, scuffs, and stains. Thicker wear layers (measured in mils) offer better durability, especially in high-traffic areas. Knowing this helps you understand why certain cleaning products or habits can cause damage — anything that degrades that wear layer shortens the life of your floor.
Daily and Weekly Cleaning Routine
A consistent routine is the best way to protect vinyl plank flooring:
- Sweep or dust mop daily in high-traffic areas to remove grit and debris. Fine particles act like sandpaper underfoot and can scratch the wear layer over time.
- Use a soft-bristle broom or microfibre mop — avoid stiff-bristle brooms that can scuff the surface.
- Vacuum weekly using a hard-floor setting (turn off the beater bar/brush roll, as rotating brushes can scratch vinyl).
- Damp mop weekly or as needed using a well-wrung mop — vinyl plank is water-resistant, but excessive standing water around edges and joins can seep into the subfloor or cause planks to lift over time.
Choosing the Right Cleaning Products
This is where many homeowners go wrong. Vinyl plank flooring is sensitive to certain chemicals:
Safe to use:
- Plain warm water for light cleaning
- A pH-neutral floor cleaner specifically labelled safe for vinyl or LVP
- A small amount of dish soap diluted in water for occasional deeper cleans
Avoid these:
- Bleach, ammonia, or solvent-based cleaners — these can dull or damage the wear layer
- Steam mops — the high heat and moisture can warp planks, void warranties, and lift adhesive on glue-down installations
- Wax or polish products — vinyl plank doesn't need waxing and these products can leave a residue that attracts dirt
- Abrasive scrubbing pads — use a soft cloth or microfibre pad only
- Vinegar and water — despite being a popular DIY tip, the acidity can gradually break down the finish on some vinyl products
Always check your flooring manufacturer's care guide, as recommendations can vary between brands and product ranges.
Tackling Common Stains
| Stain Type | Recommended Treatment |
|---|---|
| Mud / dirt | Let dry, then sweep and damp mop |
| Food and drink spills | Wipe immediately with a damp cloth |
| Grease or oil | pH-neutral cleaner, soft cloth |
| Scuff marks | Rub gently with a clean tennis ball or pencil eraser |
| Nail polish | Small amount of nail polish remover on a cloth, then rinse |
| Permanent marker | Isopropyl alcohol on a cloth, then rinse |
Always blot stains rather than scrubbing, and rinse the area with clean water after using any cleaning agent.
Protecting Your Floor from Damage
Prevention is far easier than repair:
- Use felt pads under all furniture legs to prevent scratching when items are moved.
- Place doormats at all exterior entrances to trap grit and moisture before it reaches your floor. This is especially important in NZ's wet winters.
- Avoid rubber-backed mats directly on vinyl plank — some rubber compounds can cause permanent staining or discolouration. Use mats labelled safe for vinyl.
- Keep pet nails trimmed — long claws can scratch the wear layer.
- Protect from direct sunlight where possible. Prolonged UV exposure can cause fading or discolouration. Use curtains or UV-filtering window film in sun-drenched rooms.
- Maintain a stable indoor temperature — extreme heat or cold can cause planks to expand or contract. This is worth considering in uninsulated NZ homes; Energywise has good guidance on home insulation and temperature management.
Dealing with Minor Repairs
Small scratches can sometimes be buffed out with a manufacturer-approved repair kit or a vinyl floor repair pen. For deeper gouges or a plank that has lifted at the edge, a flooring installer can often replace individual planks — one of the great advantages of click-lock vinyl plank systems.
If you notice widespread lifting, bubbling, or moisture damage, it's worth investigating the subfloor. BRANZ provides useful technical guidance on moisture management in NZ homes, which is a common underlying cause of flooring issues.
Healthy Homes and Rental Properties
If you're a landlord, maintaining flooring in good condition is part of your obligations under the Healthy Homes Standards. Damaged or poorly maintained flooring can contribute to moisture and mould issues. For more information, visit Tenancy Services.
When to Call a Professional
Most vinyl plank care is well within DIY territory, but call a qualified flooring installer if you notice:
- Multiple planks lifting, buckling, or separating at the joins
- Persistent moisture or mould beneath the floor
- Large areas of damage that need replacing
- Subfloor issues that may have caused the problem in the first place
A professional can assess whether the issue is with the flooring itself, the installation, or the subfloor — and fix it properly. You can find experienced local flooring installers on tradedirectory.co.nz.