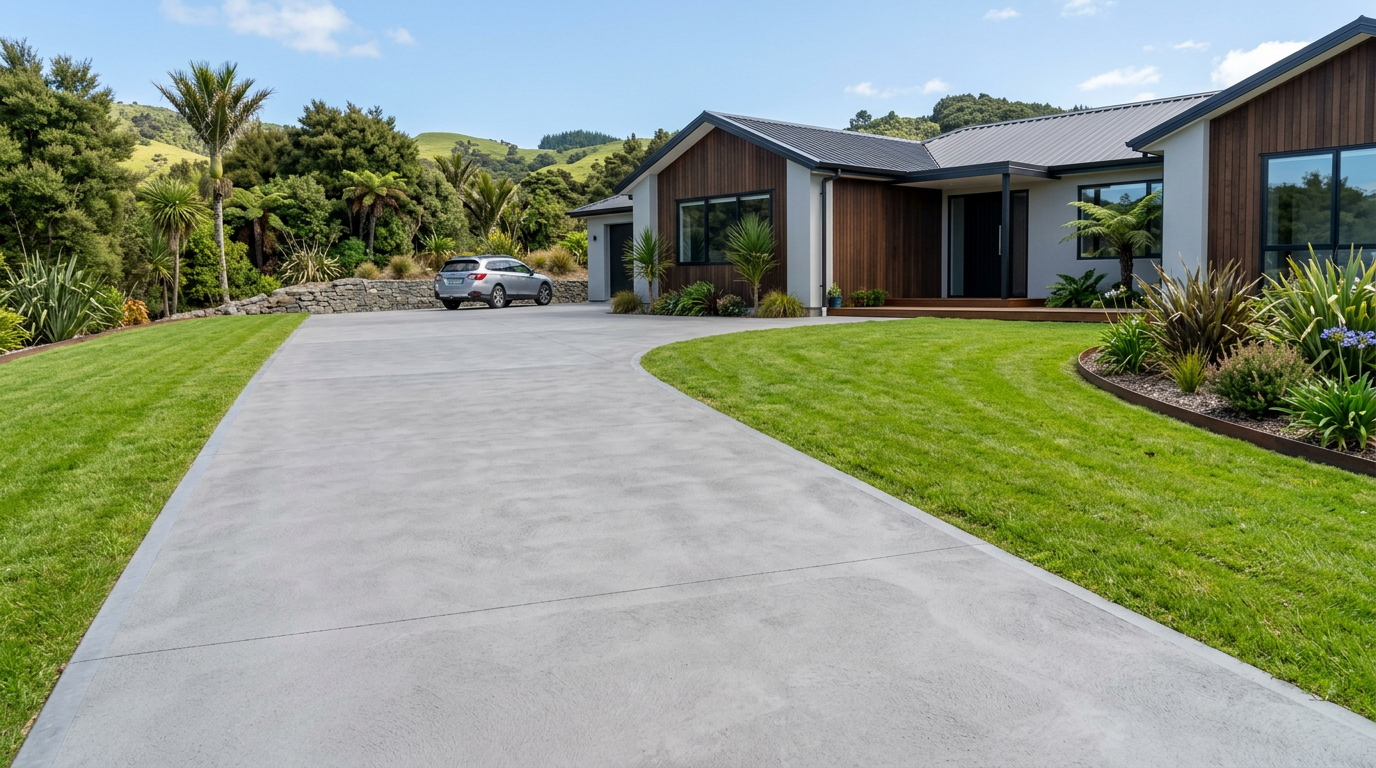
Building timber formwork is one of the most important steps in laying a concrete slab. Get it right and your slab will be level, square, and the correct thickness. Get it wrong and you could end up with a slab that's out of level, undersized, or structurally compromised. Here's a practical guide to doing it properly.
What Is Formwork and Why Does It Matter?
Formwork (sometimes called shuttering) is the temporary timber frame that holds wet concrete in shape until it cures and can support itself. For a simple residential slab — a garden shed base, a patio, or a garage floor — timber formwork is the most common and cost-effective approach. The formwork defines the slab's edges, thickness, and finished height, so accuracy at this stage saves a lot of headaches later.
Note on building consent: Depending on the size and use of your slab, a building consent may be required. Slabs for habitable buildings, retaining structures, or anything connected to drainage almost certainly need consent. Schedule 1 of the Building Act lists some exemptions for minor work, but always confirm with your local council before you start. See MBIE Building Performance for guidance.
Tools and Materials You'll Need
- Timber: 50 × 100 mm (2×4) or 50 × 150 mm (2×6) framing timber is typical for most residential slabs up to 100 mm thick. Use treated timber (H3.2 minimum) where it may contact soil or moisture.
- Pegs/stakes: 50 × 50 mm timber stakes, 300–450 mm long, driven into the ground to hold the form boards in place.
- Screws or nails: 75–90 mm framing nails or screws to fix boards to stakes.
- String line and line level (or laser level)
- Tape measure and builder's square
- Hammer, circular saw, drill
- Spray paint or chalk line for marking out
- Release agent or old motor oil to coat the inside face of the formwork (makes stripping easier)
You can find treated timber, stakes, and fixings at Bunnings, Mitre 10, or PlaceMakers.
Step-by-Step: Setting Up Your Formwork
1. Mark Out the Slab Area
Use a tape measure and string lines to mark the perimeter of your slab. Check it's square by measuring diagonally corner to corner — both diagonals should be equal. Spray paint or chalk the outline on the ground.
2. Excavate and Prepare the Sub-base
Excavate to the required depth — typically 100 mm for the concrete slab plus 75–100 mm for a compacted gravel sub-base. A well-compacted sub-base (AP20 or AP40 crusher run) is critical for preventing settlement and cracking. Compact it thoroughly with a plate compactor.
3. Drive Your Stakes
Drive timber stakes into the ground around the perimeter, roughly every 600–900 mm and at every corner. Stakes should be driven firmly enough that they don't move when you push against them. Leave the top of each stake slightly below your intended finished slab height.
4. Set the Form Boards to Level
This is the most critical step. Use a laser level or a string line with a line level to set the top edge of your form boards to the correct finished slab height. Fix the boards to the stakes with screws (screws are easier to remove later than nails). Check constantly with your level as you go.
| Slab thickness | Typical form board size |
|---|---|
| 75 mm | 50 × 75 mm or 50 × 100 mm |
| 100 mm | 50 × 100 mm |
| 125–150 mm | 50 × 150 mm or doubled boards |
5. Brace the Formwork
Concrete is very heavy — a 100 mm slab exerts significant lateral pressure on your form boards. Add diagonal braces from the stakes to the ground, or use additional stakes on the outside of the boards at mid-span. For longer runs, add a stake every 600 mm. Push against the boards firmly — if they flex, add more bracing.
6. Check Square and Level Again
Before you order concrete, re-check:
- All corners are square (diagonal measurements match)
- Top edges are level all the way around (or have the correct fall for drainage — typically 1:100 away from buildings)
- Boards are firmly fixed and won't move
- The inside face is coated with release agent
7. Install Reinforcing (If Required)
Most residential slabs require reinforcing mesh (typically 665 or 768 mesh to NZS 3109) or steel bar, supported on plastic bar chairs so it sits at the correct depth within the slab. Check your consent documents or engineer's specifications for the correct mesh grade and cover requirements.
Drainage and Falls
For outdoor slabs, always build in a fall of at least 1:100 (10 mm per metre) away from any building. This is required under the NZ Building Code (Clause E1 – Surface Water). If your slab connects to stormwater or wastewater drainage, that work must be done by a licensed drainlayer — see the Plumbers Gasfitters & Drainlayers Board for licensing information.
Stripping the Formwork
Leave the formwork in place for at least 24–48 hours after the pour in warm weather, longer in cold or wet conditions. Concrete gains strength quickly in the first few days but is still vulnerable to damage. Remove boards carefully to avoid chipping slab edges.
When to Call a Professional
Formwork for simple garden slabs is within the ability of a competent DIYer, but there are situations where you should engage a qualified concreter or Licensed Building Practitioner (LBP):
- Slabs for habitable buildings or garages (likely require consent and LBP sign-off)
- Slabs on sloping or unstable ground
- Slabs requiring engineer-specified reinforcing
- Any work involving drainage connections
- Large pours where getting it wrong is costly
You can find experienced local concreters and LBPs on tradedirectory.co.nz. For LBP requirements, visit Licensed Building Practitioners.