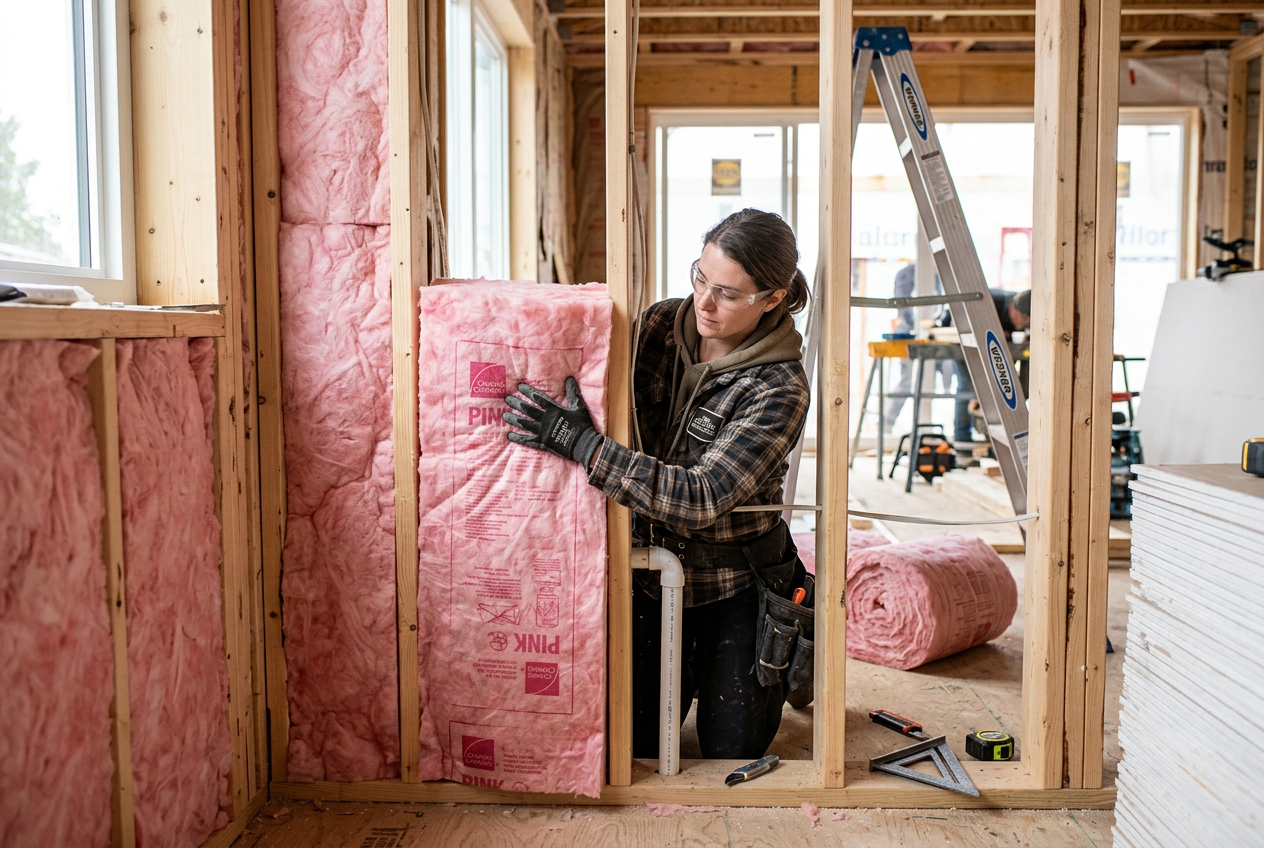
Cold floors are one of the most common complaints from New Zealand homeowners, especially those living in older houses built on timber piles. If you've ever padded across an icy kitchen floor on a winter morning, you'll know the feeling. The good news is that underfloor insulation is one of the most cost-effective upgrades you can make — and the difference it delivers is very real.
How Much Heat Is Actually Lost Through the Floor?
In an uninsulated NZ home, a significant portion of your heating energy escapes through the floor — particularly in older homes with suspended timber floors and open subfloor spaces. BRANZ research consistently identifies the floor as one of the major pathways for heat loss in New Zealand housing. While the exact percentage varies depending on your home's construction, location, and how well other areas like the ceiling and walls are insulated, adding underfloor insulation typically produces a noticeable and immediate improvement in comfort.
What Does Underfloor Insulation Actually Do?
Underfloor insulation works by creating a thermal barrier between your living space and the cold, damp air sitting in the subfloor cavity beneath your home. It does several things at once:
- Reduces heat loss — keeps warmth inside during winter
- Improves floor surface temperature — floors feel warmer underfoot
- Reduces condensation and moisture — helps keep the subfloor drier
- Lowers heating costs — your heat pump or heater doesn't have to work as hard
- Improves overall comfort — more even temperatures throughout the home
In New Zealand's variable climate — from the cold, frosty winters of Otago and Canterbury to the damp, cool winters of Wellington and Auckland — underfloor insulation delivers real benefits across most of the country.
NZ Healthy Homes Standards: Is It Compulsory?
If you're a landlord, underfloor insulation isn't just a nice-to-have — it may be a legal requirement. The Tenancy Services Healthy Homes Standards require rental properties to have underfloor insulation where it is reasonably practicable to install it (i.e., where there is sufficient subfloor access). The insulation must meet a minimum R-value as specified in the standards.
For owner-occupiers, it's not compulsory, but it's strongly recommended — especially given the NZ Building Code requirements for new builds and the energy efficiency benefits.
What R-Value Do You Need?
The R-value measures thermal resistance — the higher the number, the better the insulation performs. The required R-value for underfloor insulation varies by climate zone under the Healthy Homes Standards. As a general guide:
| NZ Climate Zone | Minimum R-value (Healthy Homes) |
|---|---|
| Zone 1 (Northland, Auckland) | R 1.3 |
| Zone 2 (Central North Island, Wellington) | R 1.3 |
| Zone 3 (South Island, high altitude) | R 1.3 |
Note: Always check the current Tenancy Services guidelines for the most up-to-date requirements, as these can change. For new builds, the NZ Building Code sets its own requirements which may be higher.
Types of Underfloor Insulation
The most common options for NZ suspended timber floors include:
- Polyester batts — soft, easy to handle, no irritants, good for DIY. Brands like Knauf and others are available at Bunnings and Mitre 10.
- Glasswool batts — effective and widely available, though you'll want gloves, a mask, and eye protection when handling.
- Foil insulation — a reflective foil blanket stapled to the joists. Note: foil insulation has been associated with electrocution deaths in Australia when stapled through electrical wiring. WorkSafe NZ advises extreme caution — if in doubt, use a professional installer.
- Rigid polystyrene board — used in some situations, particularly where batt insulation won't fit.
Can You Install It Yourself?
For batt-style insulation in a suspended timber floor with reasonable subfloor access (generally at least 400–500 mm of clearance), many homeowners do tackle this as a DIY job. Here's what's involved:
- Check subfloor access — you'll need to be able to crawl through comfortably
- Measure your joist spacing — typically 400 mm or 600 mm centres in NZ homes
- Buy the right size batts — cut to fit snugly between joists
- Wear PPE — gloves, dust mask (P2 rated), safety glasses, and old clothing
- Secure the batts — use wire, netting, or purpose-made clips to hold them in place
- Check for hazards first — look for asbestos (common in pre-1990 homes), old wiring, or plumbing issues before you start
Important: If your home was built before 1990, have it checked for asbestos-containing materials before disturbing anything in the subfloor. Contact a licensed asbestos assessor if you're unsure.
When to Call a Professional
While DIY underfloor insulation is feasible for many homeowners, there are situations where you should bring in a qualified insulation installer:
- Limited subfloor access — tight spaces require experience and the right equipment
- Asbestos present or suspected — removal is restricted work under NZ law
- Foil insulation — due to the electrocution risk, professional installation is strongly recommended
- Healthy Homes compliance — a professional can certify the installation meets the required standard
- Large or complex homes — saves time and ensures consistent coverage
A qualified insulation installer will also be able to assess your whole home and recommend the best approach. You can find experienced local insulation installers on tradedirectory.co.nz.
What's the Cost vs. Benefit?
As a rough guide, underfloor insulation for an average NZ home typically costs several hundred to a few thousand dollars depending on floor area, access difficulty, and insulation type. Many homeowners recoup this through lower power bills within a few years — and the comfort improvement is immediate. Some households may also be eligible for government subsidies through the Warmer Kiwi Homes programme — check Energywise for current eligibility.