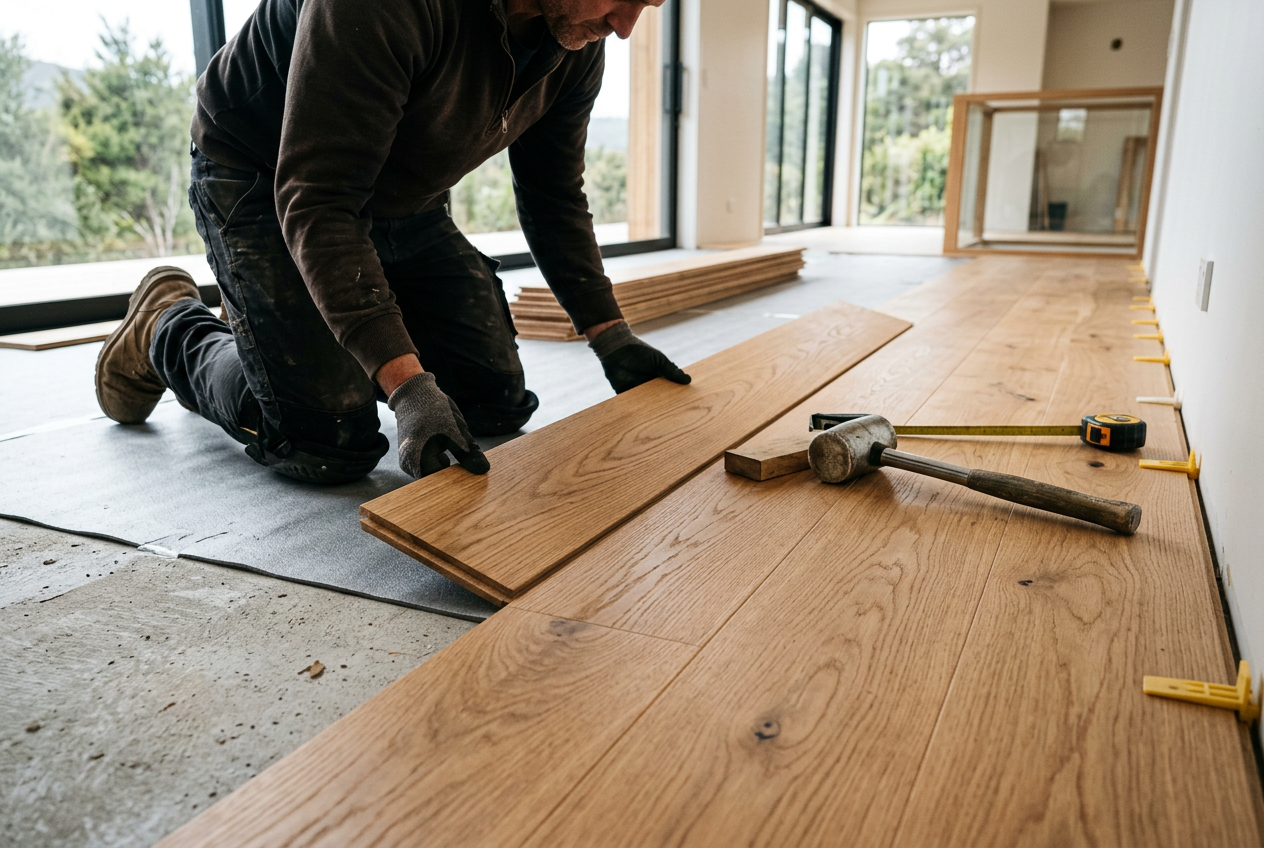
Underlay is one of those things that's easy to overlook when you're excited about a new laminate floor — but skipping it is a mistake most homeowners regret. In New Zealand's varied climate, the right underlay protects your floor, your home, and your comfort. Here's what you need to know before you start laying.
Why Underlay Is (Almost Always) Essential
Laminate flooring is a floating floor — it isn't glued or nailed down, so it needs a stable, cushioned base to perform properly. Underlay serves several critical functions:
- Sound absorption – Laminate can sound hollow and clicky underfoot without underlay. A good underlay significantly reduces impact noise, which matters especially in multi-storey homes or rentals subject to Healthy Homes Standards.
- Thermal insulation – Underlay adds a layer of warmth underfoot and can improve your home's overall energy efficiency. Energywise notes that floor insulation is an important part of a warm, dry home.
- Moisture barrier – New Zealand's damp winters and high-humidity regions (hello, Northland and the West Coast) mean moisture rising from concrete subfloors is a real risk. Many underlays include a built-in vapour barrier.
- Subfloor levelling – Underlay helps bridge minor surface imperfections, reducing stress on the laminate's locking joints.
- Warranty protection – Most laminate manufacturers require underlay to be installed for their product warranty to be valid. Check your product's technical data sheet before you buy.
The One Exception: Pre-Attached Underlay
Some laminate boards come with pre-attached underlay already bonded to the back. If your product has this, you generally should NOT add a separate underlay on top — doing so can make the floor feel spongy and put excessive stress on the click joints, causing them to fail. Always read the manufacturer's installation guide. You may still need a separate vapour barrier sheet on concrete subfloors even with pre-attached underlay, so check the spec carefully.
Types of Underlay Available in NZ
Here's a quick comparison of the most common underlay types you'll find at stores like Bunnings or Mitre 10:
| Type | Best For | Moisture Barrier | Acoustic Rating | Notes |
|---|---|---|---|---|
| Foam (PE) | Timber subfloors, budget installs | Sometimes | Basic | Lightweight, easy to cut |
| Foam with foil face | Concrete subfloors | Yes | Basic–Moderate | Foil acts as vapour barrier |
| Rubber crumb | High-traffic areas, better acoustics | Sometimes | Good | Denser, more durable |
| Cork | Eco-conscious, good insulation | No (add separate barrier) | Good | Natural, sustainable option |
| Combination (foam + film) | Concrete, rental properties | Yes | Moderate | All-in-one convenience |
Thickness typically ranges from around 2 mm to 5 mm. Thicker isn't always better — most laminate manufacturers specify a maximum underlay thickness (often 3–4 mm) to keep the floor stable.
Concrete vs Timber Subfloors: What Changes?
Concrete Subfloors
Moisture is your biggest enemy here. Always use an underlay with an integrated vapour barrier, or lay a separate 200-micron polyethylene film first, lapping it up the walls and taping the joins. This aligns with good practice under the NZ Building Code for managing moisture in habitable spaces.
Timber Subfloors
Timber subfloors breathe more naturally, so a standard foam or cork underlay is usually sufficient. Focus on acoustic performance and check that the subfloor is structurally sound, flat (within about 3 mm over a 1.8 m span is a common guideline), and free of squeaks before you start.
Getting the Subfloor Right First
No underlay will fix a bad subfloor. Before laying anything:
- Check for flatness using a long straightedge. High spots can be ground down; low spots filled with a suitable floor-levelling compound.
- Fix squeaky boards on timber subfloors by screwing them down.
- Test for moisture on concrete — a simple plastic sheet taped down for 24–48 hours will show condensation if moisture is present.
BRANZ is an excellent resource for understanding subfloor preparation requirements in New Zealand conditions.
Installation Tips for Underlay
- Lay underlay perpendicular to the direction of your laminate boards where possible.
- Butt edges together — don't overlap foam underlay as this creates ridges.
- Tape joins with the manufacturer's recommended tape.
- Trim neatly at walls; the skirting or scotia will cover the edge.
- Never run underlay up the wall — it should sit flat on the floor only.
Cost: What to Budget (As a Guide)
Underlay is a relatively small part of your overall flooring budget. As a rough guide, basic foam underlay tends to be the most affordable, while acoustic rubber or combination products sit at the higher end. Factor in underlay when getting quotes — a good flooring installer will include it in their pricing and recommend the right product for your specific subfloor and laminate.
When to Call a Professional
While laying laminate is a popular DIY project, there are times when it's worth bringing in a qualified flooring installer:
- Large or complex areas (stairs, multiple rooms, irregular shapes)
- Significant subfloor levelling or repairs needed
- Underfloor heating systems — the wrong underlay can affect heat transfer and void warranties
- You're unsure about moisture levels or subfloor condition
A professional installer will assess your subfloor, recommend the correct underlay, and ensure the job is done to a standard that protects your investment. You can find qualified local flooring installers on tradedirectory.co.nz.