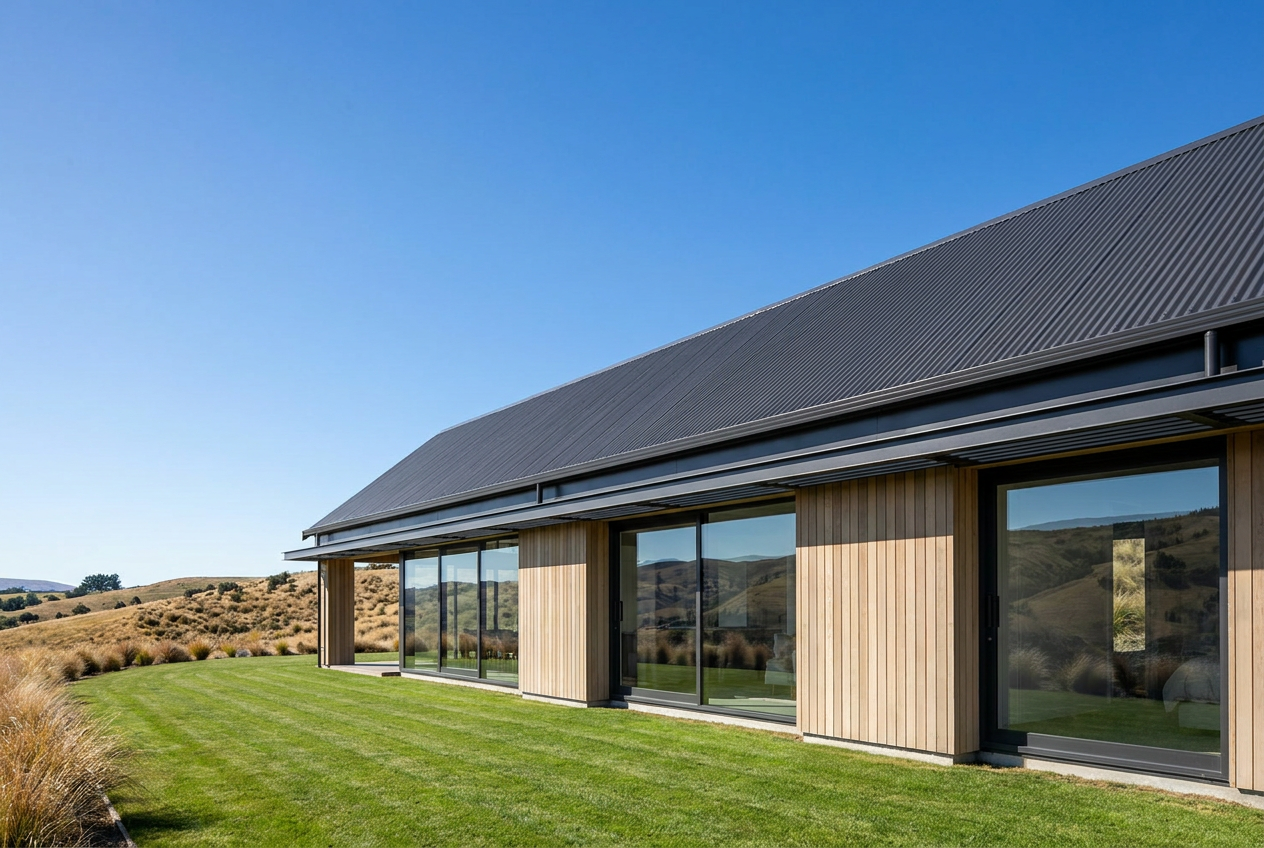
New Zealand's damp, humid climate makes moss and lichen growth on roofs almost inevitable — especially in shaded or coastal areas. Painting over live growth is one of the most common and costly roofing mistakes a homeowner can make. Treating moss and lichen properly before you pick up a paintbrush is not just recommended; it's essential for a finish that will actually last.
Why moss and lichen are such a problem
Moss and lichen are not just sitting on top of your roof — they actively grip into the surface. Lichen in particular uses root-like structures called rhizines to anchor itself into concrete tiles, terracotta, and even metal coatings. If you paint over them, the paint film has no solid surface to bond to and will bubble, peel, and fail within a season or two. Beyond paint adhesion, moss retains moisture against the roof surface, accelerating corrosion on metal roofs and freeze-thaw damage on concrete tiles. BRANZ research consistently highlights moisture management as a key factor in roof longevity in the NZ climate.
Step 1 — Apply a biocide treatment first
Before any physical cleaning, apply a moss and lichen biocide (sometimes called a fungicidal wash). This kills the organisms at the root level so they can be removed cleanly without spreading spores across the roof.
- Choose a product specifically rated for roof surfaces — many NZ paint manufacturers including Resene and Dulux offer dedicated roof wash and treatment products.
- Follow the manufacturer's dwell time — this is typically several days to a few weeks for heavy lichen growth.
- Be mindful of runoff: many biocides are harmful to aquatic life. Check your local council rules and avoid applying before heavy rain.
Step 2 — Clean the roof thoroughly
Once the biocide has done its work, the dead growth needs to be removed:
- Low-pressure washing is generally preferred over high-pressure blasting, which can damage aged tiles, lift granules from coated surfaces, or force water under laps.
- Work from the ridge down so debris washes away cleanly.
- A stiff brush or broom can help dislodge stubborn patches on concrete tiles.
- Allow the roof to dry completely — in NZ conditions this may take several fine days.
Step 3 — Inspect and repair before painting
With a clean roof, you can now properly assess its condition:
- Check for cracked, broken, or slipped tiles and replace them.
- On metal roofs, look for rust spots, lifted screws, or failed sealant at penetrations.
- Re-bed and re-point any loose ridge or hip cappings — this is critical before painting as movement will crack paint over poorly bonded mortar.
- Address any flashing issues. Roof work near flashing, skylights, or penetrations may interact with weathertightness obligations under the NZ Building Code.
Step 4 — Apply a sealer or primer
For porous surfaces like concrete tiles, a penetrating sealer or primer is applied after cleaning and before the topcoat. This consolidates the surface, improves paint adhesion, and helps lock out moisture. Check with your paint supplier — Wattyl and Resene both offer roof-specific primer systems designed for NZ conditions. Always use a primer recommended by the topcoat manufacturer to ensure system compatibility.
Step 5 — Apply quality roof paint
Use a paint specifically formulated for roofs — standard exterior wall paint is not suitable. Roof paints are engineered to handle UV exposure, thermal cycling (roofs can reach very high temperatures on a sunny NZ day), and foot traffic during maintenance.
| Roof Type | Typical Coating System |
|---|---|
| Concrete / terracotta tiles | Biocide wash → sealer/primer → 2 coats roof membrane paint |
| Corrugated steel (Colorsteel) | Biocide wash → rust-inhibiting primer → 2 coats metal roof paint |
| Aged iron / rusty metal | Rust treatment → primer → 2 coats metal roof paint |
| Butynol / membrane | Specialist membrane coating — check manufacturer specs |
How long should you wait after treatment?
This varies by product and weather, but as a general guide:
- Allow biocide treatments to work for the full recommended dwell time before washing.
- Ensure the roof is fully dry before priming — moisture trapped under paint is a leading cause of early failure.
- Avoid painting if rain is forecast within 24–48 hours or if temperatures are below around 10°C, as most roof paints need warmth to cure properly.
When to call a professional
Roof painting involves working at height, which carries serious fall risks. WorkSafe NZ requires that work at height is properly planned with appropriate edge protection or harness systems — this is not something to improvise. A qualified roof painter will have the correct safety equipment, commercial-grade cleaning gear, and experience to identify underlying issues you might miss.
If your roof has significant structural damage, failing flashings, or you're unsure about the extent of the lichen damage, a professional assessment is well worth the cost. You can find qualified, local roof painters on tradedirectory.co.nz.