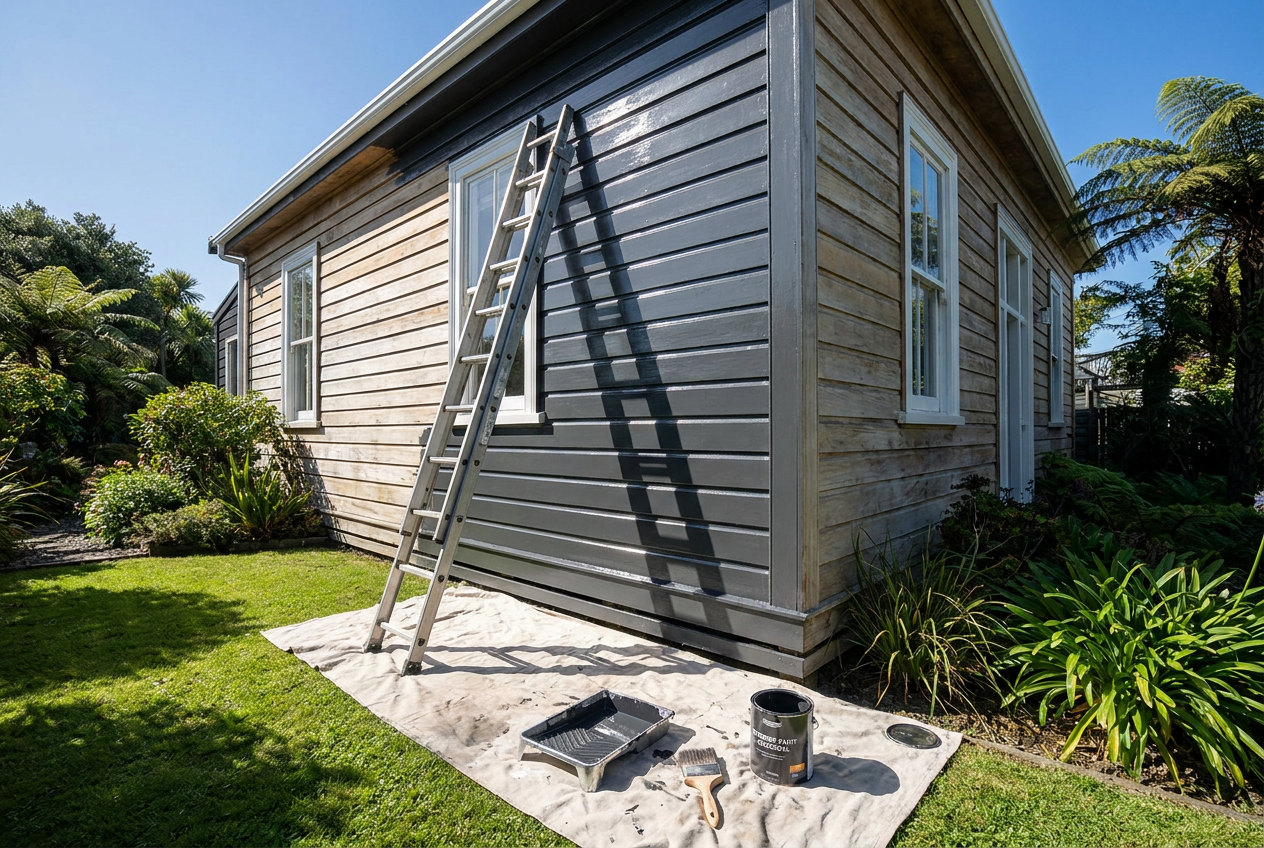
Repainting your weatherboards is one of the best ways to protect your home from New Zealand's harsh UV, wind, and rain. But before you crack open that topcoat, there's an important question to answer: do you actually need to prime first? The short answer is — it depends on the condition of your existing paint and the type of substrate you're working with.
Why Priming Matters
Primer serves several key purposes: it seals the surface, improves adhesion of the topcoat, blocks stains and tannins, and helps the finish coat go on evenly. Skipping primer when it's needed is one of the most common reasons paint jobs fail prematurely — leading to peeling, flaking, and costly repaints down the track.
BRANZ research consistently shows that surface preparation and correct priming are the biggest factors in paint durability on exterior timber.
When You Can Skip the Primer
You may be able to apply a topcoat directly if:
- The existing paint is in good condition — firmly adhered, no peeling, cracking, or chalking
- You're repainting with the same paint type (e.g. water-based over water-based)
- The colour change is similar (going darker or staying the same)
- The surface has been thoroughly cleaned and lightly sanded to give the new coat something to grip
In this scenario, a quality exterior topcoat applied to a clean, sound surface can perform well without a separate primer coat.
When Priming Is Essential
There are situations where priming is non-negotiable:
- Bare or exposed timber — any areas where old paint has peeled back to raw wood must be spot-primed or fully primed before topcoating
- New weatherboards — whether timber or fibre cement, new boards need a full prime coat
- Switching paint types — going from oil-based to water-based (or vice versa) requires a compatible primer to prevent adhesion failure
- Heavy chalking or degraded paint — if the old surface is powdery or flaking, it needs to be stripped back and primed
- Tannin-rich timbers — species like macrocarpa or rimu can bleed tannins through topcoats, causing staining; a stain-blocking primer is essential
- Significant colour changes — going from a dark to a very light colour often requires a tinted primer to achieve full coverage
Choosing the Right Primer for Weatherboards
Not all primers are equal. Here's a quick guide:
| Substrate | Recommended Primer Type | Notes |
|---|---|---|
| Bare timber (pine, macrocarpa) | Solvent-based or water-based timber primer | Solvent-based offers better penetration on raw wood |
| Fibre cement (e.g. James Hardie) | Acrylic sealer/primer | Must be compatible with manufacturer specs |
| Previously painted (sound) | Acrylic bonding primer | Use if switching paint types or surface is chalky |
| Tannin-rich timber | Stain-blocking primer (shellac or oil-based) | Prevents bleed-through |
| Galvanised or metal flashings | Zinc phosphate or self-etching primer | Separate product to weatherboard primer |
Resene and Dulux both offer dedicated exterior timber primers suited to NZ conditions. Wattyl also has a solid range of exterior primers worth considering. Always check the paint manufacturer's system recommendations — using their primer and topcoat together gives you the best warranty coverage.
Fibre Cement Weatherboards: A Special Case
If your home has fibre cement weatherboards (such as those made by James Hardie), priming is almost always required when repainting bare or repaired sections. Fibre cement is highly absorbent and will soak up topcoat unevenly without a sealing primer. Always follow the board manufacturer's coating specifications, as using the wrong primer can void any product warranty.
Surface Preparation: The Real Secret
Whether you prime or not, preparation is everything. A primer won't save a poorly prepared surface. Before you paint:
- Wash down the weatherboards with a suitable exterior cleaner to remove dirt, mould, and salt (especially important in coastal NZ locations)
- Scrape and sand any loose or flaking paint back to a firm edge
- Fill cracks and gaps with a flexible exterior filler or paintable sealant
- Spot-prime any bare areas, even if you're not priming the whole house
- Allow everything to dry thoroughly before applying primer or topcoat
In New Zealand's variable climate, avoid painting in direct hot sun, high humidity, or when rain is forecast within a few hours.
When to Call a Professional
While repainting weatherboards is a popular DIY project, there are times when it's worth bringing in a qualified painter:
- Lead paint — homes built before the 1980s may have lead-based paint. Sanding or stripping this is a health hazard. Check WorkSafe NZ guidelines before proceeding, and consider hiring a professional with the right equipment and training
- Large areas of rot or damage — replacing weatherboards may be required before painting, which can involve restricted building work under the NZ Building Code, requiring a Licensed Building Practitioner
- Multi-storey homes — working at height carries serious fall risks
- If you're unsure of the existing paint type — a professional can test and advise on the correct system
You can find qualified, local painters on tradedirectory.co.nz who know NZ substrates, climates, and paint systems inside out.