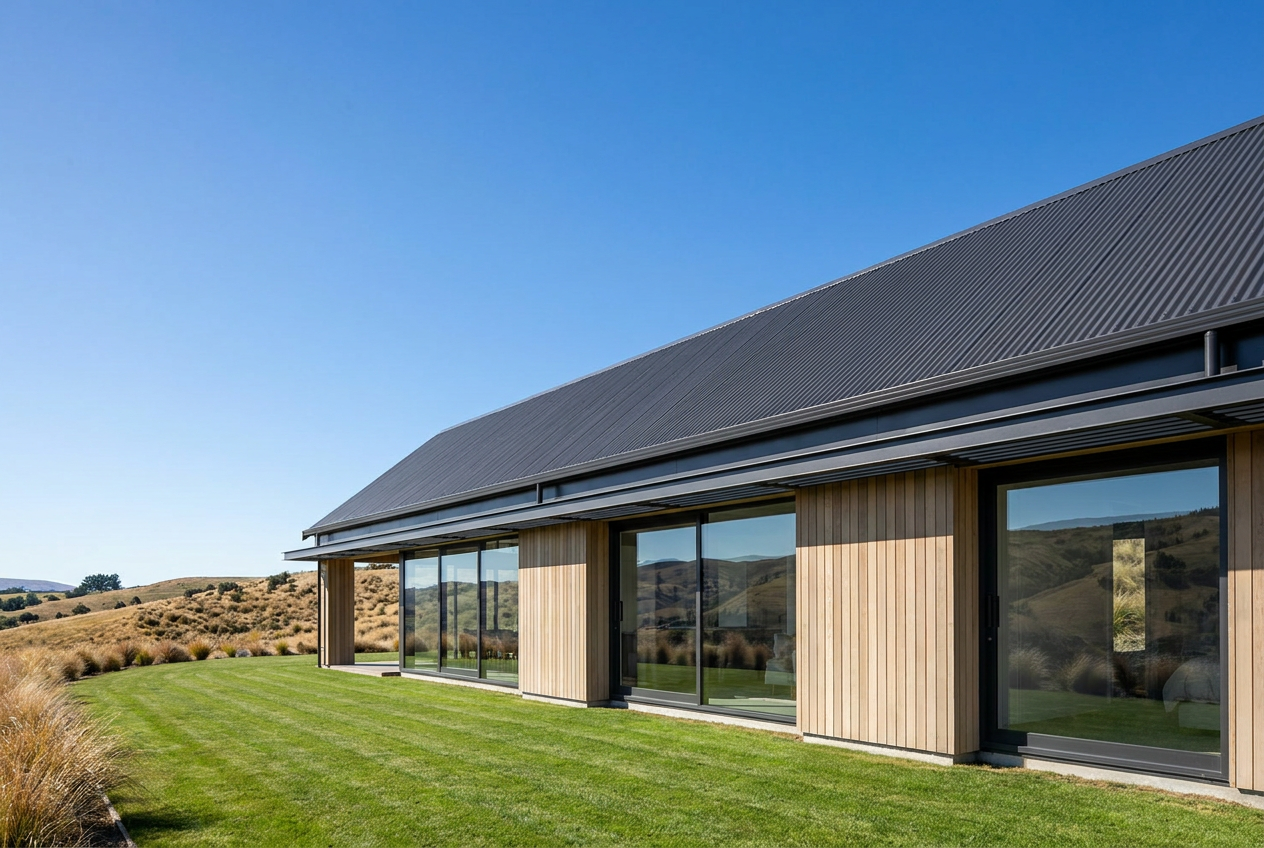
Replacing a single damaged longrun steel roof panel is something a capable DIYer can attempt, but it's not as straightforward as it might look from the ground. Working at height, matching existing profiles, maintaining weathertightness, and understanding your obligations under the NZ Building Code all need careful consideration before you climb up there.
Is It Legal to Do It Yourself?
In New Zealand, roofing work is not classified as restricted building work (RBW) in the same way that structural, weathertightness-critical cladding, or certain other work is — unless the repair affects the primary structure of the building. However, this doesn't mean anything goes.
Under the NZ Building Code, all building work — including repairs — must comply with the Code whether or not a consent is required. Roof cladding must meet Clause E2 (External Moisture), which means it must be installed in a way that keeps water out.
Building consent: Most like-for-like single panel replacements fall under Schedule 1 exemptions and won't require a building consent, but this depends on your council and the specifics of the job. Always confirm with your local council before starting work. If in doubt, contact a Licensed Building Practitioner (LBP) who can advise you.
Safety First — Working at Height
Falling from a roof is one of the leading causes of serious injury and death in New Zealand. WorkSafe NZ has strict guidelines around working at height, and these apply to homeowners too.
Before you start:
- Never work on a wet or dew-covered roof — steel roofing becomes extremely slippery.
- Use a roof ladder (one that hooks over the ridge) to spread your weight and give you a stable platform.
- Set up scaffolding or edge protection if the eave height is 1.5 m or more above the ground — this is a legal requirement for workers and strongly recommended for homeowners.
- Work with a buddy on the ground who can call for help if needed.
- Wear non-slip footwear and avoid walking on the ribs of the panel — walk in the flat pans only.
Understanding Longrun Steel Roofing Profiles
Longrun steel (also called corrugate, tray, or concealed-fix roofing) comes in a range of profiles. Common NZ profiles include corrugate (sinusoidal), 5-rib trapezoidal, and concealed-fix systems like standing seam. Each has different fixing methods:
| Profile Type | Fixing Method | DIY Difficulty |
|---|---|---|
| Corrugate | Exposed screws through crest | Moderate |
| Trapezoidal (5-rib etc.) | Exposed screws through pan | Moderate |
| Concealed fix / standing seam | Hidden clips, seamed edges | Difficult — specialist tools needed |
Concealed-fix systems in particular are very difficult to repair without specialist tools and experience. If your roof uses this system, calling a professional roofer is strongly recommended.
Matching the Existing Panel
This is often the trickiest part. You'll need to match:
- Profile shape and dimensions exactly
- Steel thickness (typically 0.40 mm or 0.55 mm base metal thickness in NZ)
- Coating type — Zincalume, Colorsteel, or painted finishes
- Colour — faded roofs are notoriously hard to colour-match
Take a photo and, if possible, a short offcut of the existing panel to your local roofing supplier or a store like Mitre 10 or PlaceMakers. Many roofing steel suppliers can cut panels to length, which is important since longrun panels are typically run the full length of the roof slope.
Step-by-Step: Replacing an Exposed-Fix Panel
1. Assess the damage
Check whether the damage is isolated to one panel or whether the purlins (roof battens) underneath are also affected. Rotted or damaged purlins must be repaired first — this may require a building consent depending on extent.
2. Remove the damaged panel
- Carefully unscrew or drill out the existing roofing screws (typically hex-head self-drilling screws with neoprene washers).
- On corrugate roofing, you may need to carefully lift the overlapping panel at the side to slide the damaged one out.
- Take care not to damage adjacent panels.
3. Install the new panel
- Slide the new panel into position, ensuring correct side lap (typically one corrugation overlap on corrugate, or as per manufacturer spec).
- Fix with new roofing screws — never reuse old screws. Use the correct screw length for your purlin depth.
- Do not overtighten — the neoprene washer should compress slightly, not be crushed flat.
- Seal any end laps with appropriate butyl or foam closure strips as required.
4. Check flashings
Inspect all nearby flashings (ridge, barge, valley) for damage or lifting while you're up there. Poorly sealed flashings are a common source of leaks.
When to Call a Professional
Call a qualified roofer if:
- The roof is steep (over approximately 35°) or difficult to access safely.
- You have a concealed-fix or standing seam profile.
- The damage is extensive, involves multiple panels, or the underlying structure is affected.
- You're unsure about weathertightness or flashing details.
- The roof is still under warranty — DIY work may void a manufacturer's or installer's warranty.
- You're a landlord: under the Healthy Homes Standards, rental properties must be weathertight, and a botched repair could create liability.
A professional roofer will have the right equipment, materials, and knowledge to get the job done safely and to Code. You can find qualified local roofers on tradedirectory.co.nz.