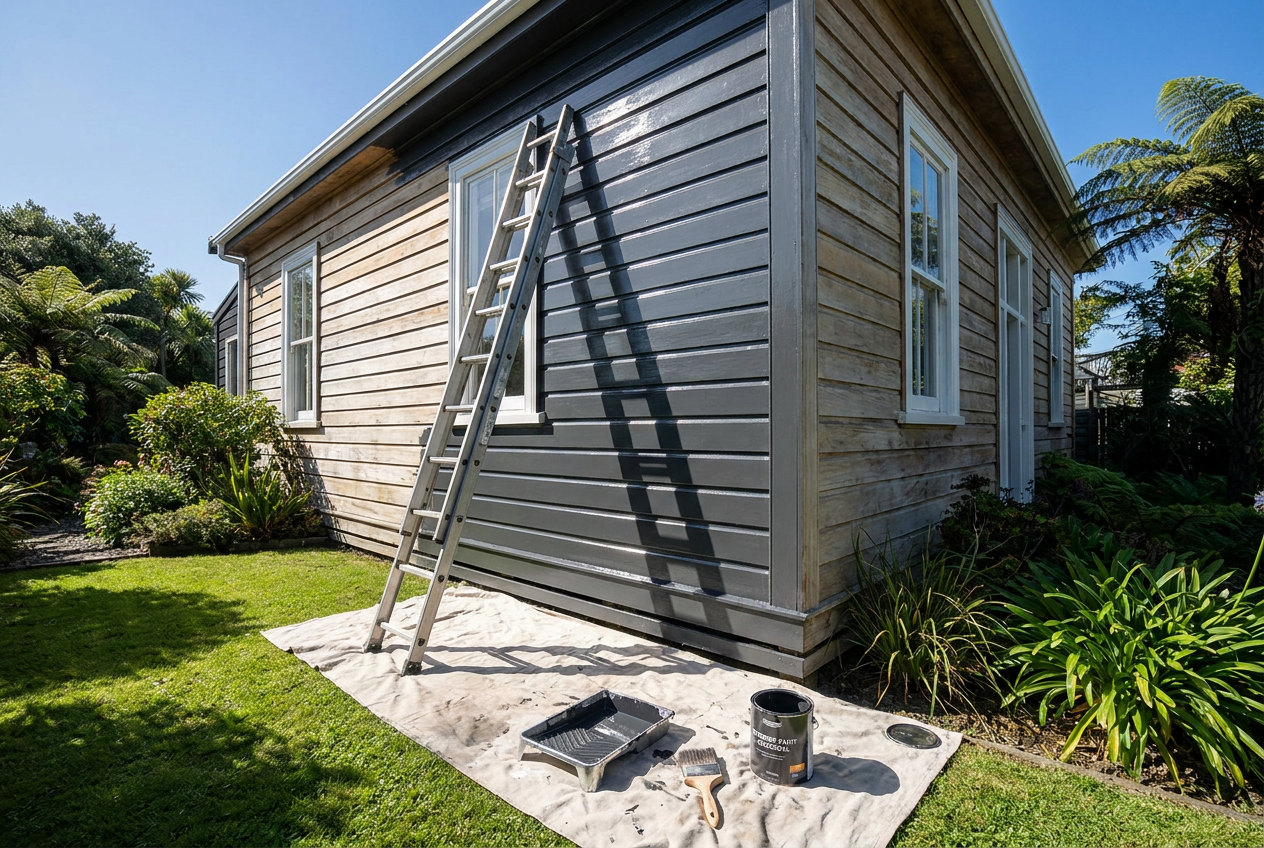
Painting the exterior of your home in winter is possible in many parts of New Zealand, but it requires more planning than a summer job. Cold temperatures, moisture, and shorter daylight hours can all affect how paint applies and cures — and a rushed job in the wrong conditions can lead to peeling, bubbling, or poor adhesion that costs you more in the long run.
Why Weather Conditions Matter So Much
Paint is a chemical product that needs the right environment to bond properly to a surface. Most exterior paints — whether water-based or oil-based — have minimum application temperature requirements. As a general guide, most manufacturers recommend applying paint when temperatures are above 10°C and rising, though some modern formulations can handle slightly cooler conditions. Always check the technical data sheet for the specific product you're using.
Beyond temperature, relative humidity and surface moisture are critical. Painting onto a damp or wet surface is one of the most common causes of paint failure. In winter, dew can linger well into the morning, and surfaces may not fully dry before afternoon showers arrive.
Key Conditions to Check Before You Start
Before picking up a brush or roller in winter, run through this checklist:
- Temperature: Air and surface temperature should be above 10°C (check your paint's datasheet). Avoid painting if frost is forecast within 24 hours.
- Surface dryness: The surface must be completely dry. Use your hand — if it feels even slightly cool and damp, wait.
- Humidity: High humidity slows drying and can cause problems. Aim for below 85% relative humidity if possible.
- Wind: Light airflow can help drying, but strong wind can cause uneven drying and blow debris onto wet paint.
- Rain: Never paint if rain is expected within a few hours of application. Check the MetService forecast carefully.
- Daylight: Winter days are short. In the South Island especially, you may only have a usable painting window of a few hours.
Regional Differences Across NZ
NZ's climate varies enormously. Winter painting is more practical in Northland, Auckland, and the Waikato, where temperatures rarely drop below 10°C during the day. In Wellington, wind is the bigger challenge. In Canterbury and Otago, cold snaps and frosts can make exterior painting genuinely difficult from June through August. The West Coast is wet year-round, so you're always chasing a dry window regardless of season.
If you're in a colder region, consider whether the job can wait until early spring — even a few weeks can make a significant difference to conditions.
Choosing the Right Paint for Winter
Product selection matters more in winter. Resene and Dulux both offer exterior waterborne paints formulated for cooler conditions, with some products designed to apply at lower temperatures than standard ranges. Wattyl also has exterior coatings suited to NZ conditions — visit their websites or speak to an in-store consultant to find a product rated for the temperatures you're working in.
Key product features to look for in winter:
| Feature | Why It Matters in Winter |
|---|---|
| Low-temperature formulation | Allows application in cooler conditions |
| Fast-dry technology | Reduces the window needed between coats |
| Mould & mildew resistance | Important in damp winter conditions |
| Flexible film | Handles temperature fluctuations without cracking |
Surface Preparation: Even More Important in Winter
Good prep is always the foundation of a quality paint job, but in winter it's even more critical. Moisture trapped under paint is the enemy.
- Wash the surface thoroughly to remove mould, mildew, dirt, and chalking. Allow adequate drying time — this may take longer in winter.
- Sand and fill any cracks or damaged areas. Use a flexible exterior filler appropriate for the substrate (timber, fibre cement, etc.).
- Prime bare surfaces — never skip primer on bare timber or repaired areas in winter. A quality primer seals the surface and improves adhesion.
- If you're working with James Hardie fibre cement products, follow their specific coating guidelines, as these substrates have particular requirements.
BRANZ is an excellent resource for technical guidance on painting and surface preparation to NZ standards.
Timing Your Work Day
In winter, your usable painting window is compressed. A practical approach:
- Morning: Wait until dew has fully evaporated and surfaces have warmed — often mid-morning.
- Afternoon: Stop painting at least two hours before sunset so the paint has time to set before temperatures drop.
- Avoid painting on the shaded side of the house until it has had time to warm up.
Working on one elevation at a time — following the sun around the house — is a smart strategy in cooler months.
When to Call a Professional
If you're unsure about conditions, working at height, or dealing with a large or complex exterior, it's well worth bringing in a qualified painter. Professional painters know how to read conditions, have access to commercial-grade products, and can work efficiently within tight weather windows. A poor DIY paint job in winter can fail within a season, costing you far more to fix than the original job would have.
You can find qualified, reviewed local painters on tradedirectory.co.nz — look for members of a recognised trade body and check their reviews.
Safety note: If any exterior painting involves working above single-storey height, use appropriate scaffolding or a rated ladder, and follow WorkSafe NZ guidelines for working at height. Falls from ladders are a leading cause of serious injury in home DIY.